|

3D Owl

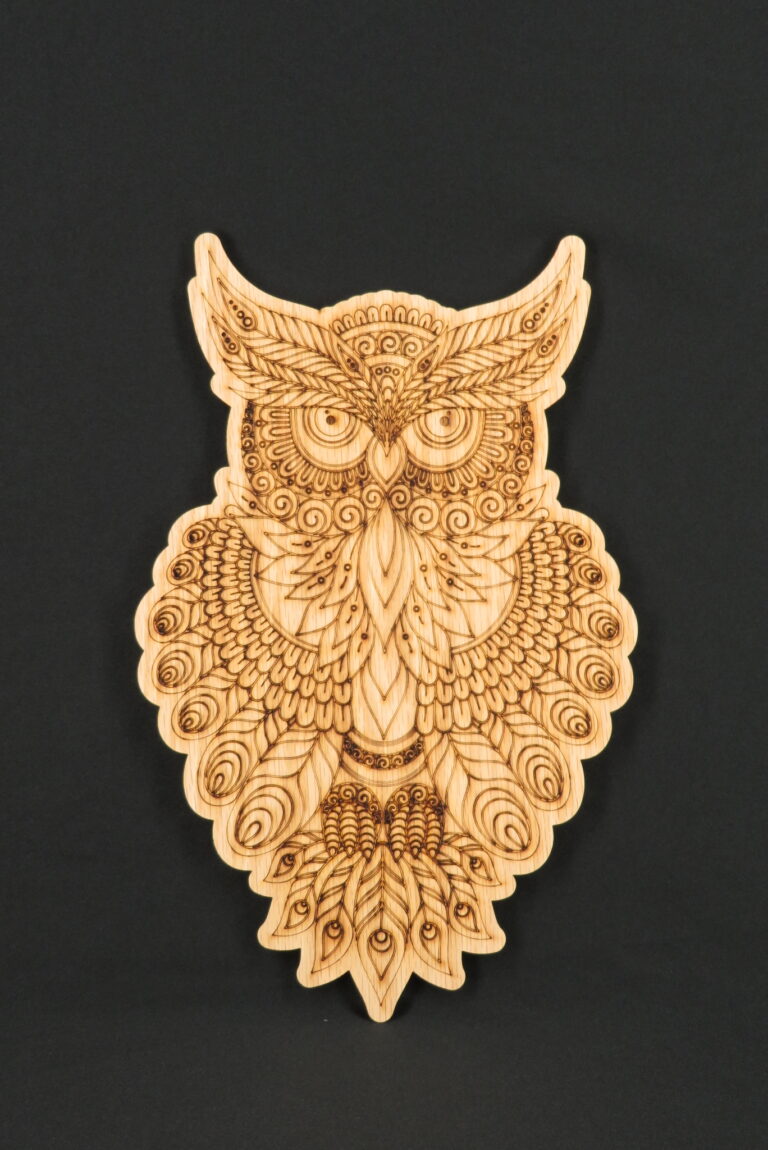
Laser engraved 3D designs are becoming very popular so I decided to give one a try. It took a lot of time to engrave and cut this 10 layer owl but, as you can see, the time and effort was well worth it. Follow along as I build the owl layer by layer…

Quarter inch thick Baltic Birch plywood was chosen for the material. After all the parts were etched and cut out, they were sprayed with a baking soda solution to enhance the color. Although not part of the original design, I added numbers to many of the components so I could easily assemble them in the correct order.
Glue was spread on the back of layer two and it was carefully placed on layer one.
Weights were added on each subsequent layer to act as clamps while the glue dried.
Layer 3 had two pieces, wing feathers and feet.
Layer 4
Layer 5
Layer 6
Layer 7
Layer 8
Layer 9
The 10th and final layer!
A view of the layers from the side shows the 3D stack. This will look great on our wall!

Similar Posts