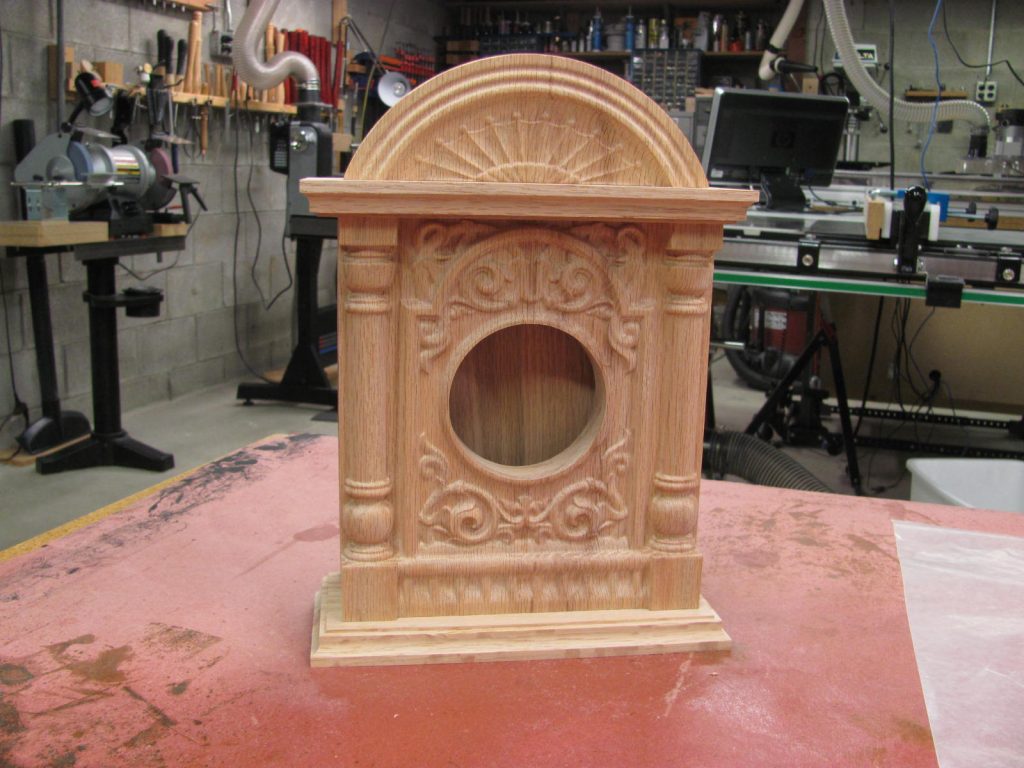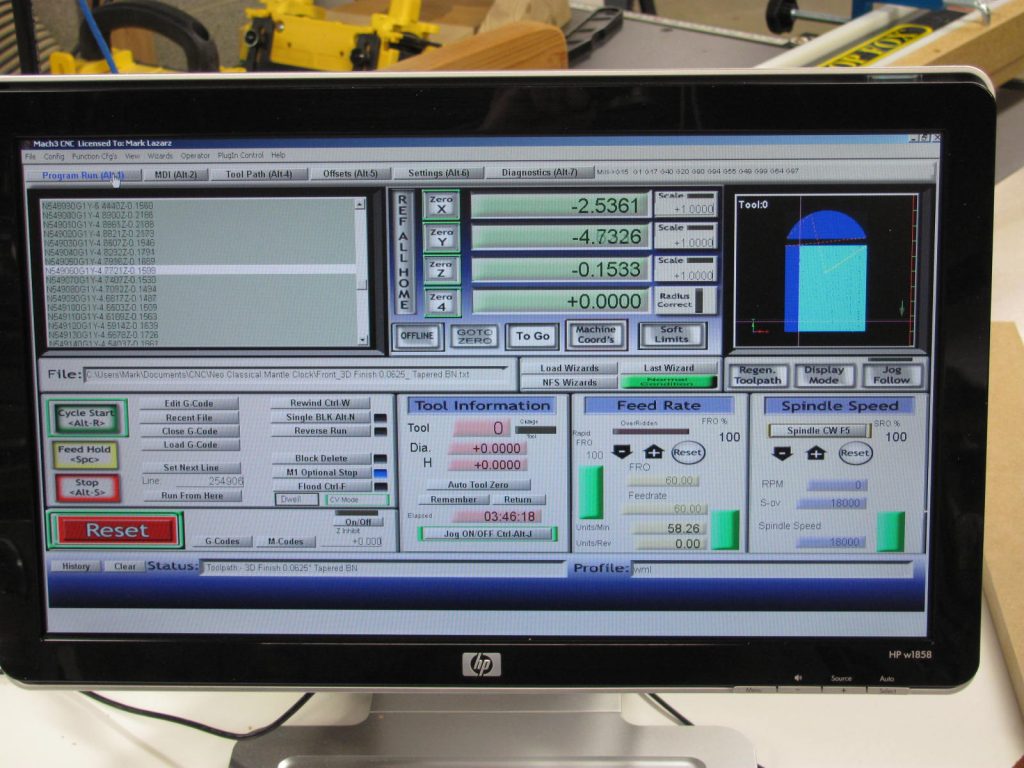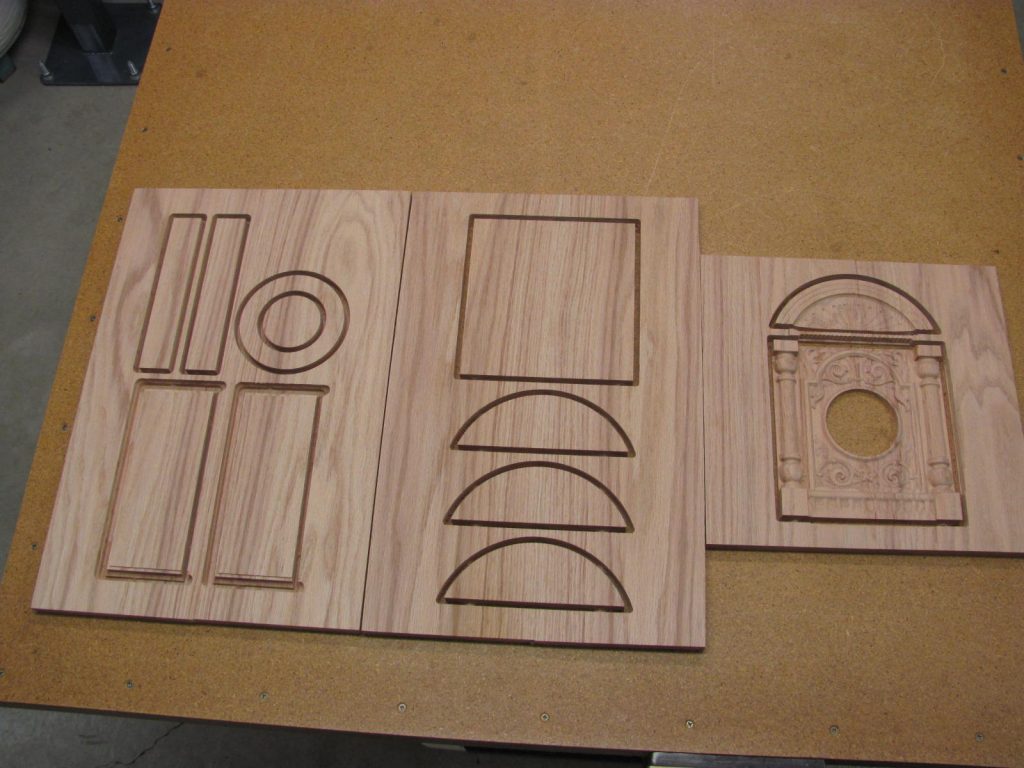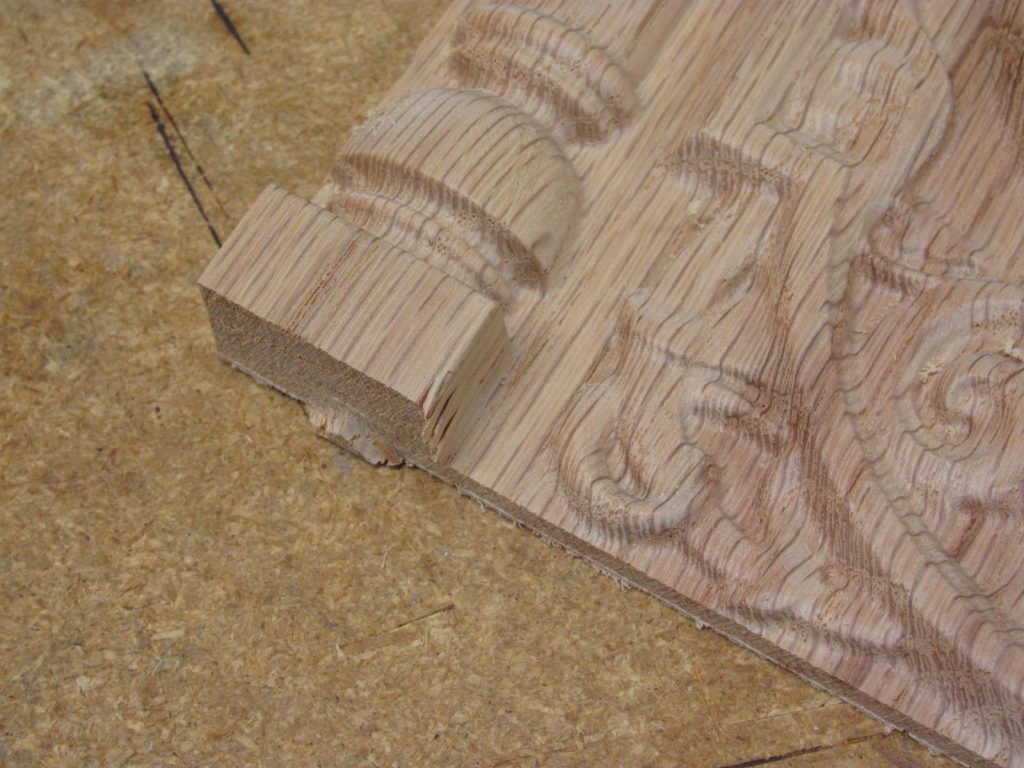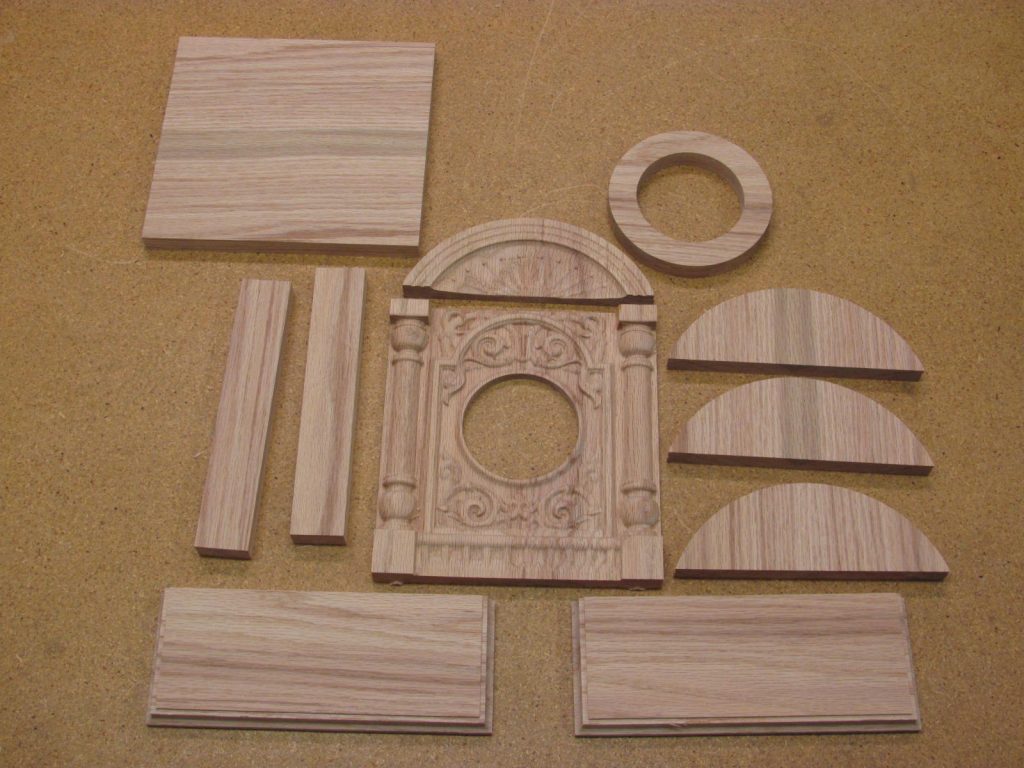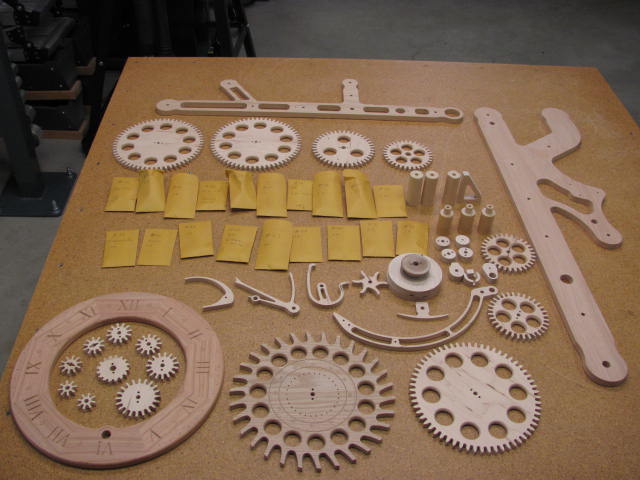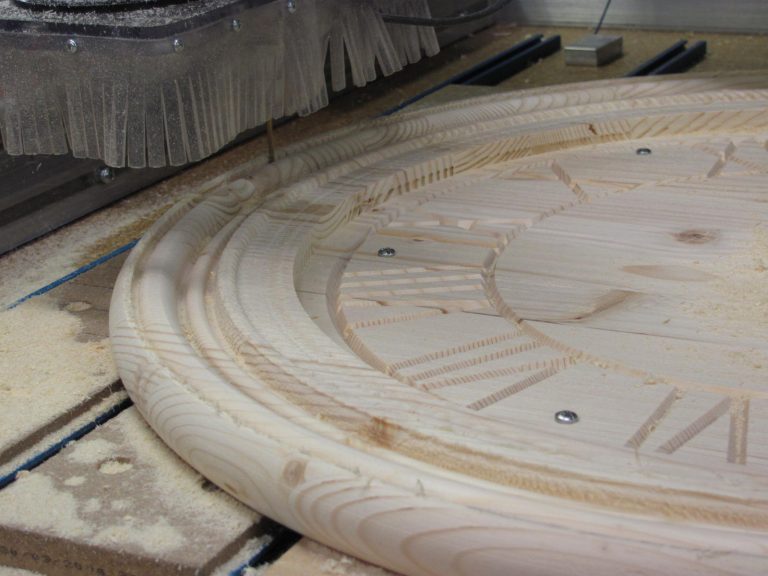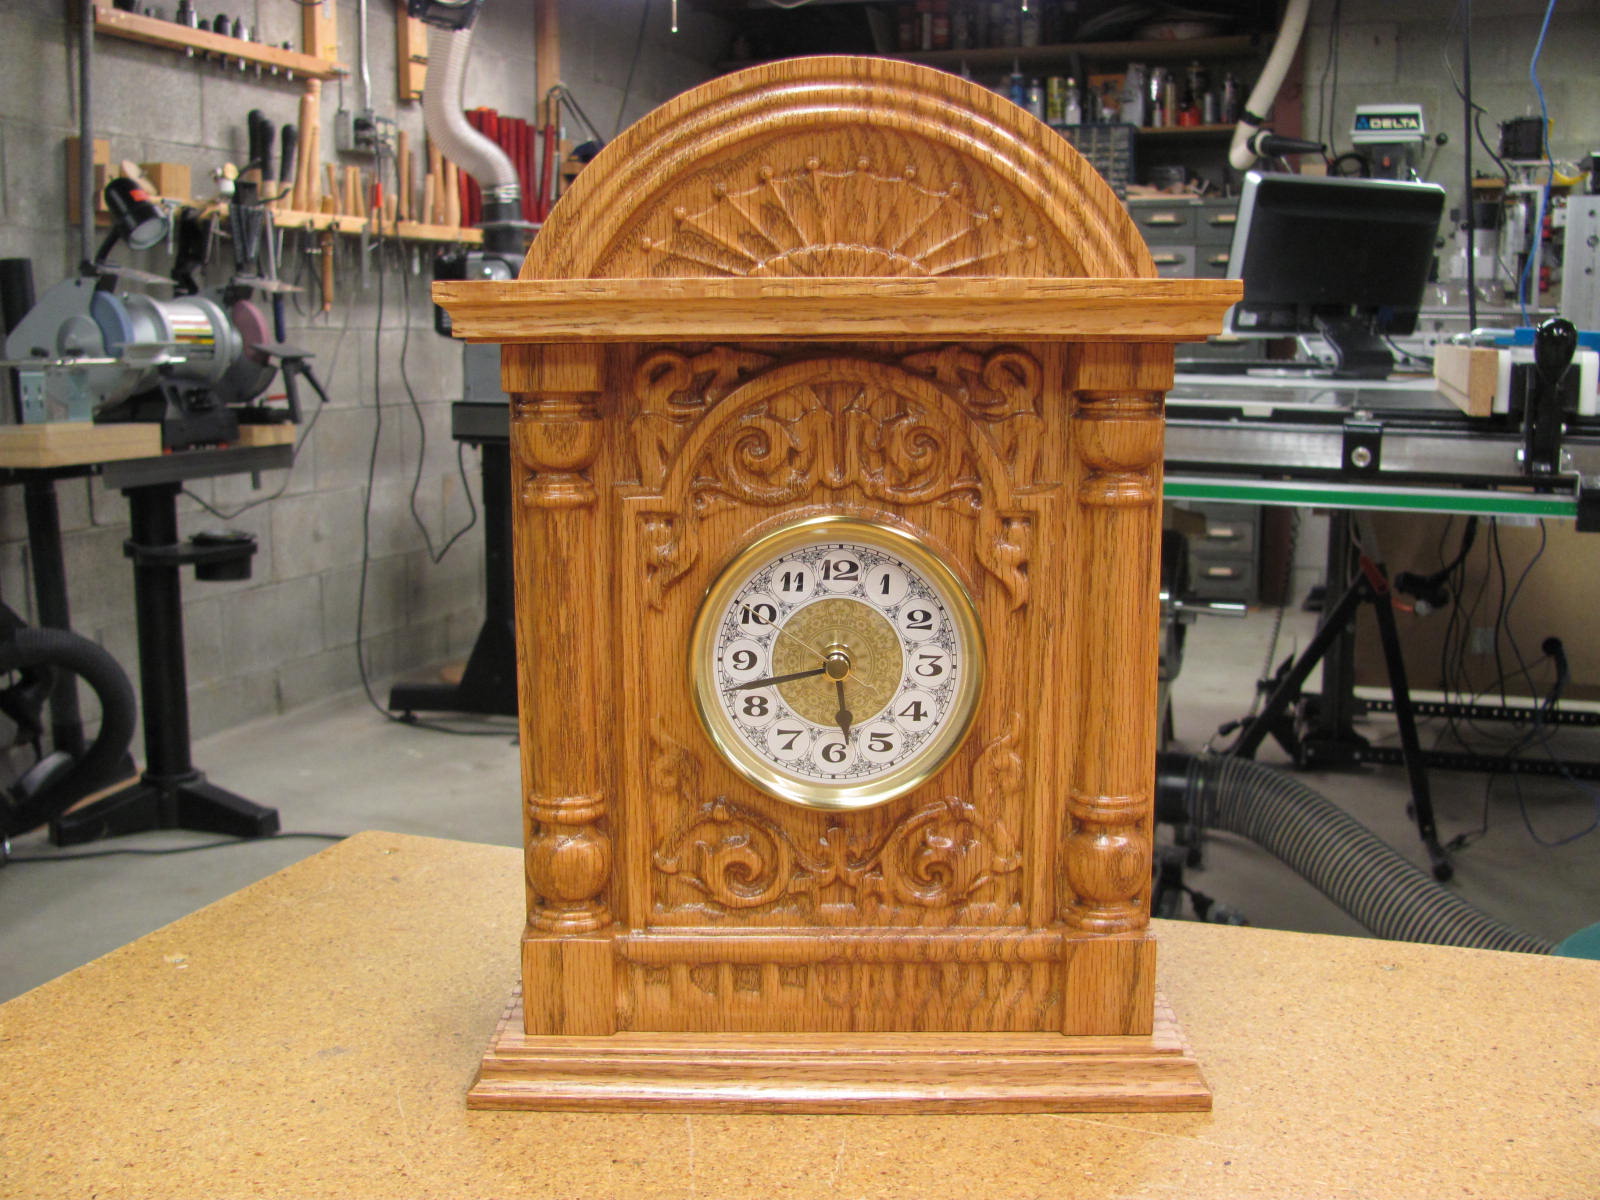
Neo-Classical Mantle Clock
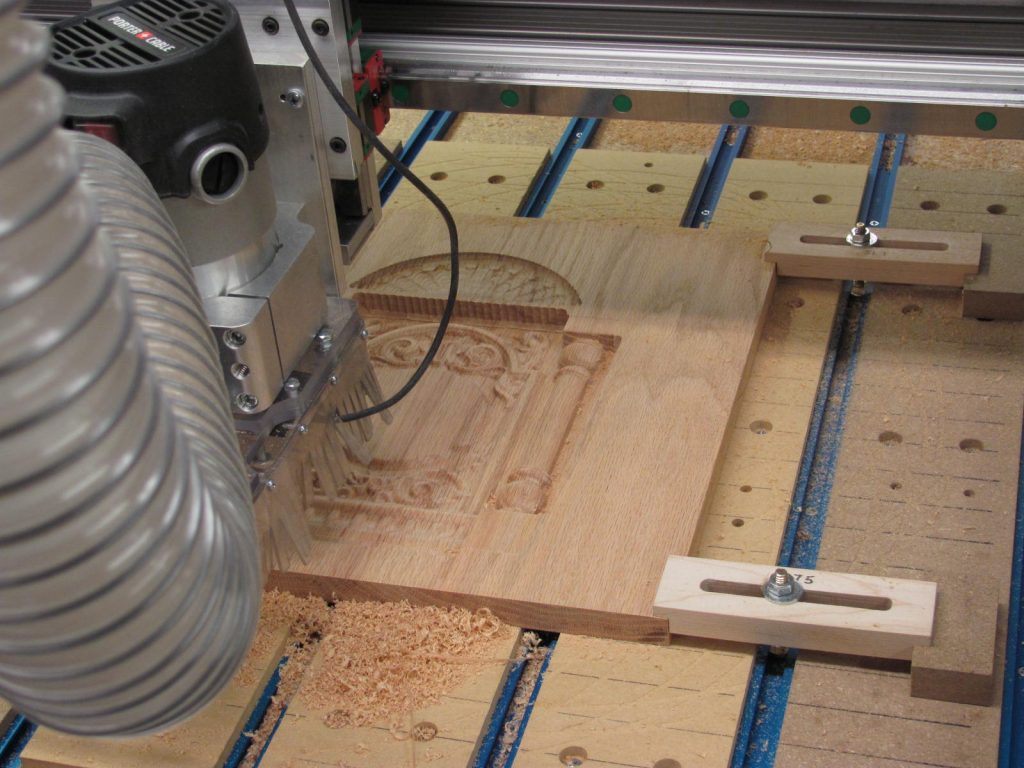
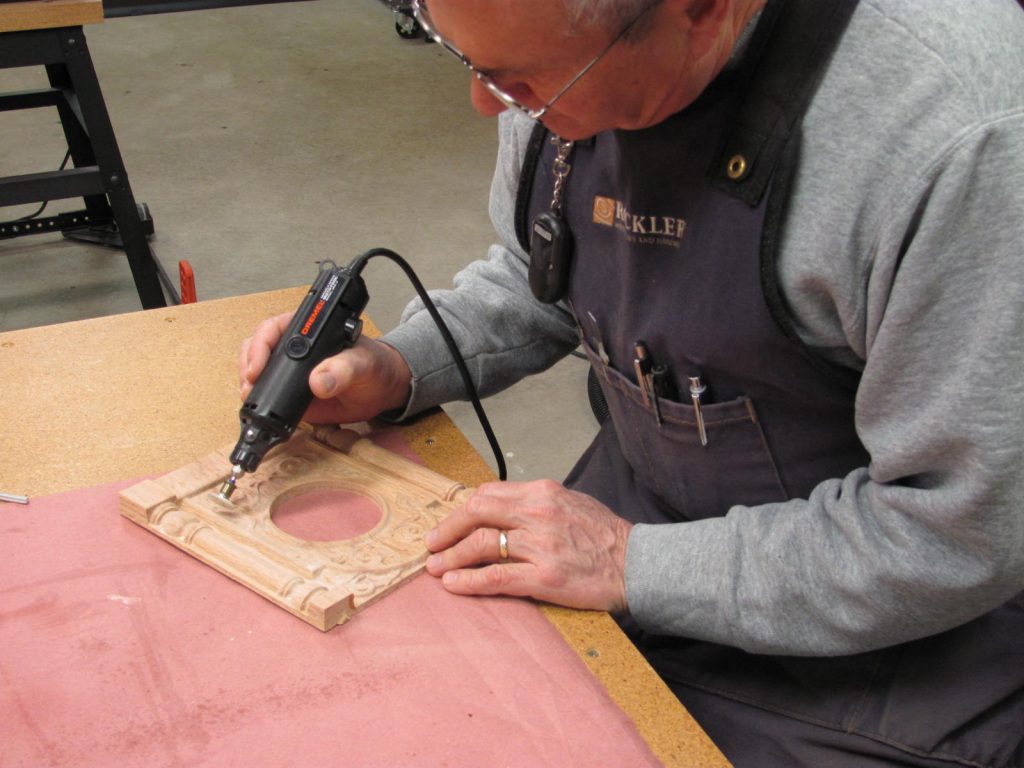
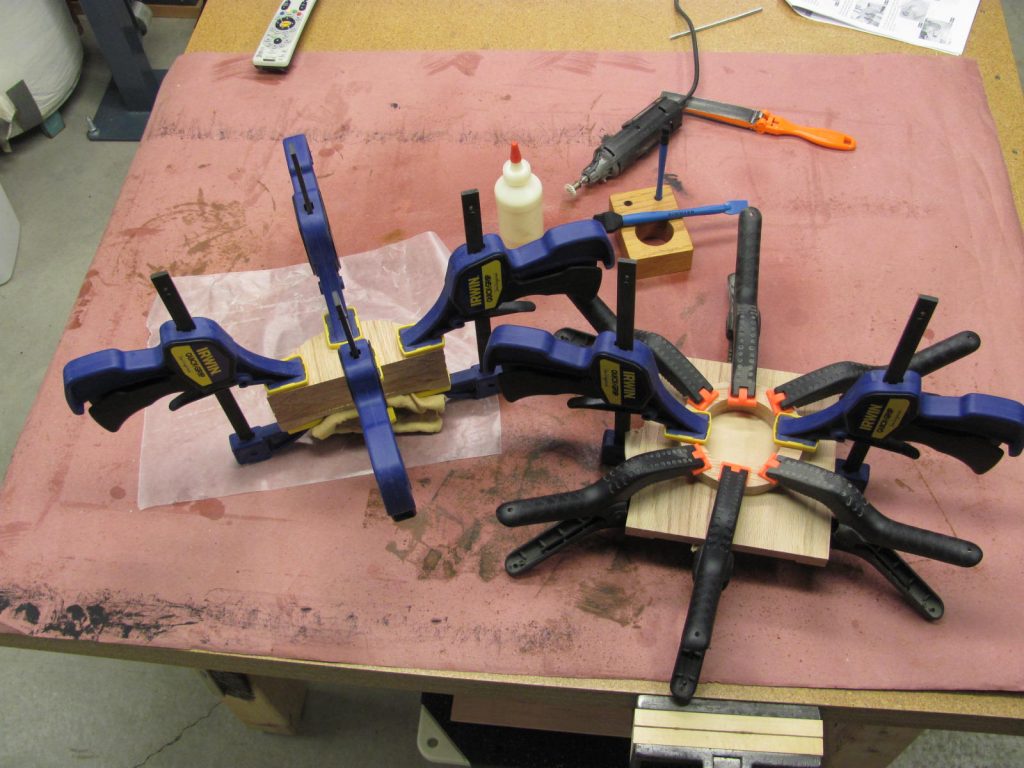
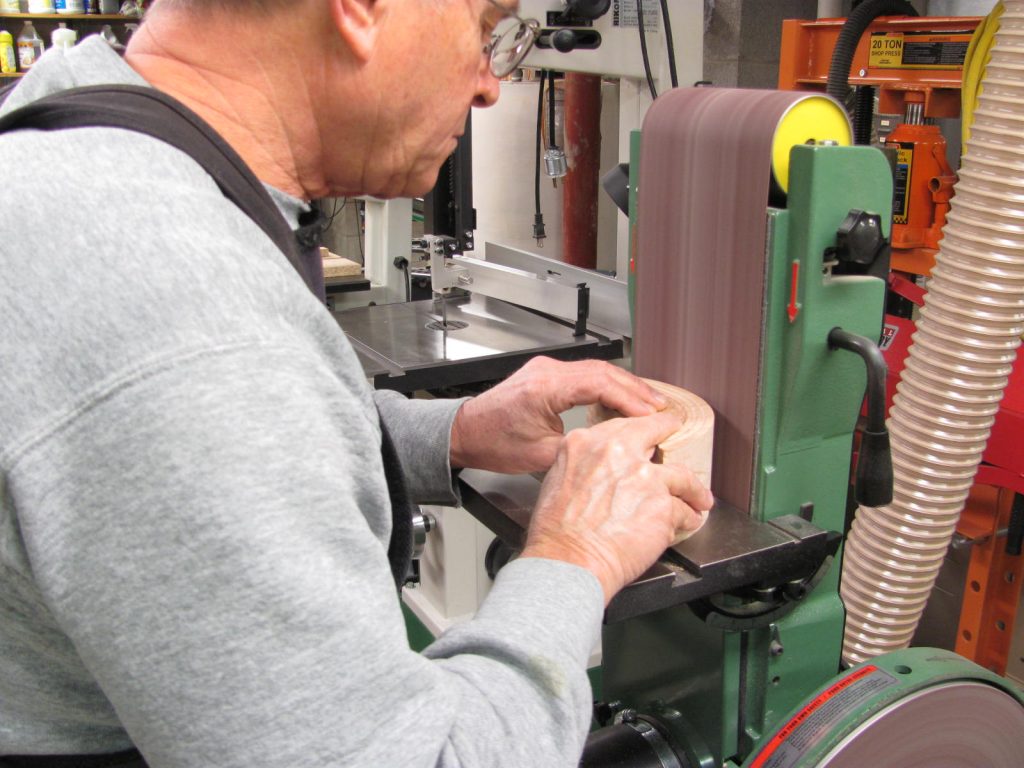
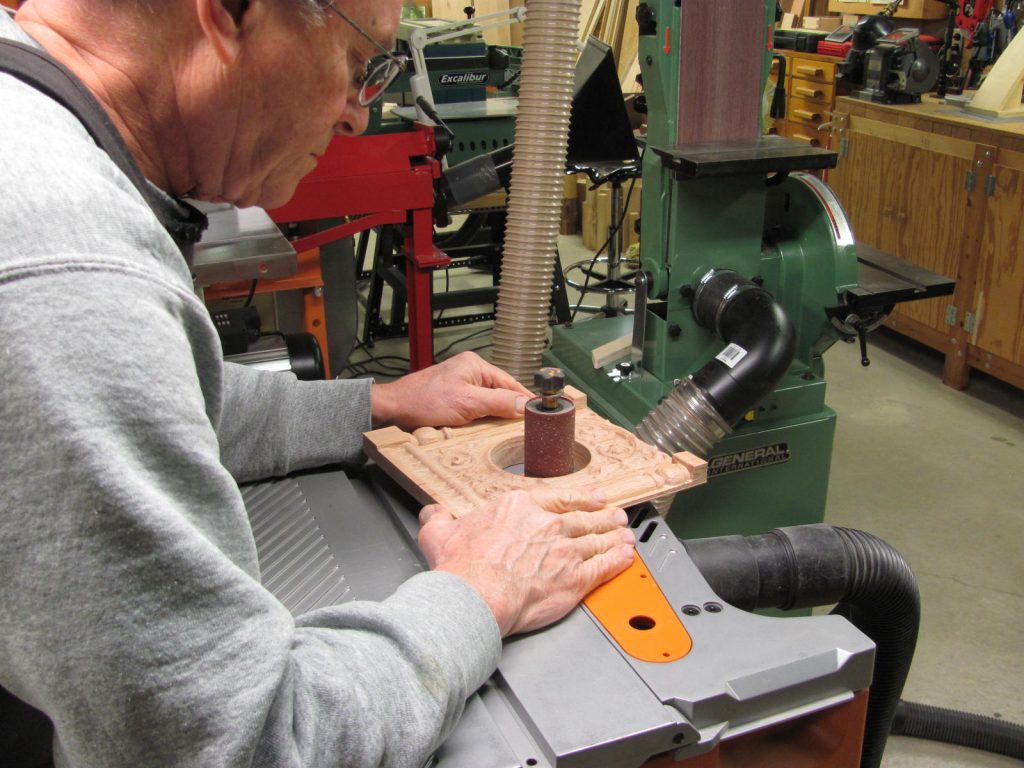
I upgraded to Vetric’s Aspire CAD/CAM software because of my interest in 3D CNC carving. This mantle clock was built from free plans provided by Vectric. I have built other items from their monthly plans and have found them to be fun and useful for learning about vector creation, component creation and tool path generation. I hope you enjoy this pictorial blog about my new clock.