Final Leg Attachment

Sawhorses

Old Sawhorse
My old sawhorses had seen better days so it was time to build new ones.

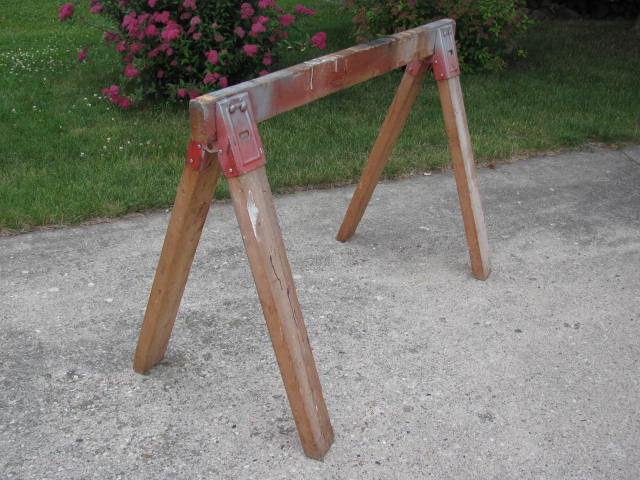
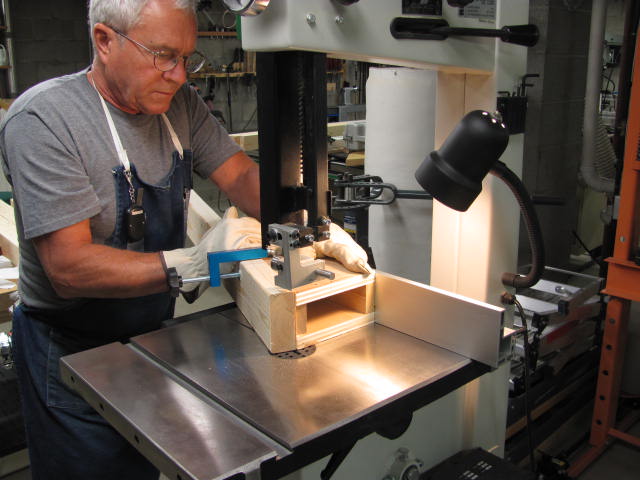
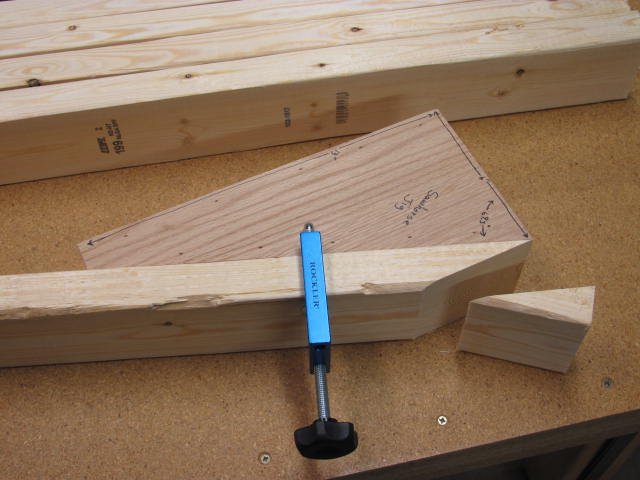
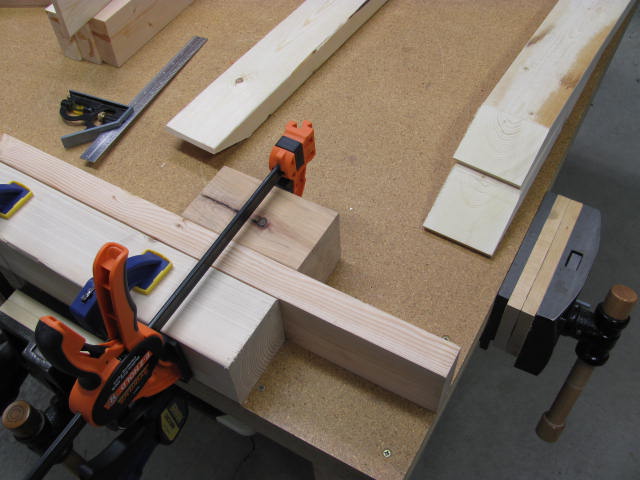
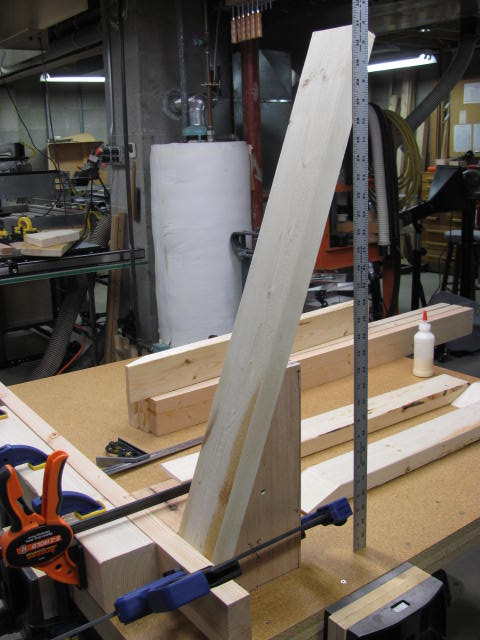
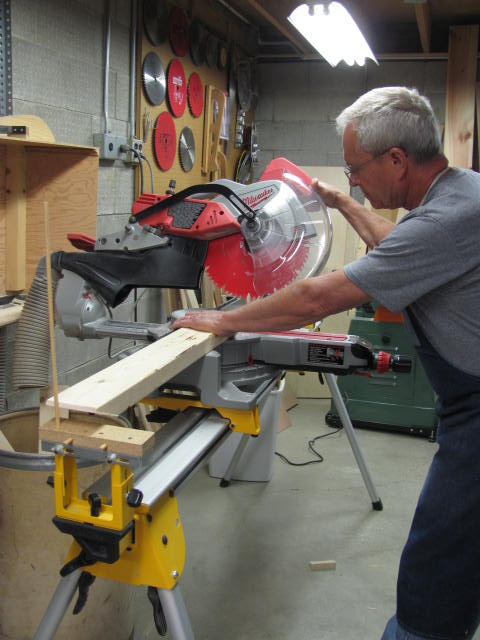
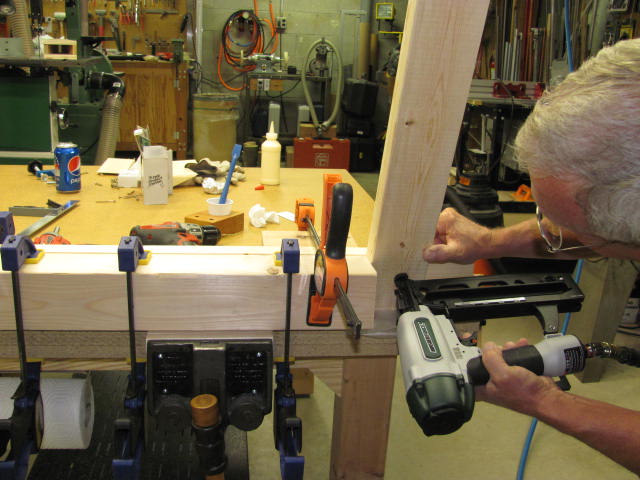
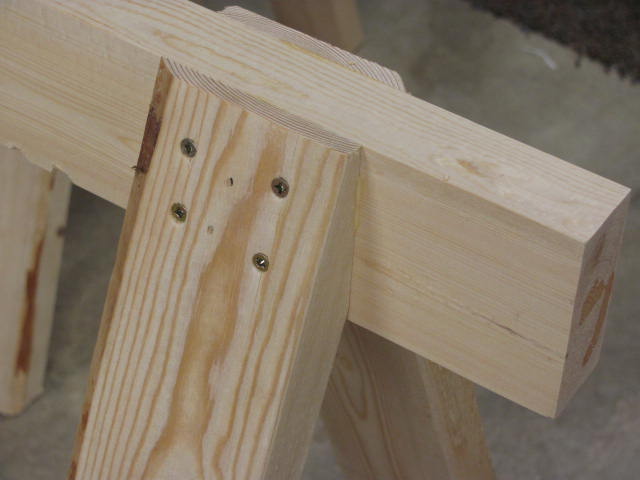
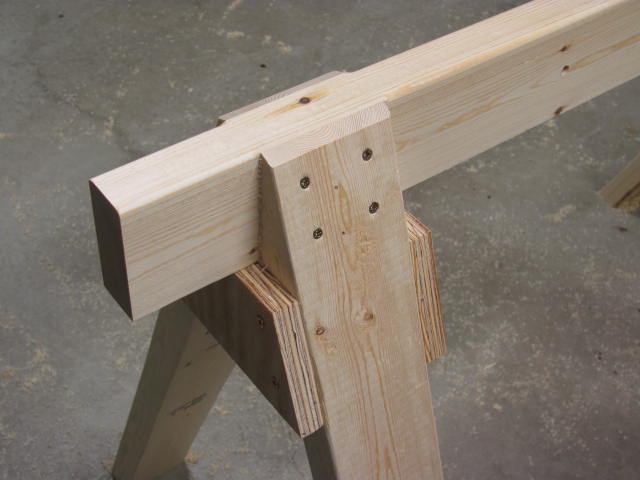
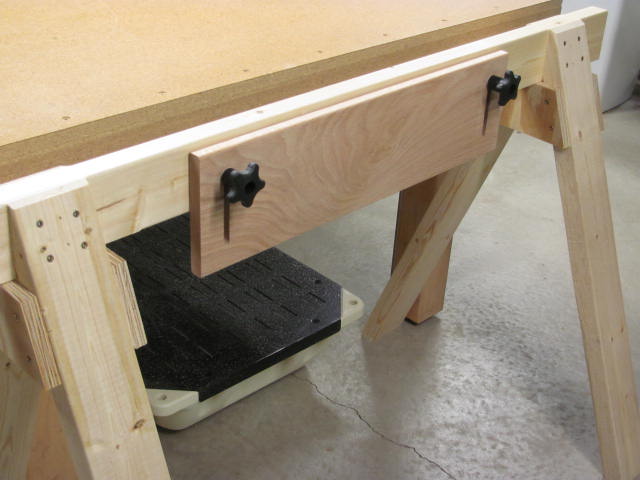
I built my old sawhorses about 40 years ago using 2x4s and metal sawhorse kit brackets. They held up well but they were always wobbly. Over the years, the wobbliness (is that a word?) got worse so I decided to build new ones. Why? Because I’m retired and can spend some time on this sort of thing plus I now have the tools to make the angled cuts necessary for my design. The old sawhorses were a nice size and height so I took measurements from them as a starting point. There is nothing critical in my numbers, just the way I wanted the wanted the sawhorses to look. The new sawhorses will never wobble because all the components are glued and screwed. The following set of photos shows my new sawhorse construction.

Raw Lumber
The cross pieces needed to be flattened in order to make a sound glue joint with the legs.
Flat Cross Members
A little jointing and planing and now I have something I can work with.
Leg Angle Jig
The most challenging part of sawhorse construction is affixing the leg to the cross piece because it requires a sharp angle cut on the face of the 2×4. I constructed this jig to accomplish the task.
Leg Jig with Clamp
The hole in the jig accepts a Rockler fence clamp to hold the leg in place while cutting the steep angle.
Leg and Jig before Cutting
Here is the leg clamped to the jig before running through the band saw.
Cutting the Sawhorse Leg
The jig rides the fence of the band saw and the result is the exact angle I wanted for my new sawhorses.
After the Cut
This photo shows the result of the cut using the jig.
Determining Leg Height
The cross pieces were securely clamped to the table using 4x4s as guides for all subsequent measurement and assembly steps.
Determining Height
I cut a little off the end of the steep angled cut on each leg then clamped the leg to the cross piece and measured for a 30 inch height.
Cutting to Length
Each leg bottom was angle cut to rest flat on the floor and provide the 30″ vertical rise.
Attaching the Legs
The legs were aligned using the 4×4 as a guide. Glue was applied to the leg, held in place, and nailed to the cross piece. 4 screws were then driven to complete the attachment.
Attached Legs
Here is a look at the attached leg with the screws.
Final Leg Attachment
To complete the attachment, the top of each leg was sanded back so the cross piece sits high. Next, braces were cut and attached with glue and screws to the legs making for a very strong and stable configuration.
Added Feature
As an added enhancement to the sawhorse, a slotted riser block was constructed to provide height adjustment when needed.

Similar Posts