Circle Cutting Jig
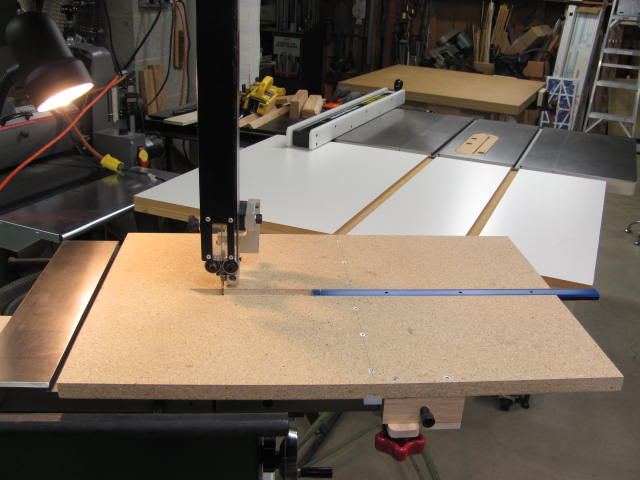
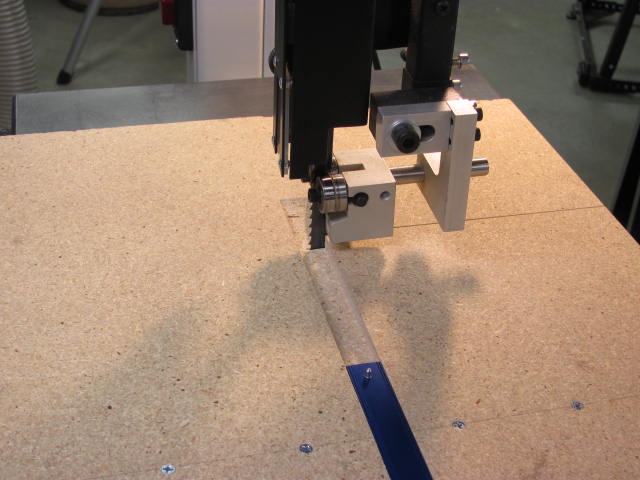
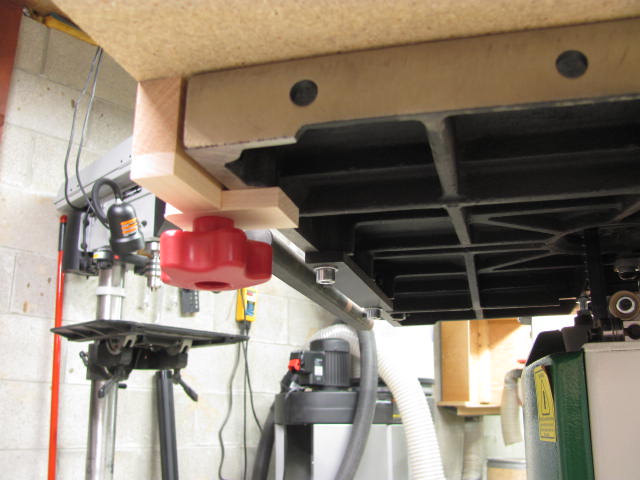
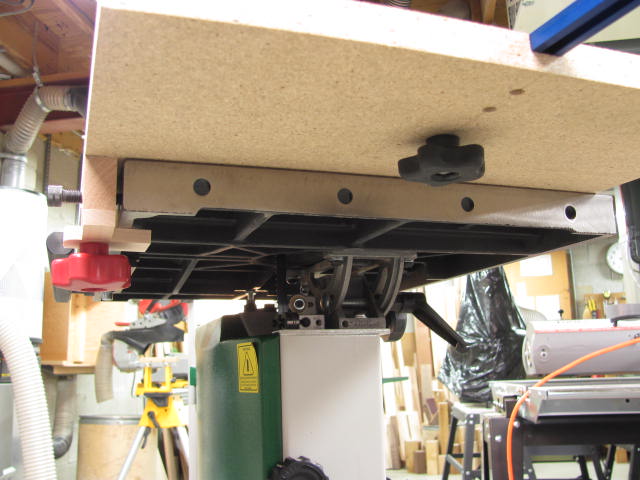
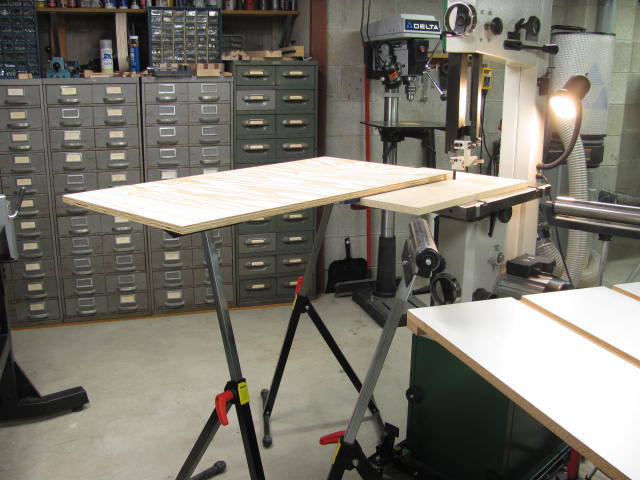
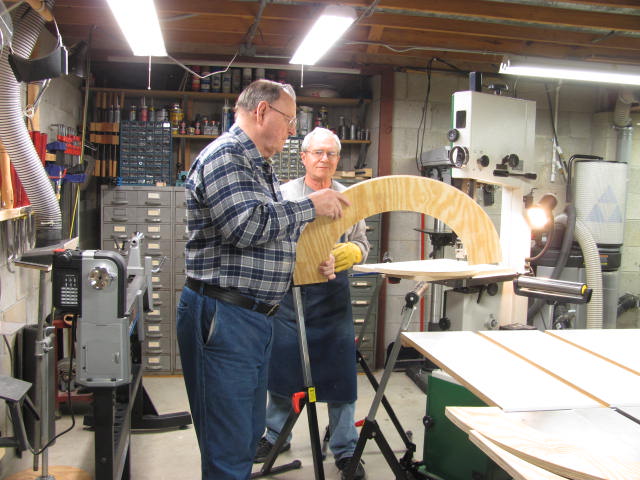
Cutting circles using a bandsaw is easy with a jig designed for the task. There are commercial jigs available and many variations of home made jigs can be found on the Internet. As far as I can tell, my jig is unique in the way it is constructed and uses materials commonly found in lumber and hardware stores. The idea behind all circle cutting jigs is to position the work on a pin at the center of the circle and slide the jig parallel to the cutting blade so that the pin is aligned with the front of the bandsaw teeth. Once in position, the jig must be secured in place and then the work is rotated around the pin until the cut is complete. By adjusting the pin to blade distance, different radii can be cut. Dimensions for the jig are determined by your bandsaw table. My jig uses the miter slot in the table. If your table does not have a miter slot, add left and right side rails to hold the jig parallel to the cutting blade when sliding the jig into position.
Materials for my circle cutting jig are:
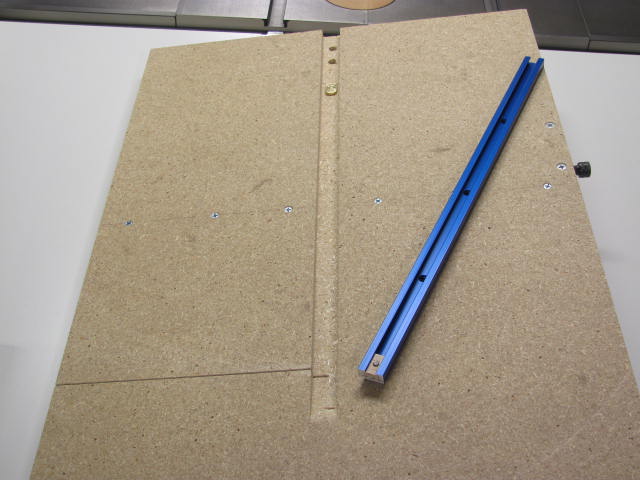
- 3/4″ particle board for the table
- 3/4″ x 3/8″ plastic miter track insert for table guide
- T-track for the sliding pin holder
- T-bolt and thru knob to hold the sliding bar in position
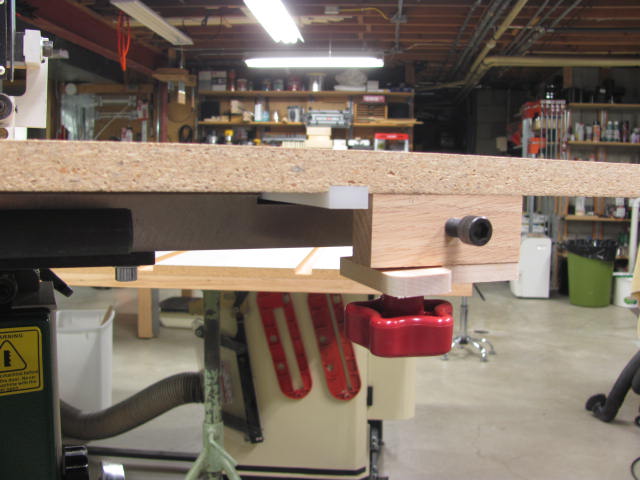
- Threaded insert and mating knob with bolt to clamp table in position
- 3/8″ bolt used for adjustable stop when positioning table
- Misc pieces of hardwood to make stop/clamp assembly
- 1/8″ diameter steel rod for circle pivot point
