Project Complete

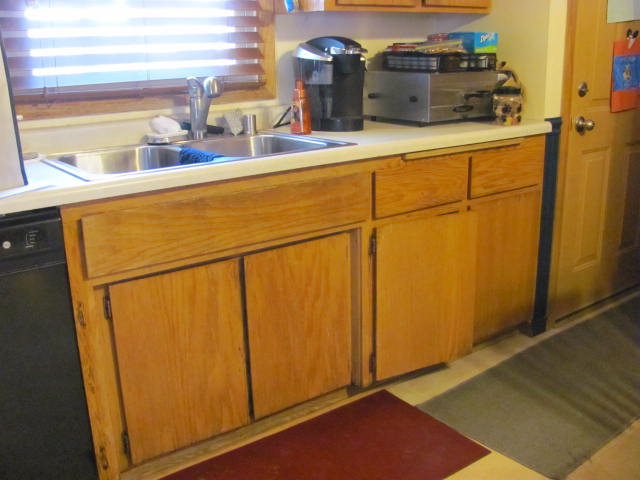
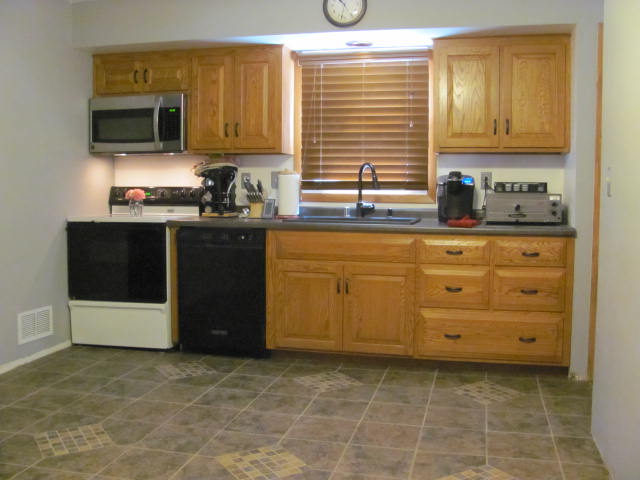
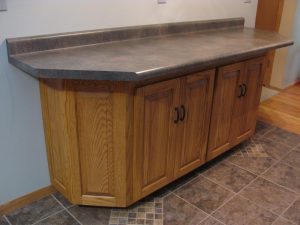
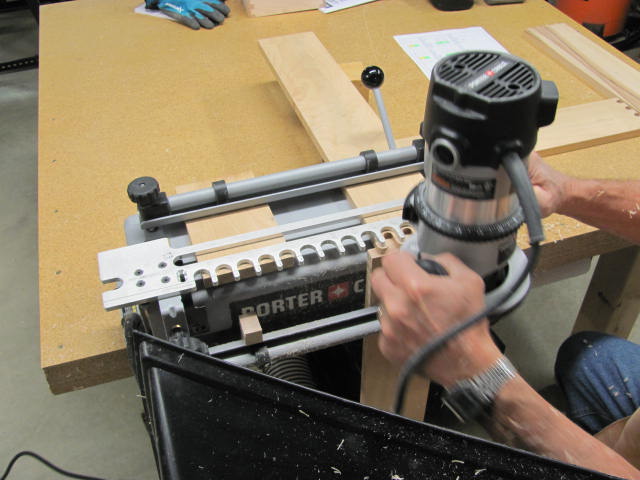
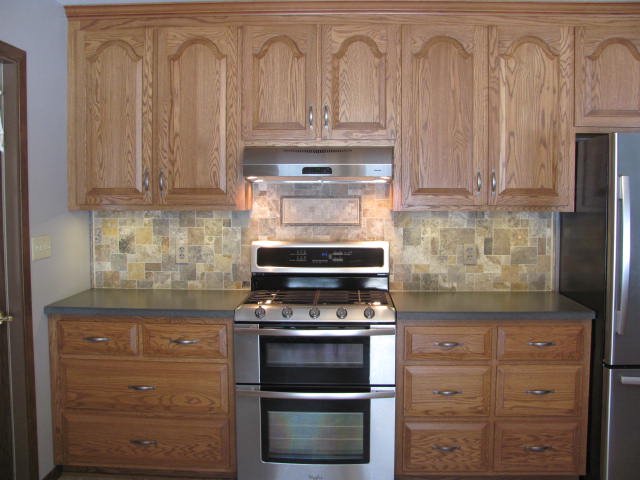
George & Stephanie’s Kitchen Remodel

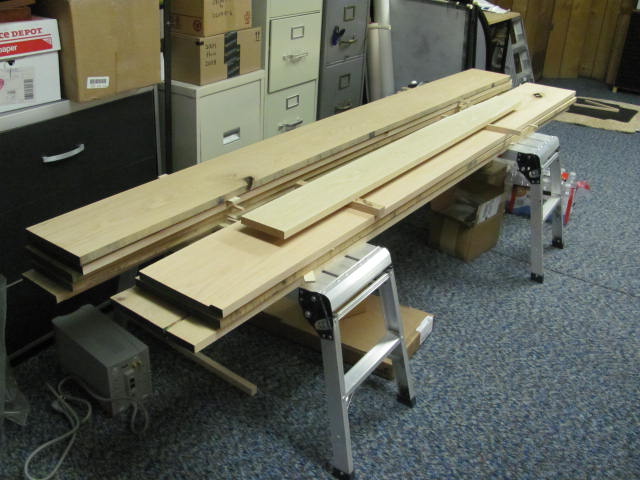
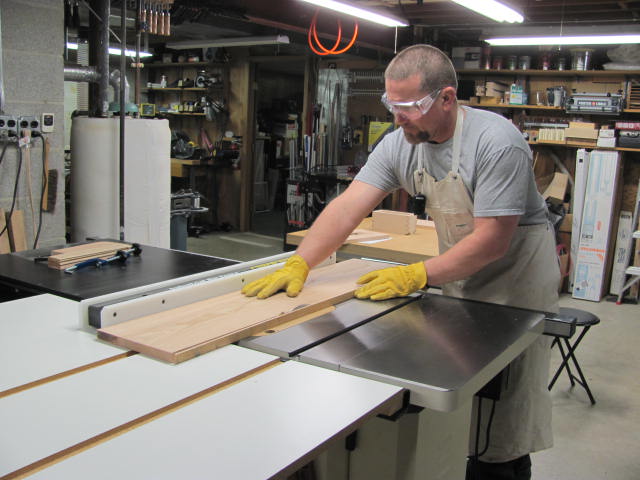
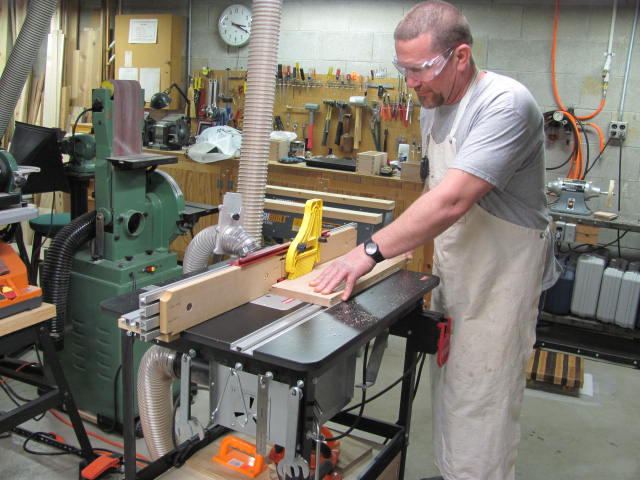
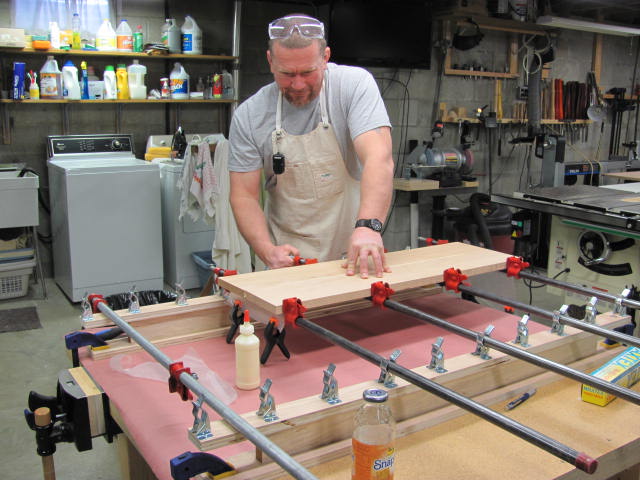
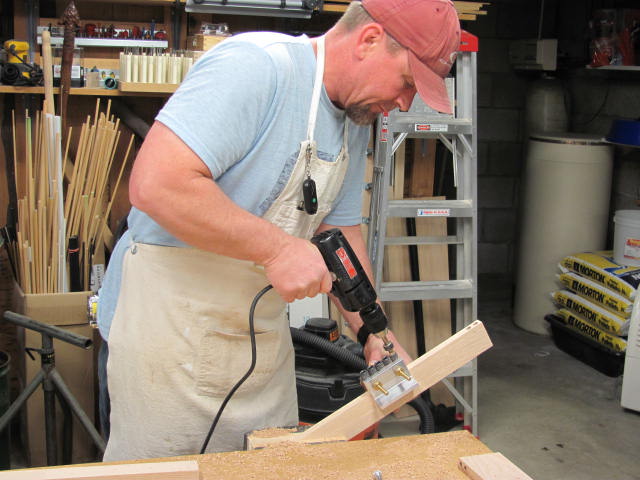
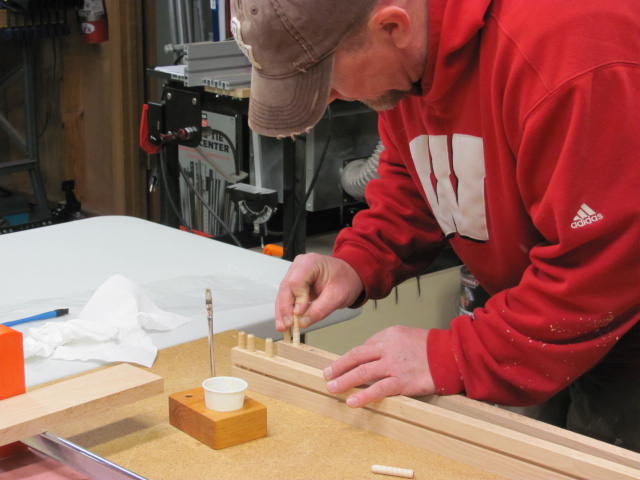
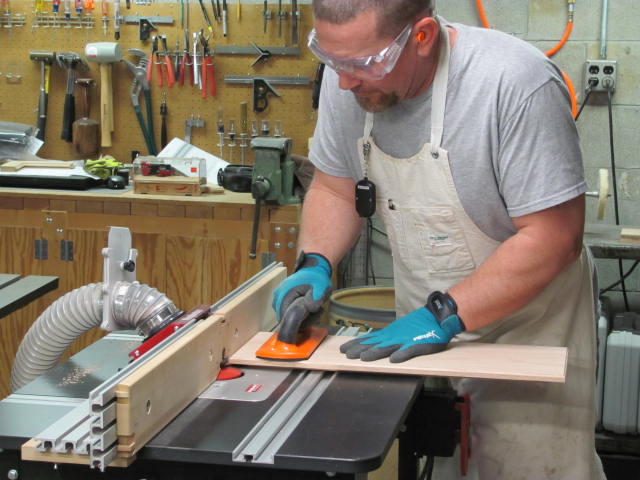
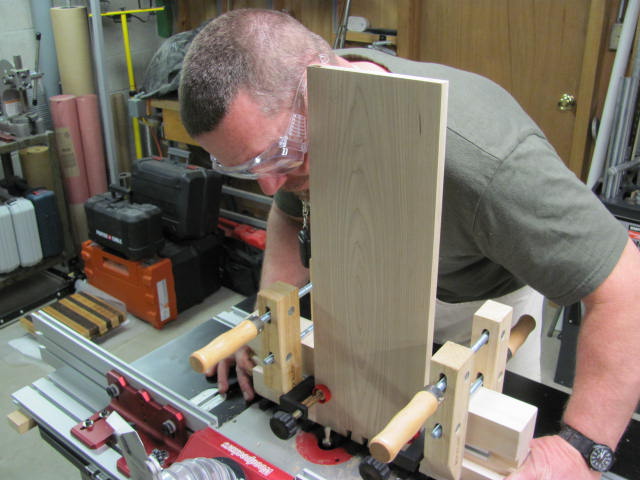
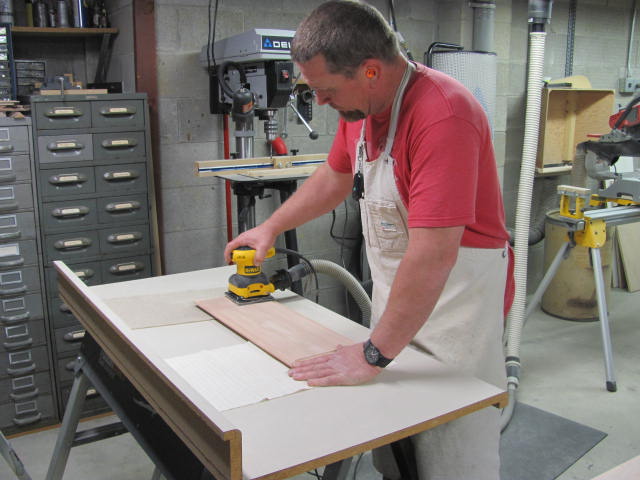
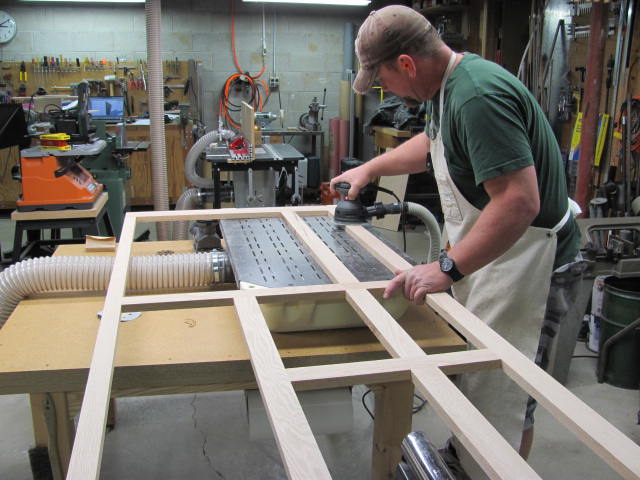
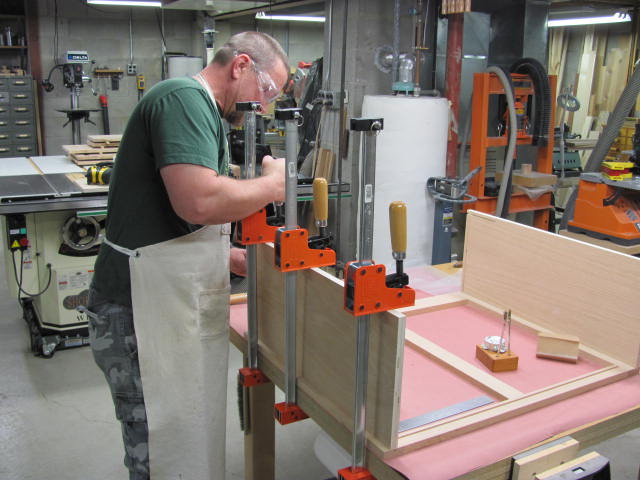
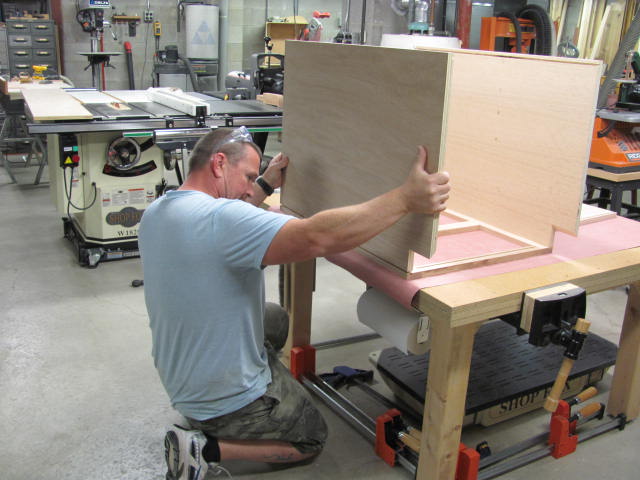
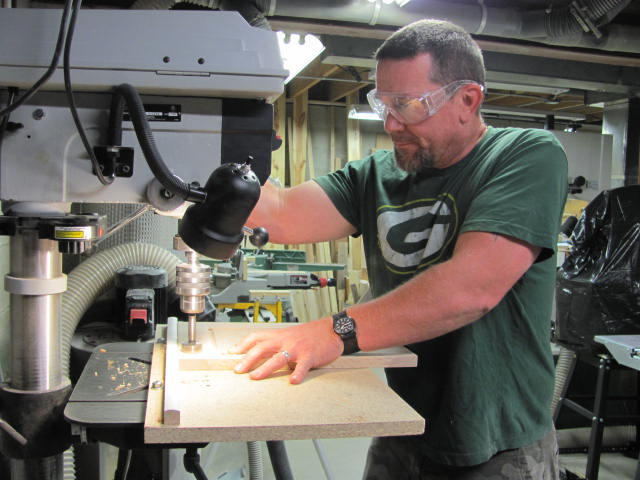
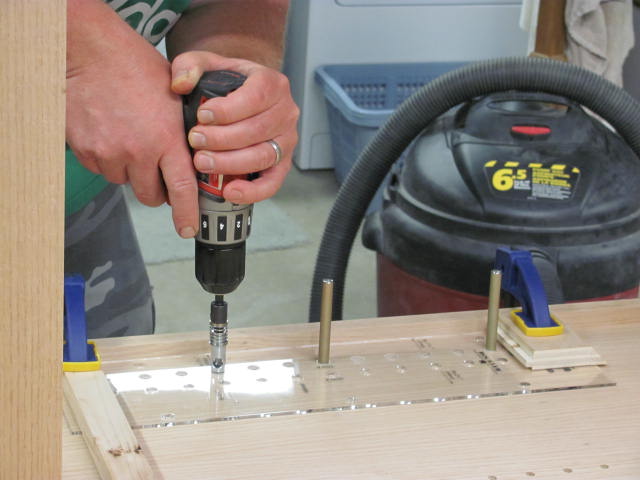
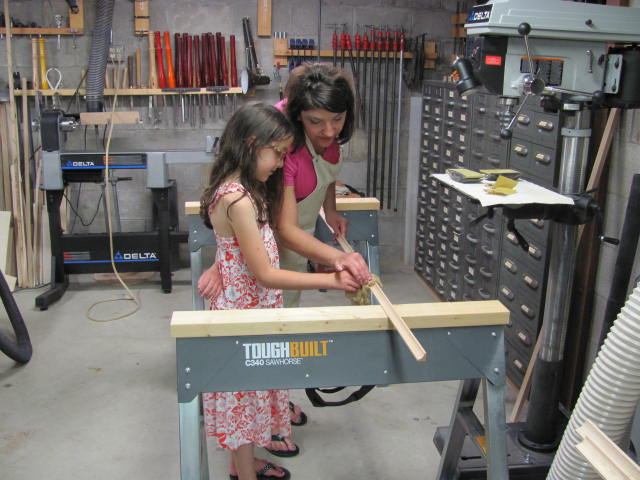
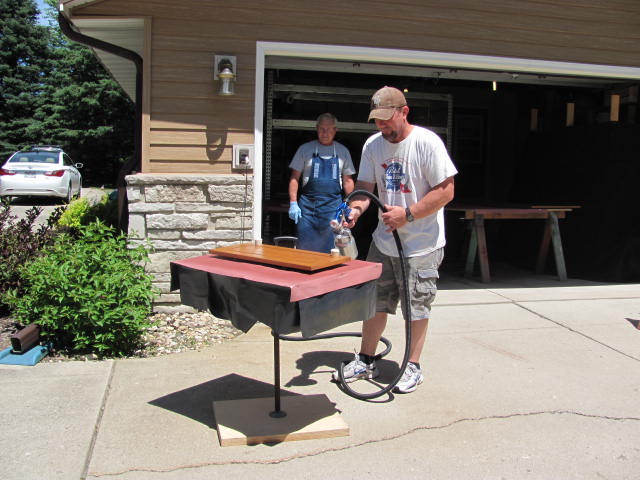
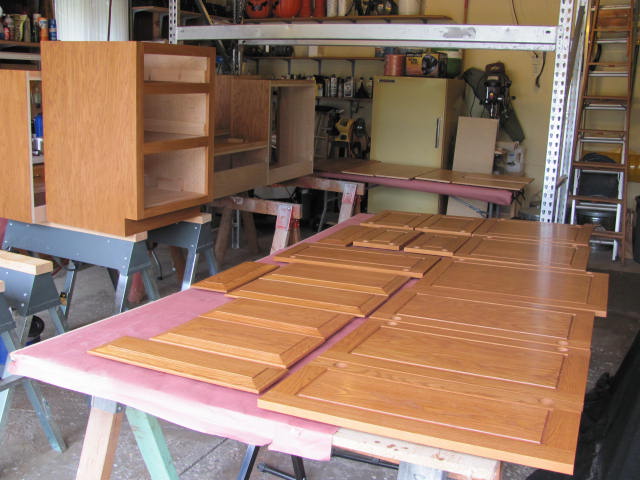
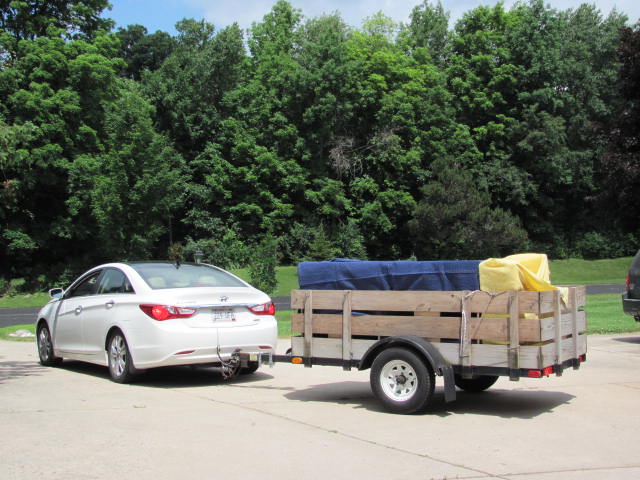
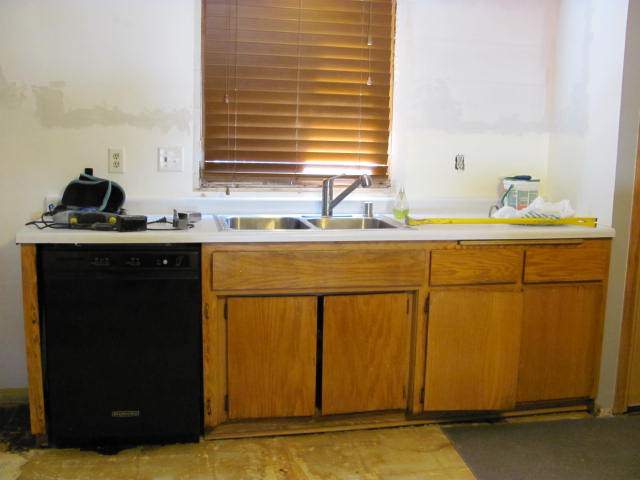
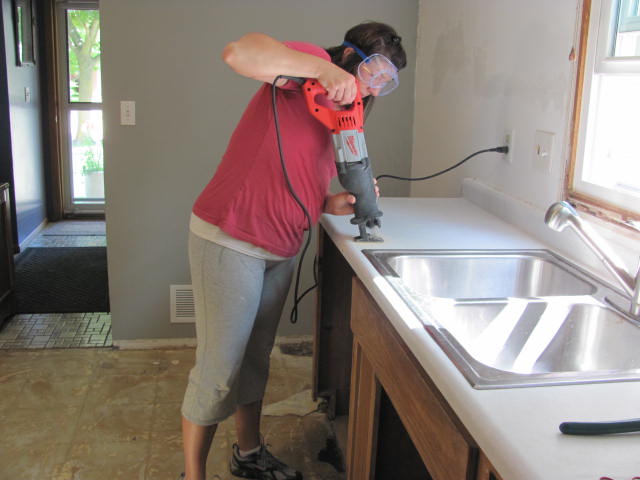
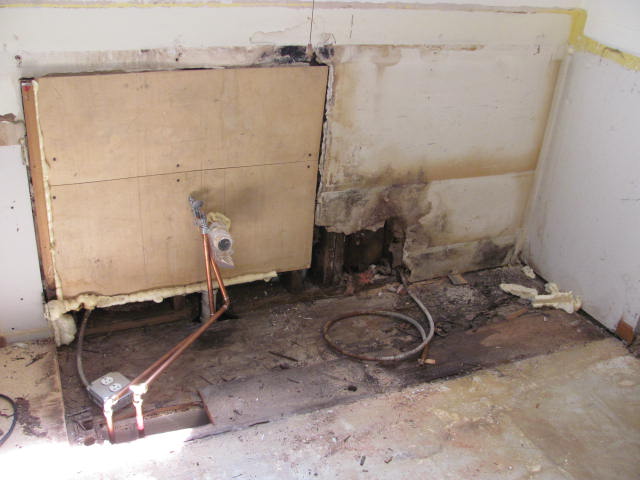
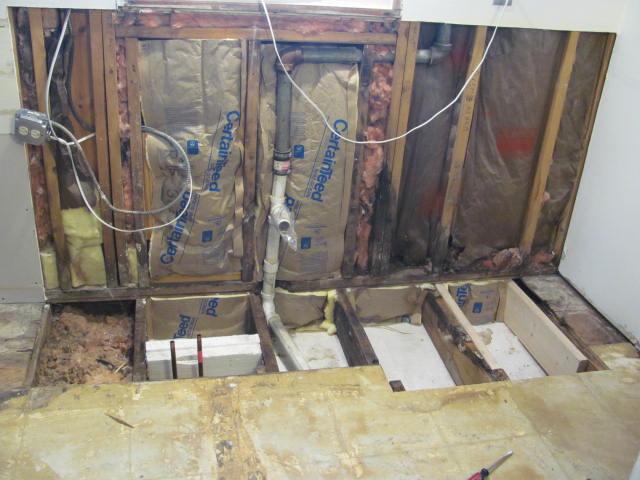
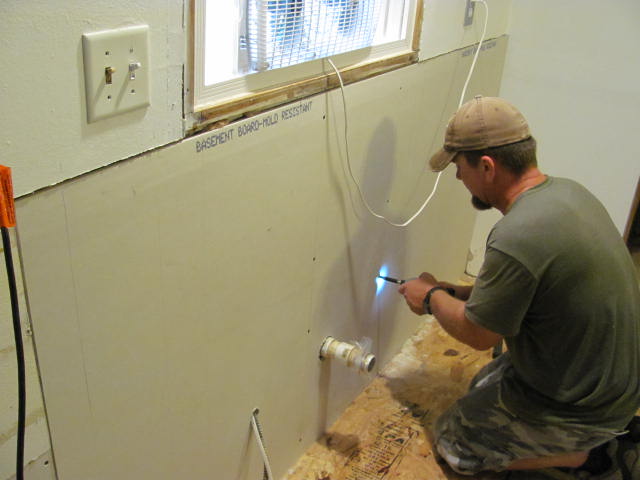
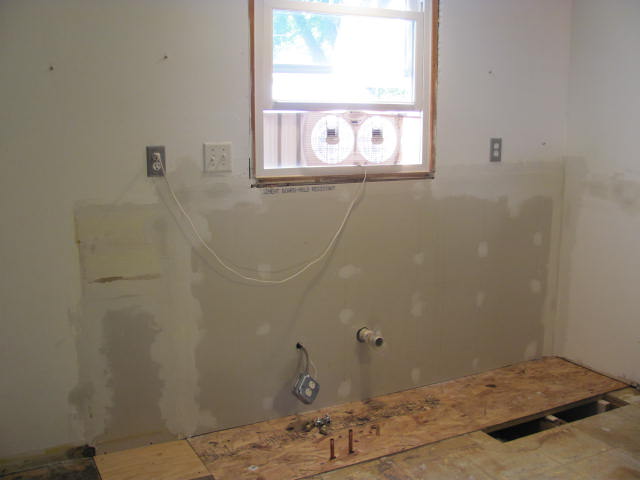
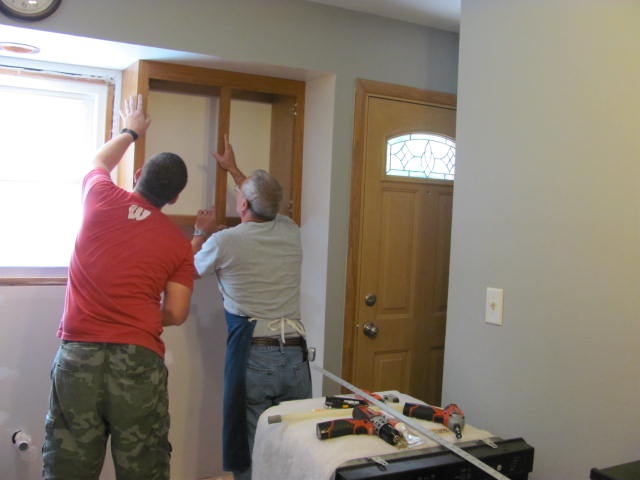
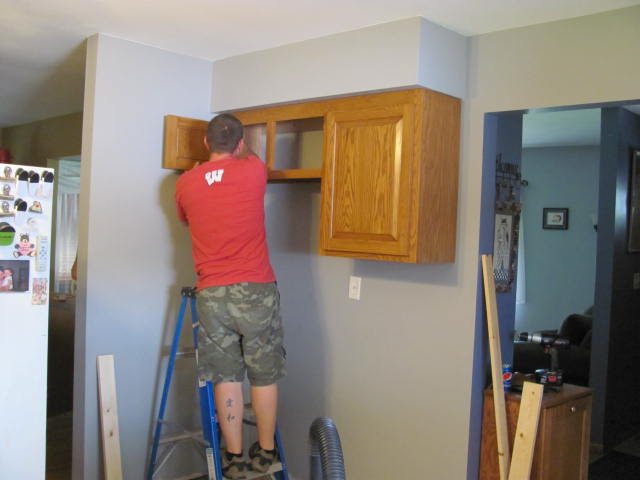
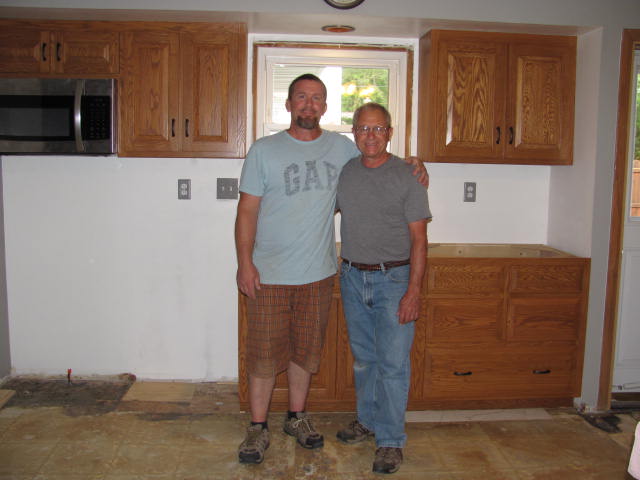
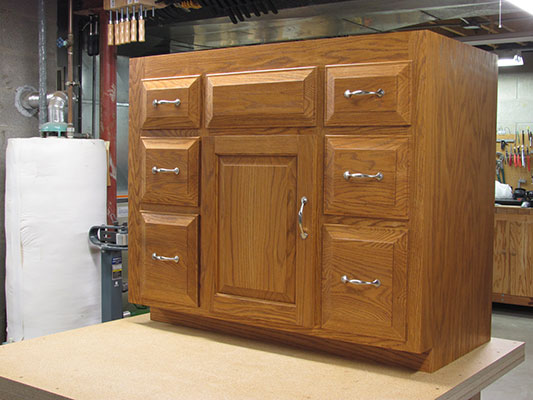
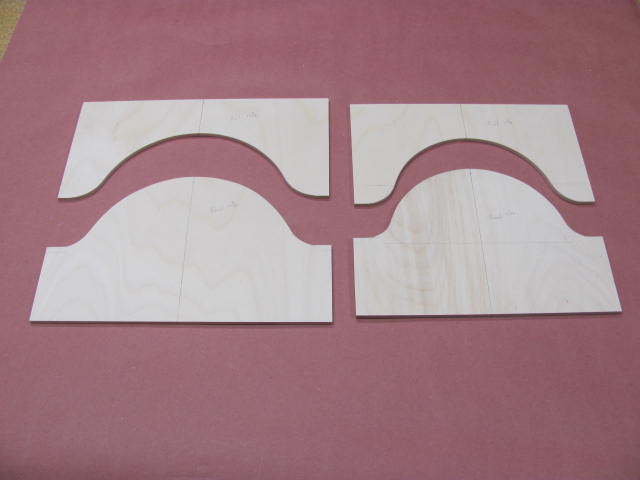
March 30, 2014 marks the day we started cutting wood for the kitchen remodeling project. Oak was selected for the wood to somewhat match all the moulding in the house. Stephanie directed the design phase by establishing storage requirements for her cookware. Additional cabinetry will be added to the kitchen area to increase the overall storage space. We hope you enjoy looking at the progress photos.

Old Cabinets
The existing cabinets had seen better days so it’s time to replace them.
Design
George enjoyed working with Sketchup to design the cabinets, taking into consideration Stephanie’s storage requirements.
Oak Stock
Oak left over from my kitchen remodel project provided material to start the project.
Miter Sawing
Taking measurements from Sketchup and a spreadsheet, a cutlist was prepared. Here George is sizing stock for panel glue-ups.
Sawing to Width
The stock was dimensioned to width at the cabinet saw.
Preparing the Edge
The edges were milled flat at the jointer then milled with a glue joint bit at the router table. This bit provides alignment and more surface area for a superior glue joint.
Panel Glue-up
The panels were glued using a jig designed for the task.
Sanding
After cutting the pieces to the proper width, they were drum sanded to a uniform thickness.
Dimensioned Lumber
Pieces cut to rough dimension waiting for additional milling and assembly.
Drilling Dowel Holes
The face frame incorporates dowel joinery. Here George is using the Dowelmax jig for precisely locating the holes on the rails and stiles.
Inserting Dowels
Gluing dowels in place for face frame assembly.
Cope Cut
Coping the door rail ends using a coping sled.
Panel Raising
Door panels were milled in about 5 passes. The back cutter was removed to mill the drawer faces.
Cutting Dovetails
Cutting dovetails using a Dovetail Wiz jig on the router table.
Sanding Door Panel
Sanding a door panel
Sanding panel end grain
A Fein Multimaster with sanding attachment makes quick work of sanding difficult end grain on a raised panel.
Gluing a raised panel door
Father teaching son the finer points of gluing up a raised panel door. To avoid confusion, the father is the guy with the gray hair.
Toe kick notches were cut using a jigsaw and temporary fence for alignment.
Toe kick notches were cut using a jigsaw with a temporary fence for alignment.
Sanding a face frame
The face frames were finished sanded to 220 grit.
Carcase glue up
All carcase members were glued together using tongue and groove joinery.
Gluing Carcase
Gluing the cabinet carcase parts to the face frame.
Door Hinges
Drilling the cup hole for European style door hinges.
Drilling Shelf Holes
The holes for the shelves were drilled using a jig.
tacking
Stephanie and Grace were a big help with sanding and tacking prior to staining. Here Stephanie is teaching Grace how to tack a piece of moulding.
Spray Finishing
George got an opportunity to apply the Urethane top coat using an Earlex HVLP sprayer.
Drying parts
Every square inch of garage space was utilized for staging and drying parts between coats of finish.
Transport
Finally! The cabinets were loaded up in the trailer and transported to George and Stephanie’s house. I get my garage and workshop back and Marilyn gets her craft area back to use on other projects.
Last Look
The old floor was removed and here is one last look at the old base cabinet before demolition.
Demolition
Stephanie had a blast using a Sawsall to cut through the old counter top.
More Work
You never know what you will find when an old kitchen cabinet is removed. Here we have water damage and a rotten sub-floor. The drywall and sub-floor must be repaired before proceeding with the installation.
Repair
George cut out the rotten sub-floor and found leaves and other debris under the floor. He also found bad joists that needed attention.
Repairs Completed
Everything was repaired and re-insulated in preparation for the new sub-floor and drywall.
Drywall
Installing new drywall.
Everything Patched Up
New drywall and sub-floor ready for sanding and painting.
Install Upper Cabinets
The upper cabinets were installed by finding the high spot on the floor plus 54″ using a self leveling laser. Since the base cabinets with counter top sit 36″ above floor level, the space to the base of the upper cabinets becomes a standard 18″.
Another Upper Cabinet
George attaching the doors to the upper refrigerator cabinet.
Partial Installation
Father and son in front of installed base and upper cabinets. The microwave oven gave us a little problem with door swing interference so we had to move the upper left cabinet over 3/8″ to correct the problem.
Project Complete
A photo of the completed project. George and Stephanie installed a ceramic tile floor by themselves to add the final touch to their kitchen remodel.
Breakfast Bar
After the cabinets were installed, George & Stephanie wanted a breakfast bar so the old man made this cabinet to finish the project. Unfortunately they were only able to enjoy their new kitchen for a short time because they sold their home in 2016. Goodbye cabinets!

Similar Posts