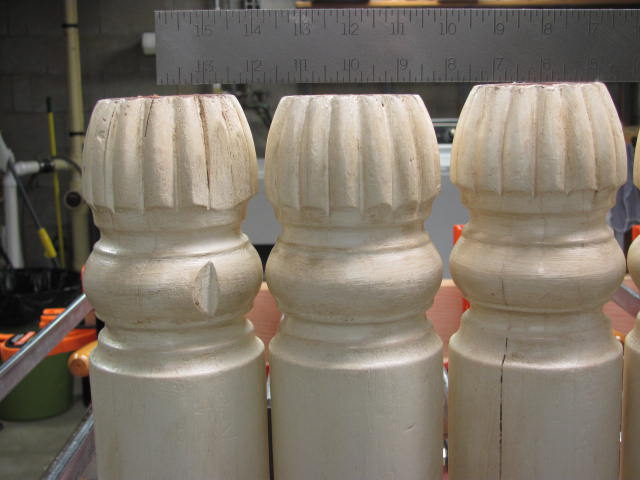
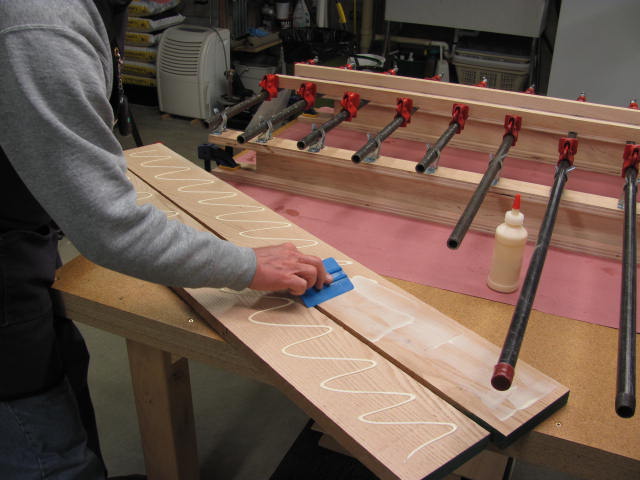
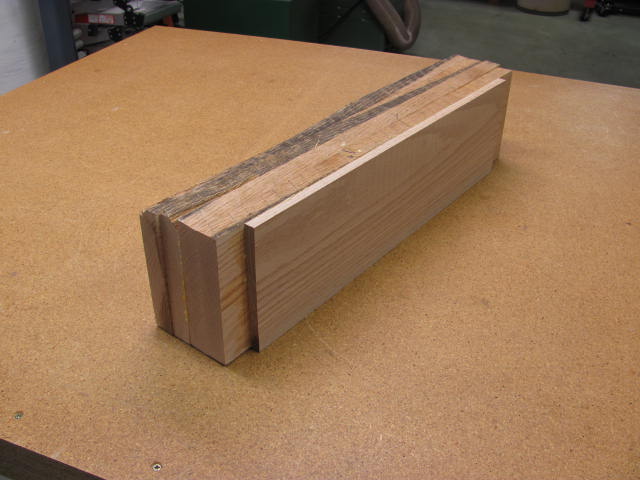
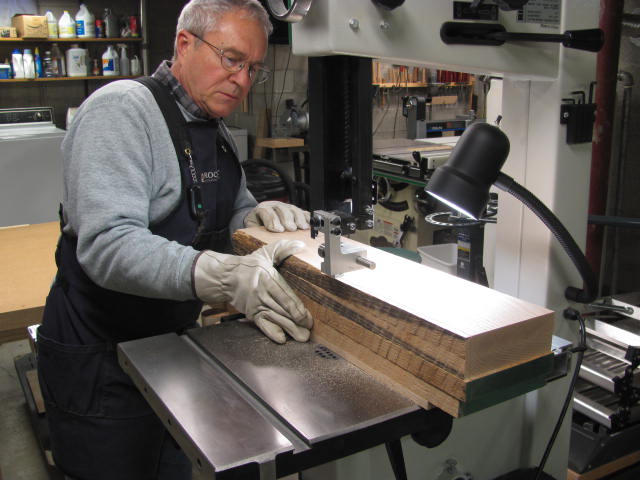
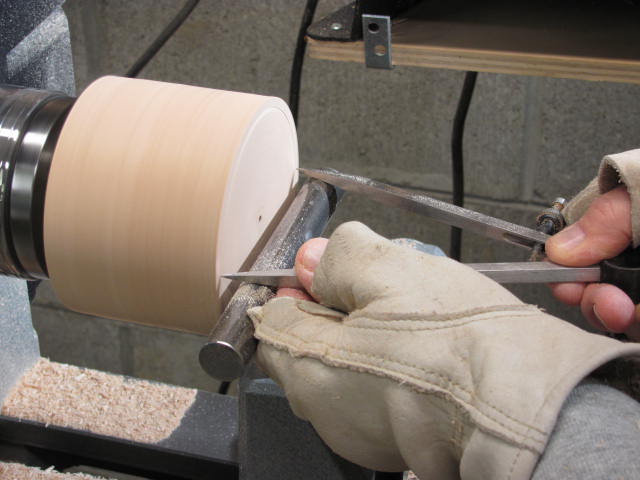
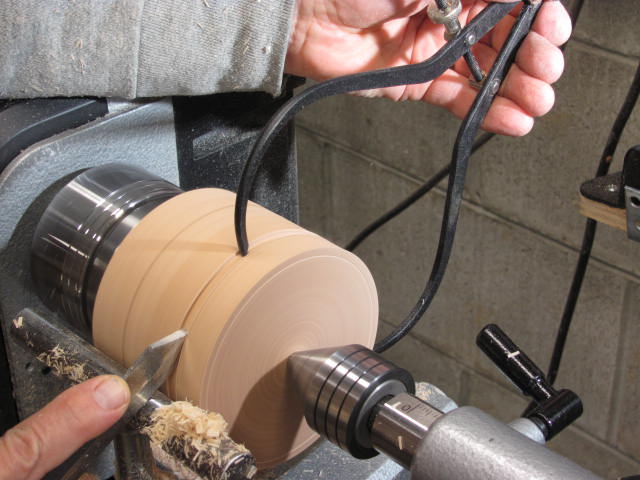
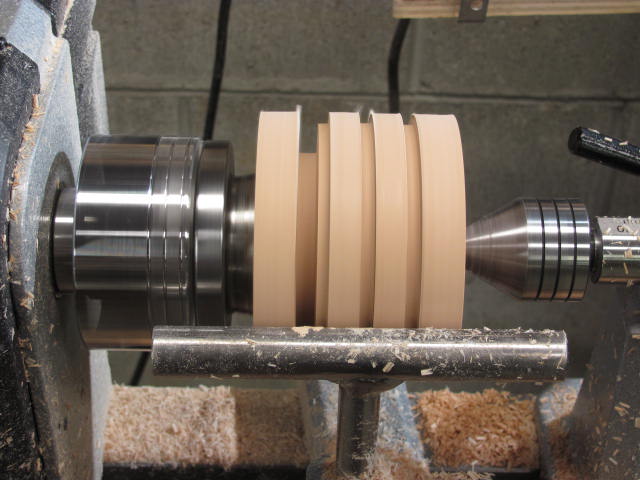
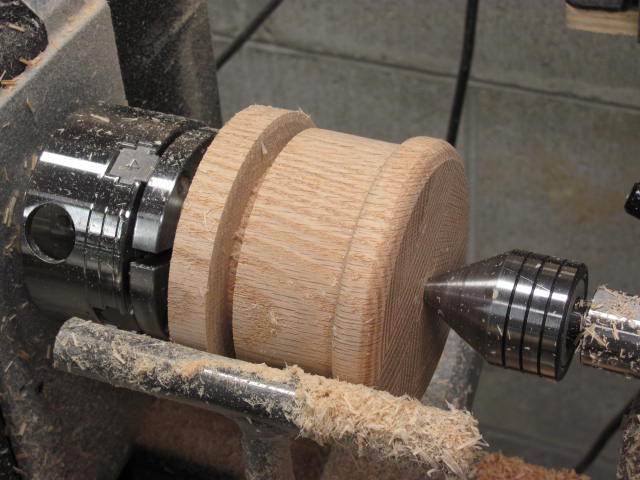
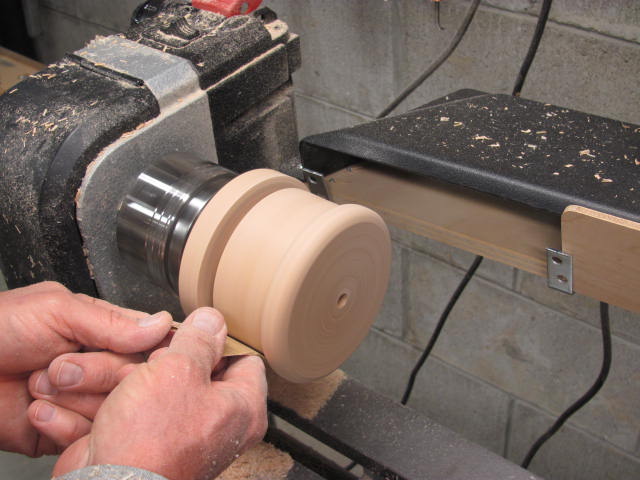
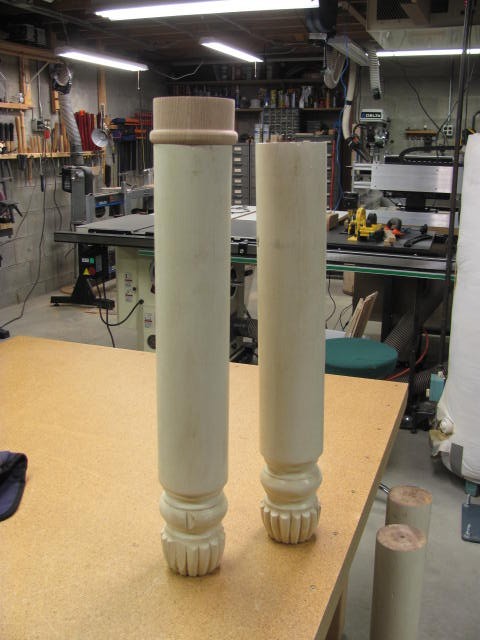
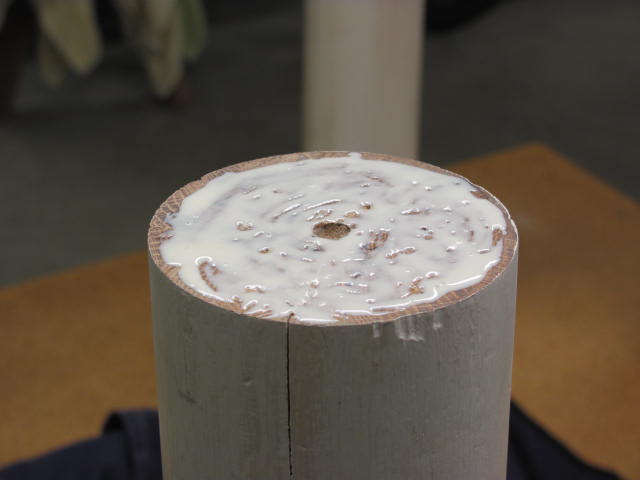
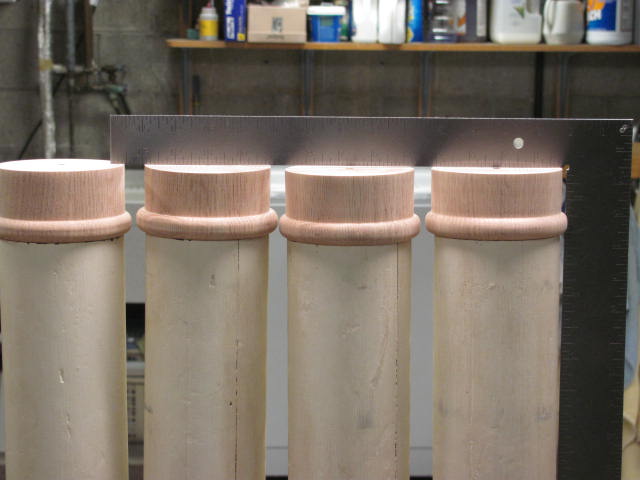
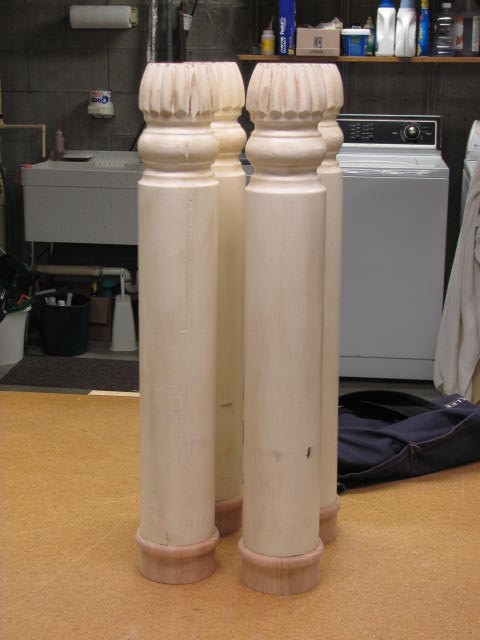
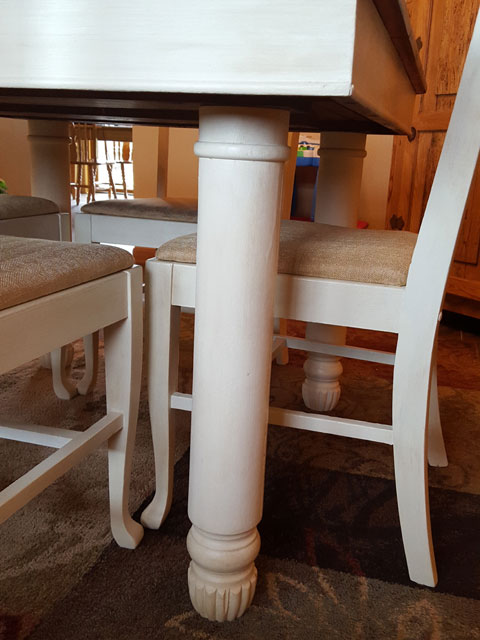
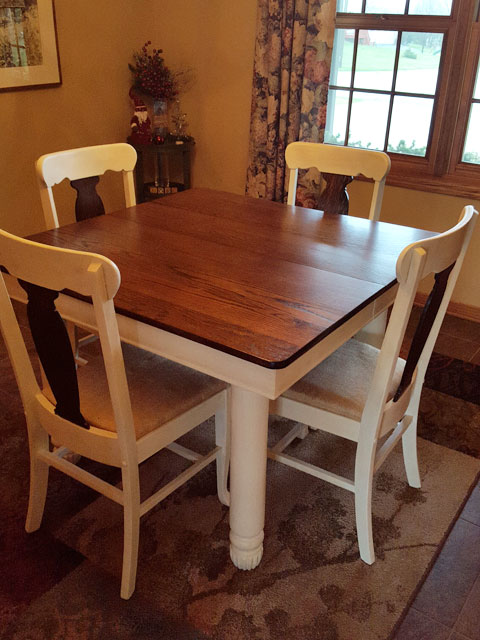
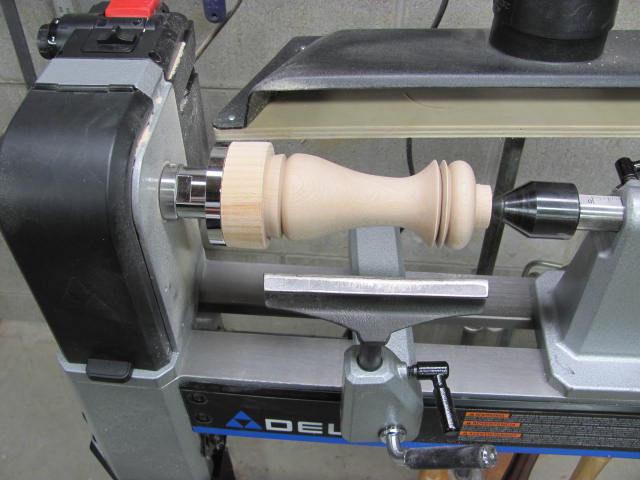
I answered an ad on a Facebook page seeking someone to do work on a wood lathe. After a few private messages, I met with the person who was re-finishing a 100 year old table that was a family heirloom. The table legs were turned with some beads, coves and flutes but they were about 2 inches short because casters were removed so the customer wanted them extended in a motif that complimented the existing style. I accepted the job and like all things involving restoration, a few surprises occurred along the way. The following photos tell the story.
The legs were not equal in length so the leg extensions needed to be different lengths to compensate.First things first. Stock had to be glued up so billets could be created that were greater in diameter than the existing legs.One of my favorite things about woodworking is watching glue dry!Glued up and ready for milling. Hard to believe there is 5 board feet of oak here.Band sawing the glued up stock.The squared stock is next cut into individual working size billets.Here is a look at the billet, the leg and the remaining stock from which additional billets will be cut.The top of the legs were not flat so I took a shaving cut on the lathe. As it turns out, this was a big mistake.As I was facing the top of the leg, I heard a ticking sound and stopped the lathe for a look. Oh no! I hit a nail and when I checked the other legs, they all had embedded metal. Lesson learned, never turn old wood before checking with a magnet.I actually buggered up two tools before I noticed the embedded metal so I had to re-grind the cutting edges.My remedy for flattening the top of the leg was to use a disc grinder. The table and miter gauge helped to keep things square.Finally, a flat surface I can work with. Notice the nasty bits of metal embedded in the wood. I have no idea why they were there because the legs are screwed into the table with a central stud. Maybe they were originally nailed to the top?OK, back to the lathe. The billet was turned round and a tenon added for chucking.Once in the chuck, the mounting hole was drilled through the stock.Because the extension diameter is greater than the leg diameter, the leg diameter was scribed on the end of the billet so I knew where to terminate the bead. The idea was to make the transition at a bead because blending to the same diameter was impossible due to the condition of the legs.The billet allowed for an oversize bead to hide the glue joint. Here the actual leg diameter is established for the remainder of the extension.Cuts were made to establish the location of the bead, the length of the part and the small diameter.The bead was formed and the remainder of stock removed to final diameter.The part was finish sanded to 180 grit. It was then parted from the waste.The extension was test fit on the leg. Looks good!The remaining parts were turned and glued to the legs. After the glue dried, three long screws were driven for added assurance that the assembly would remain intact under various forces.Here is a look at how the lengths match up. The extensions will be finished like the existing legs and the table should be a lot more stable because the legs are now equal length.Glued, screwed and ready for delivery. I asked the customer to provide a photo or two of the finished table to complete this blog page. She graciously agreed and the next two photos tell the rest of the story.The legs with extensions were finished like the table. Here is a look at the new legs as seen from a dog’s eye view.The restored table proudly sits in their home for family and guests to enjoy for another generation or two. I was delighted to have played a roll in the restoration of this family heirloom!
The Banksia tree grows in Australia and produces unique looking nuts. The nuts are harvested and sold as exotic blanks for wood turning. I have seen these in various woodworking stores so I thought that I would give it a try. I was surprised when I cut into the nut so I took a few…
There are many ways to cut captive rings and specialty tools are sold to accomplish the task. I decided to make my own captive ring tool from an Allen wrench, the tricky part being the shape of the grind. I tried many different shapes without success before hitting one that worked. The various grinds were…
There was an article in the Dec/Jan 13 issue of Woodcraft Magazine describing how to make salt and pepper mills using mechanisms purchased at, you guessed it, Woodcraft stores. This looked like something that would make nice gifts for Marilyn’s side of the family because they were invited to our house for a Christmas party. …
One of the great things about wood turning is the variety of things that you can produce on the lathe. Each piece is unique because you, not a computer, control the tool. The way the wood is mounted in relation to the grain determines the tools used to accomplish the task. Lidded boxes are end…
I had a nice piece of Walnut that was dry enough to try my hand at turning a natural edge bowl. Not just a natural edge bowl, but one that wasn’t round, instead elongated which meant that I would be turning “air” as the cut was interrupted 4 times per revolution until I was deep…
Very Impressed! Those two words sum up my impression of the 2018 Vectric User Group Meeting held in Chicago. It was thoroughly enjoyable to meet the Vectric staff and others with whom I’ve met on the Vectric Forum the past few years. I went more for the “people” aspect than education but both were splendid….