Perspective View 1
|

Recipe Box

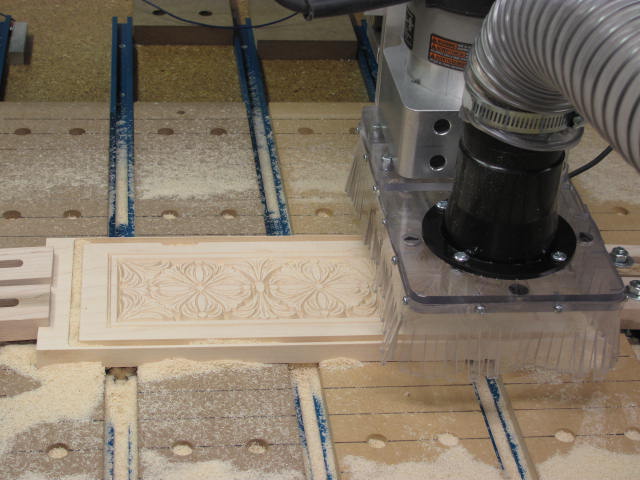
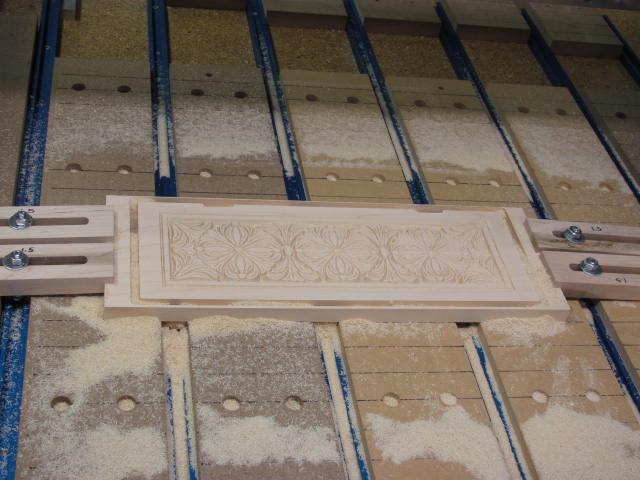
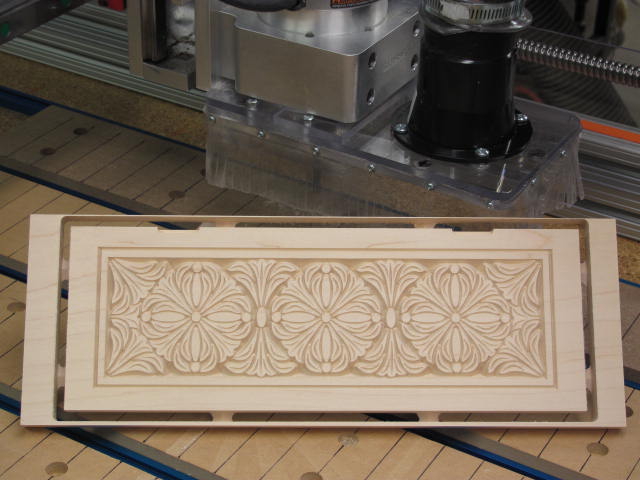
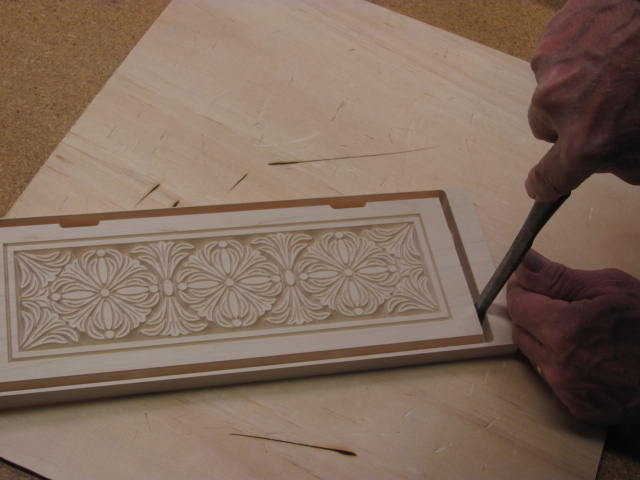
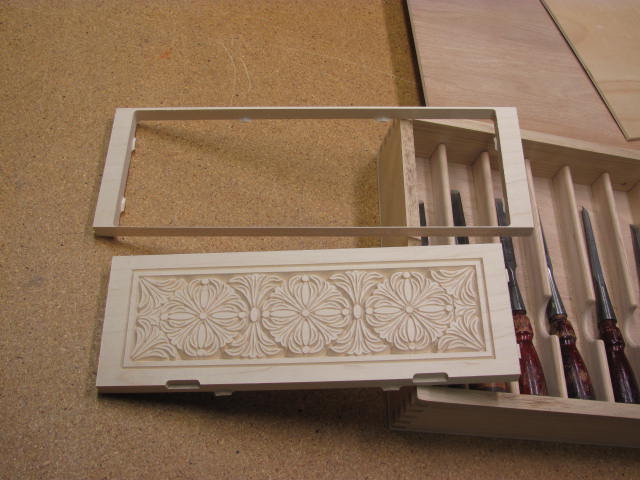
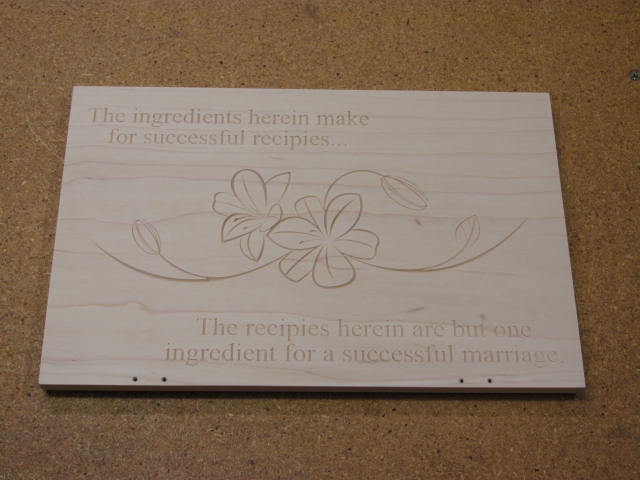
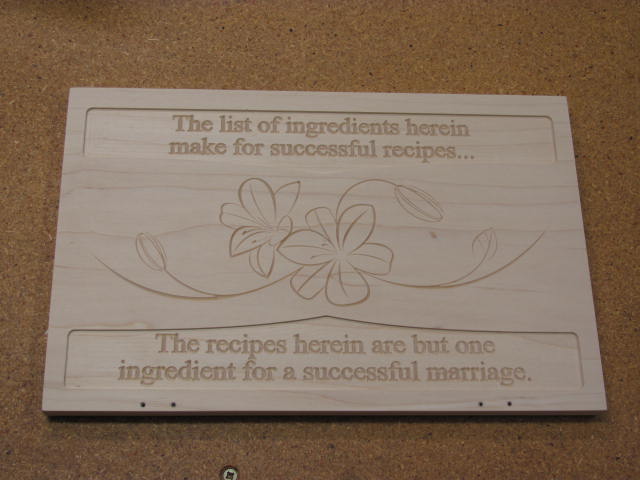
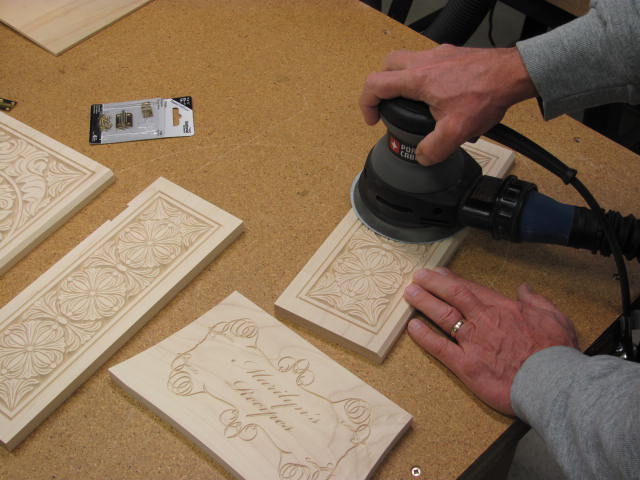
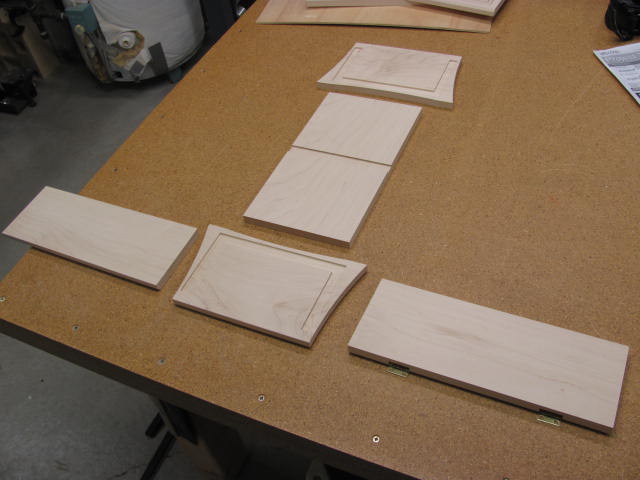
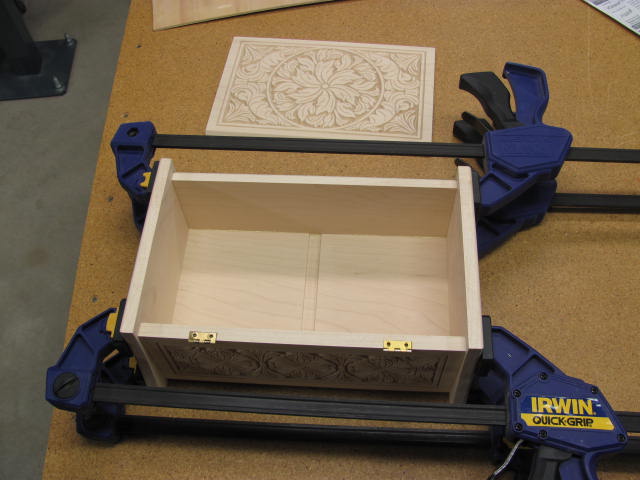
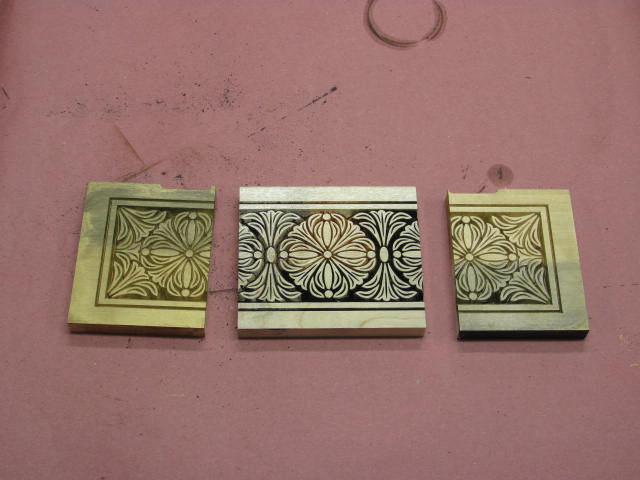
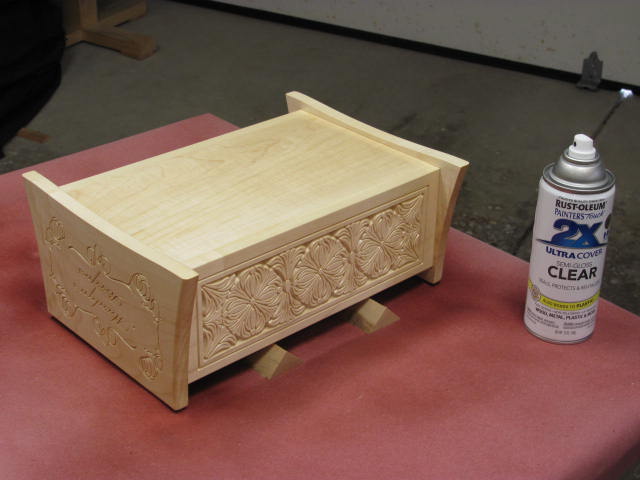
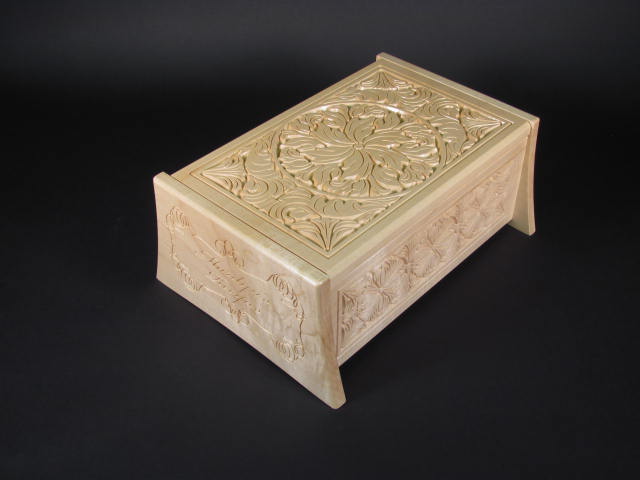
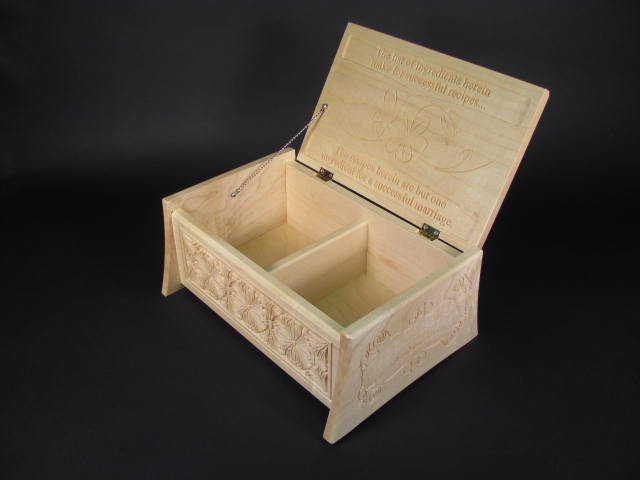
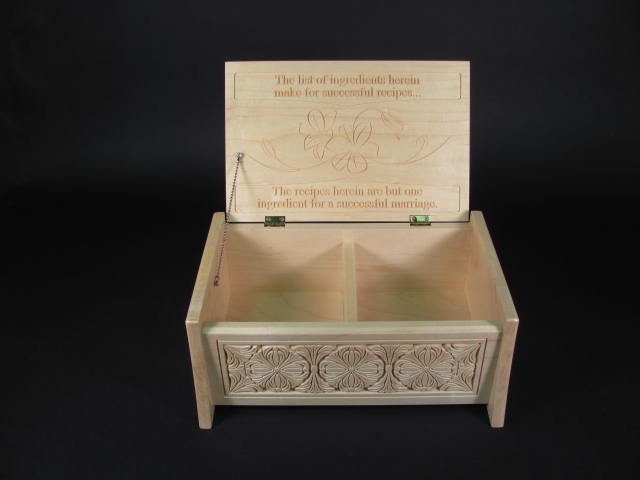
I was fascinated with Michael Tyler’s Paradise Box project on Vectric’s website so I decided to use his design and customize it for my wife Marilyn. Michael’s plans were modified to account for thinner stock and the sides were custom carved and given a gentle arc. Additional V-carving was done on the inside lid to give it a personal touch. I’ve attached a video to the first image showing the CNC machine in operation because a lot of people have no idea what a CNC router looks like. I am very pleased with the finished piece and I’m certain that the recipe box will become a family heirloom.


CNC Routing
After the design was modified, tool paths were generated and the CNC router went to work. Here we see the back panel being cut out after the decorative V-carving was completed. Click on the picture to view it in action.
One Panel Completed
After the V-carving and cut out operations were completed, the panel is ready to be un-clamped from the machine bed.
Holding Tabs
Tabs are programmed into the cutout tool path to keep the part from getting damaged when the panel is cut through. Clamps on the waste side of the cutout hold everything secure.
Cutting the Tabs
The panel is separated from the waste by cutting the tabs with a chisel. The tab remnants were sanded flush using a stationary belt sander.
Panel and Waste
Here is a look at the panel and the waste after the two were separated.
Mortise Cleanup
The corners of the hinge mortise had to be squared by hand because the router bits are round and therefore leave radiused internal corners.
Inside Lid - First Attempt
The inside of the top was carved with a flower design and a custom inscription. Oh no… I misspelled “Recipe”. I didn’t want to re-cut the entire panel so I milled off the text and re-cut the text in the pocket.
The Fix
Here is a look at the fix to my misspelling. There is a singular-plural syntax error in the phrase but I decided not to worry about it.
Finish Sanding
All the panels making up the box required sanding to remove burrs left by the routing processes.
Detail Refinement
The intricate V-carved top panel receives a little TLC with a dental pick.
Parts Ready for Assembly
Here is a look at the part layout before gluing.
Box Glue Up
Glue was applied and the box was assembled and clamped.
Testing Various Finishes
I wanted to fill the V-carving with a contrasting color but all of my attempts failed. I cut a goofed up panel into three sections for testing and after seeing the results, I decided on a clear coat instead.
Clear Coat Finish
The box was finished with 3 coats of a lacquer type spray coating.
Perspective View 1
A closed lid view of the finished recipe box.
Perspective View 2
An open lid view of the finished recipe box showing the divider in place.
Front View
The front view of the finished recipe box. A chain was added to keep the lid from opening too far.

Similar Posts