In an effort to understand kinetic motion drive mechanisms, I purchased a Clayton Boyer plan titled “Zinnia”. Dr. Boyer sells plans in two formats, DXF files for CNC machines or paper plans that can be cut on a scroll saw. I built Clayton’s Number 6 clock a few years ago and it works very well, keeping almost perfect time. I cut my Number 6 using a scroll saw but now that I have a CNC router, I cut Zinnia on that machine. The DXF files needed a little CAD work prior to generating tool paths because some of the vectors were open. This is nothing that any decent CAD program can’t handle so not to worry. Anyone interested in Clayton’s plans, check out his website lisaboyer.com/Claytonsite/Claytonsite1.htm.
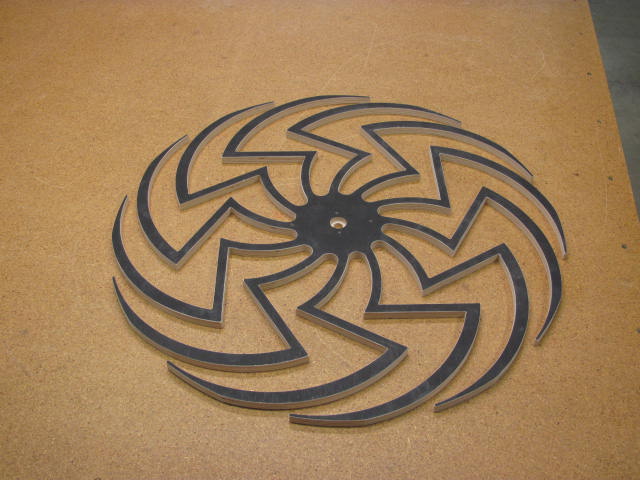
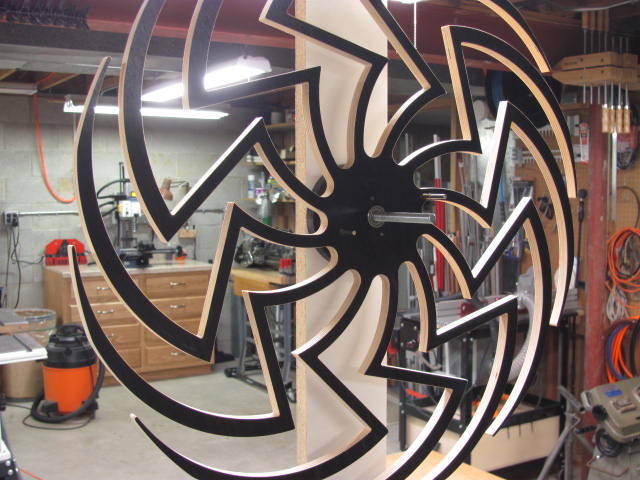
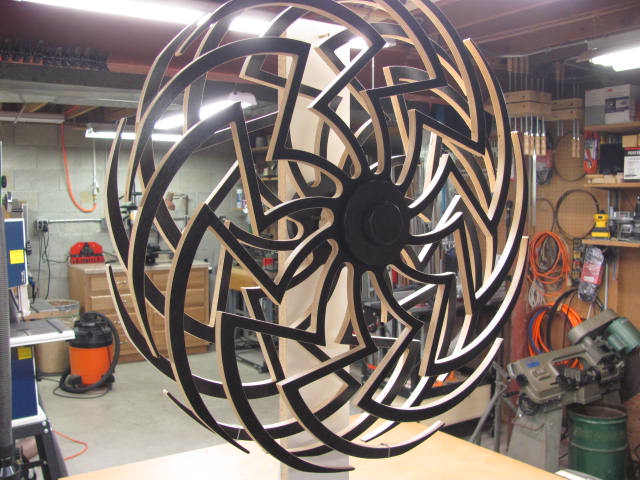
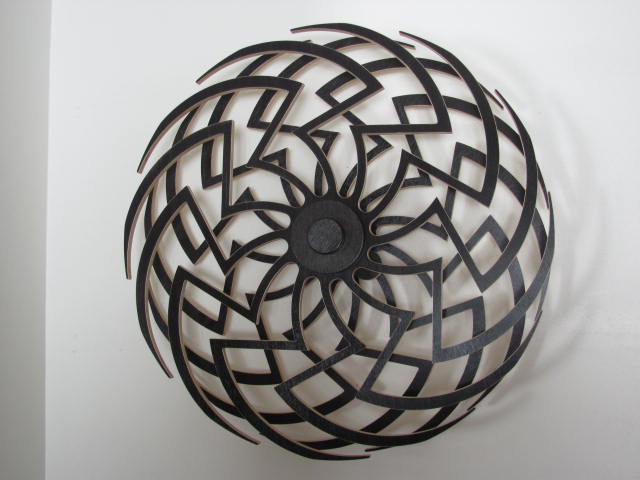
Zinnia is a kinetic sculpture that is spring driven on a single shaft that has two counter-rotating sculptures that deliver a visual moire effect. The wheels are 24″ in diameter which tax the limit of my CNC machine table. The following photos should be of interest to people considering making a kinetic sculpture.
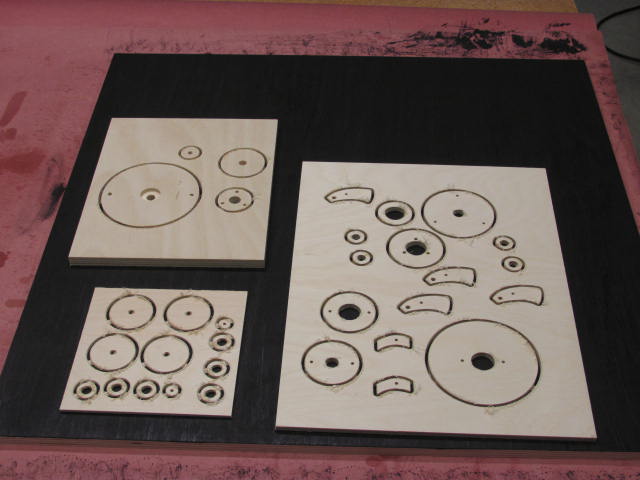
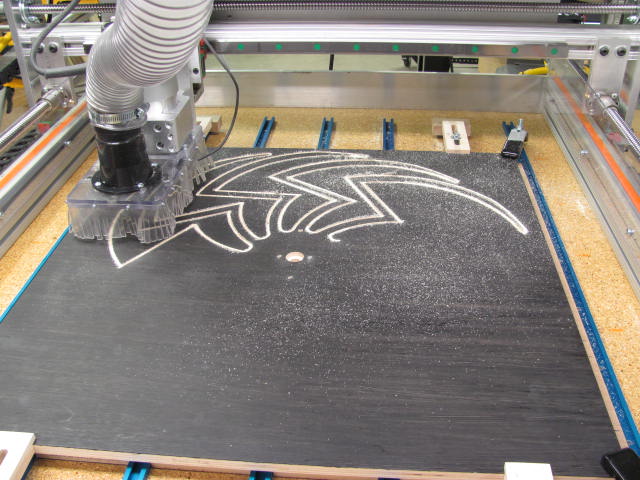
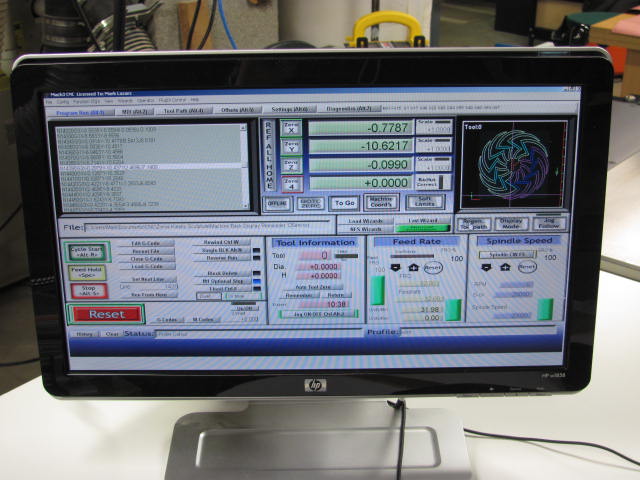
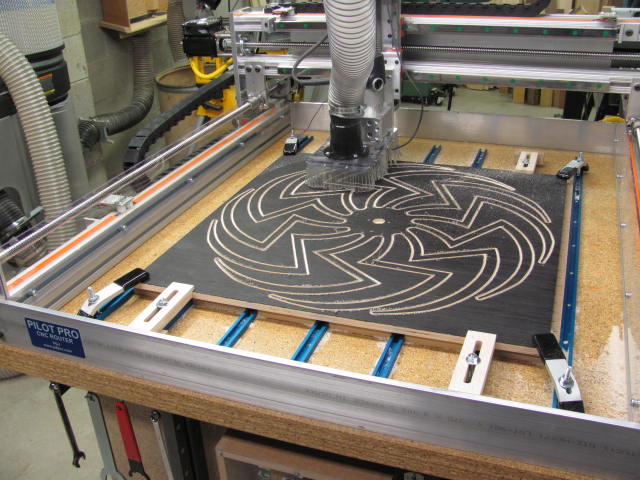
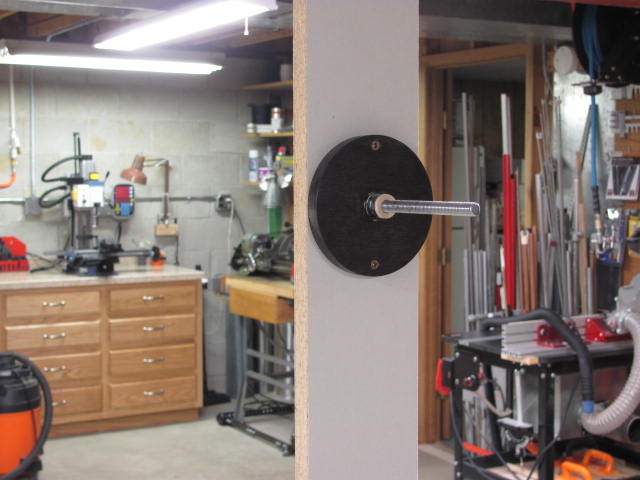
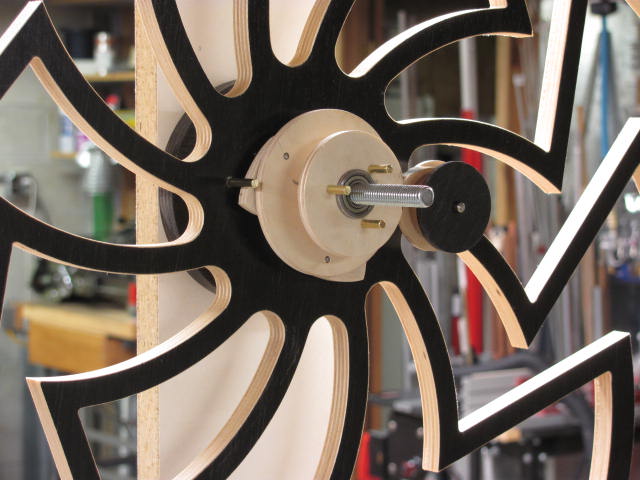
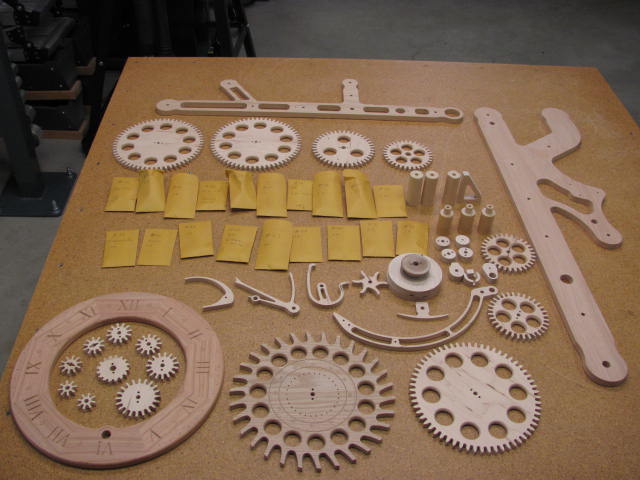
Small parts were nested based on thickness. The plans called for three different thicknesses, half, quarter and eighth inch.The large wheels were cut from half inch thick Baltic Birch plywood using an eighth inch two flute end mill. I get good results using a speed of 32 ipm with a plunge rate of 20 ipm at 20K RPM. I used the CNC to make alignment holes, click holes and counter-bores for the bearings prior to the final profile cut. I stained the facing side prior to cutting because it was easier staining a large flat panel than staining a delicate, intricate part. A little touch-up with marking pens took care of chipping.A view of the Mach3 screen as the wheel was being cut.Here is a look at the part as the final cut is nearing completion. At my feeds and speeds, the part took about 1 hour and 20 minutes from start to finish.The part is held in place using tabs connected to the waste as the cut is being made. When finished, the tabs are cut using a chisel and then cleaned up by hand sanding. This operation took longer than the CNC machine took to cut the part.The shape of a flywheel after separating it from the waste. The sculpture is destined to be mounted on a light colored wall so the wheels were stained black.Fast forward to when all the parts were cut out and finished. The wall mount with the stud is shown in the photo.Next in the stack is the rear wheel.Next comes the spring driven motor drive.The final part of the sculpture is the front wheel and cap.
Click on this picture to see a YouTube video of Zinnia in action.
After purchasing my Excalibur 21″ scroll saw, I decided to order plans for a wooden clock from Clayton Boyer. I selected the “Number Six” clock because Clayton’s website indicated it was for beginners with no clock experience. Most of the clock components were made from Baltic Birch plywood because of it’s stability. The plans were…
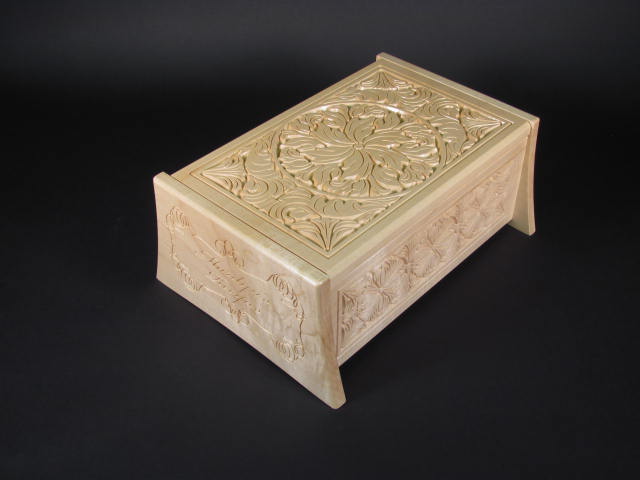
I was fascinated with Michael Tyler’s Paradise Box project on Vectric’s website so I decided to use his design and customize it for my wife Marilyn. Michael’s plans were modified to account for thinner stock and the sides were custom carved and given a gentle arc. Additional V-carving was done on the inside lid to…
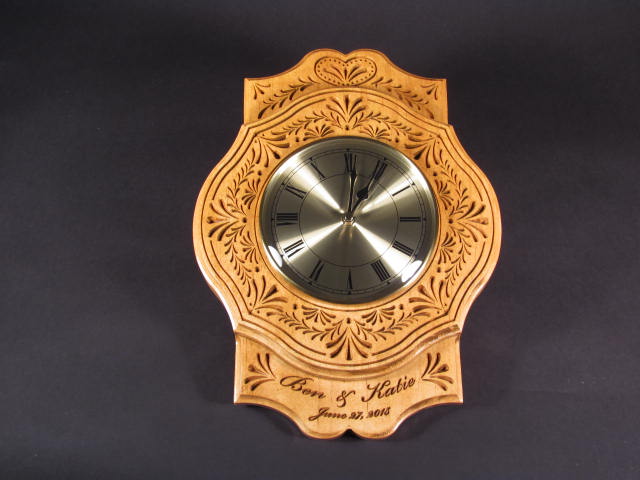
As I gain more experience with the CNC router, I am trying different projects both as a learning tool as well as making interesting items. This blog details some of the steps in the manufacture of a Dutch clock mimicking the style of Tole painting. I downloaded the free project from Vectric’s website and modified…
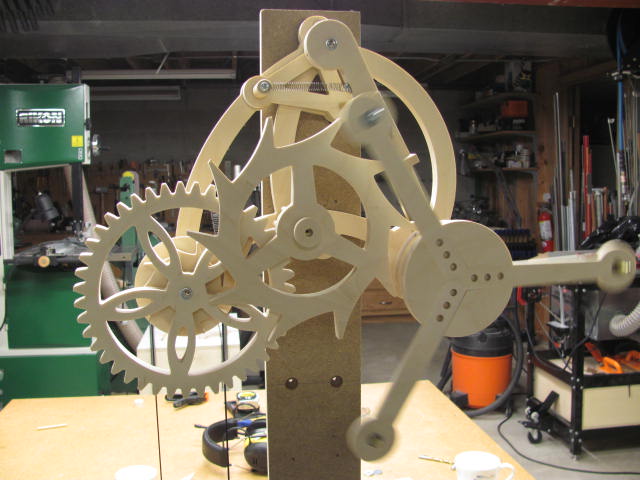
Brian Law’s Clock #24 is a wonderfully designed wooden clock with a gravity escapement that is fascinating to watch. This was my most challenging clock to build as of May 2016 because it required metal machining and CNC tool path tiling. Tiling was required because the clock frame was longer than the bed of my…
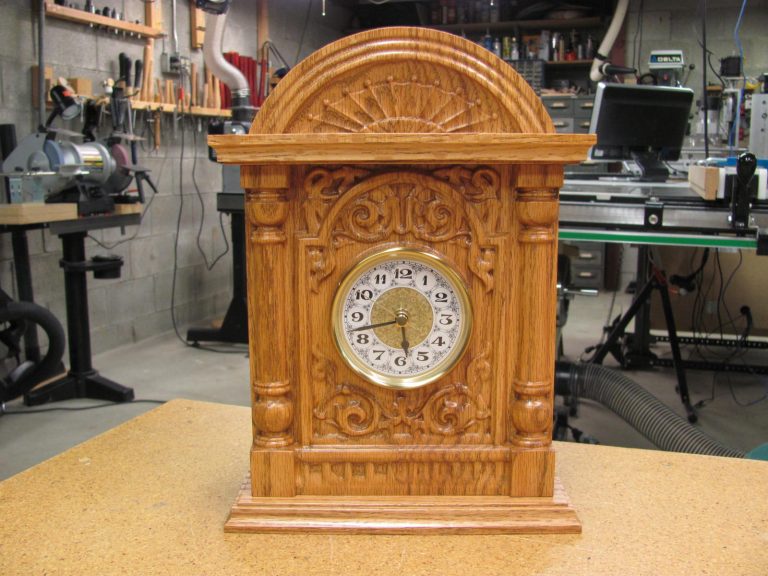
I upgraded to Vetric’s Aspire CAD/CAM software because of my interest in 3D CNC carving. This mantle clock was built from free plans provided by Vectric. I have built other items from their monthly plans and have found them to be fun and useful for learning about vector creation, component creation and tool path generation….
Since I now own a CNC router, I can easily cut complex parts if I have a DXF or DWG file as a starting point. I am fascinated by wooden clocks, escapements and kinetic sculptures. 2016 marks the year that I decided to delve deeper into how these devices are designed and put together. There…