Honing

Tormek – First Impressions

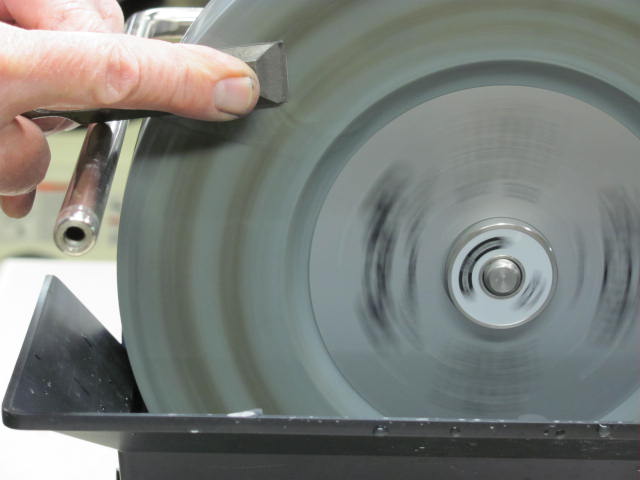
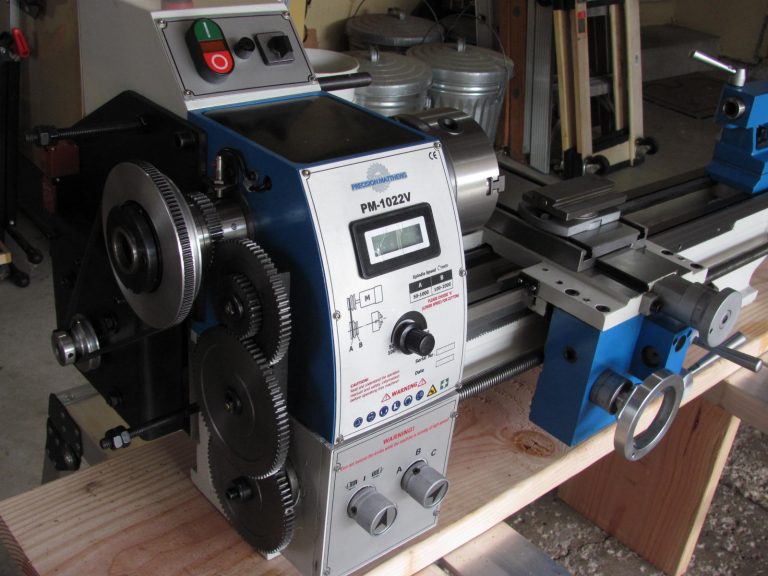
Before I purchased the Tormek T7, I studied YouTube and manufacturer videos, read discussion forums, looked at PDF documents and the like to be certain that I wanted to make a significant investment to have sharp tools. I have enough experience with my wood lathe to know the importance of sharp, reproducible gouges, skews, parting tools and scrapers. Prior to the Tormek, I used One Way’s Wolverine sharpening jigs and have to say that they work extremely well for obtaining edges off a dry grinder. Since my tools were initially shaped on a dry grinder, I decided to get Tormek’s BGM-100 universal mount for the dry grinder to take the burden of shaping off the Tormek’s grindstone. If anyone is considering the Tormek system, I highly recommend that you do the same because Tormek excels at sharpening but is very slow at shaping.

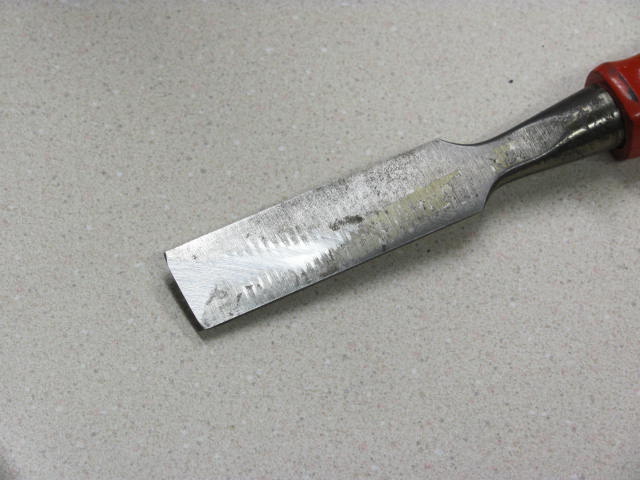
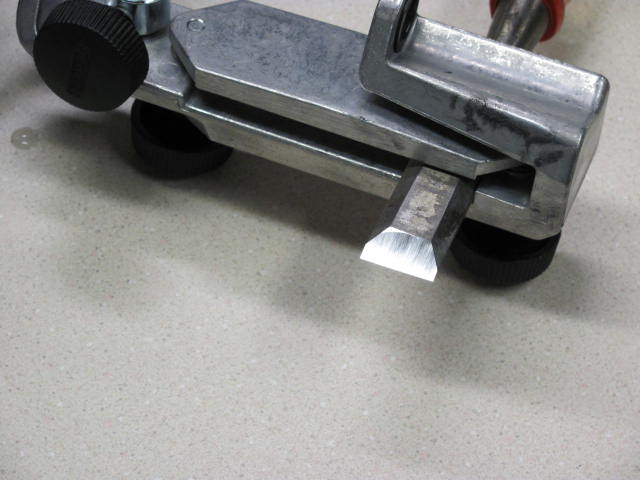
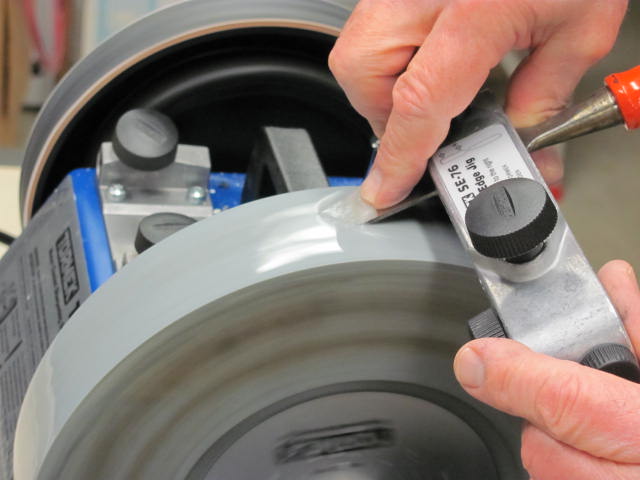
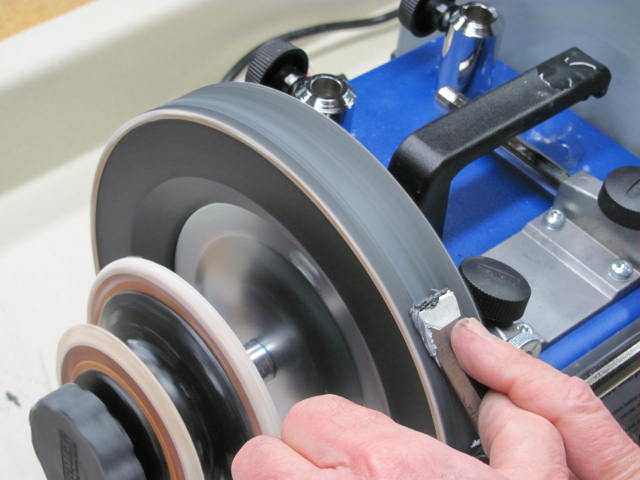
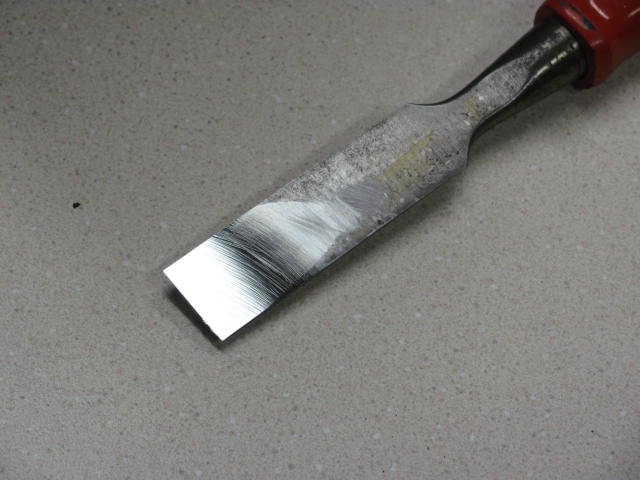
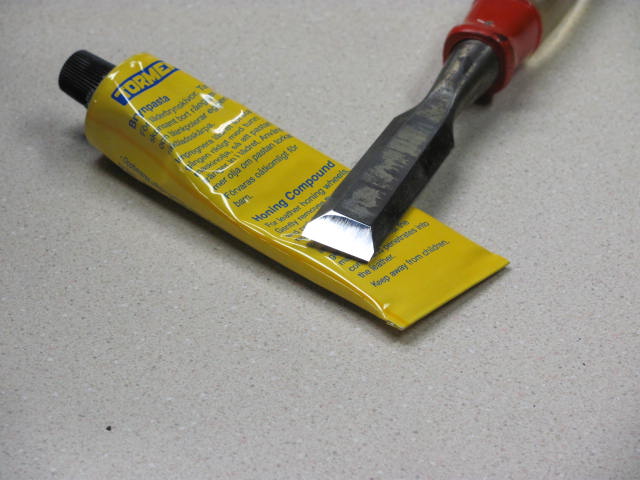
The following photos show how I did with an old, cheap wood chisel that I used to practice. I didn’t have the BGM-100 for the grinder yet so the shaping was done on the Tormek and although the chisel was close to the proper angle, it was painfully slow to bring it into spec. Several Tormek website forum participants made comments about having difficulty with one or more aspects of using the Tormek but my impression is that anyone can successfully use it if they have any experience with sharpening.

Beat up chisel
Old, cheap chisel that has been abused.
Flattening Back Side
The back side of the chisel was flattened against the side of the stone. It takes some re-positioning to get the feel of where to hold the chisel and at what angle to the axis of the stone.
Grading the stone
The stone was first trued using the diamond then graded with the roughing stone to obtain sharp granules.
Setting the sharpening angle
Tormek uses specialty gauges to set grinding angles. The ability to replicate is one of their strong points.
Holding the chisel
Tools are held in a variety of holders depending on the size and shape. The holders work with the universal support to present the tool to the stone in a controlled manner.
Sharpening
Sharpening the chisel with significant direct pressure applied near the edge being ground. There was absolutely no heat detected with the water drenched stone.
Honing
After the edge was defined, the front and back sides were honed with the leather wheel.
Chisel backside
Following honing, the back side of the chisel looked like a mirror.
Chisel top
The top side of the chisel after honing. With some shaping, grading and sharpening, my first attempt took about an hour. I learned that shaping is best done on a dry grinder with the final edge left to the Tormek. Is it sharp? Like a razor! I sharpened 7 more wood chisels and built a storage box because with edges this keen, I didn’t want the chisels to contact one another like they do if thrown in a drawer.

Similar Posts

  • Mini-Mill

    My Hi-Torque Mini-Mill arrived from the Little Machine Shop! An 18 wheeler made it’s way through the subdivision and parked so the tail was at my driveway. The truck was equipped with a lift gate in order to get the pallet to street level. I was concerned about getting the pallet into my garage but…

  • Laser Line Fixture

    My 3D printed laser line fixture was designed to provide the garment decorator with a cost effective alternative to similar devices in the marketplace. It is self contained and mounts to a standard 1/4″-20 stud found on most light stands and tripods. The fixture includes 4 line lasers, 4 laser holders, a 7″ Aluminum rod,…

  • |

    Captive Ring Tool

    There are many ways to cut captive rings and specialty tools are sold to accomplish the task. I decided to make my own captive ring tool from an Allen wrench, the tricky part being the shape of the grind. I tried many different shapes without success before hitting one that worked. The various grinds were…

  • U-Centerit Jig

    We developed the “U-Centerit” placement jig because, like many garment decorators, we struggled with consistent logo placement. We purchased and evaluated other placement aids but they were cumbersome and didn’t seem very accurate. The U-Centerit jig solved several common placement issues by providing a visual aid while simultaneously referencing typical garment location points. Embroiderers can…