Completed Kitchen Project
|

Kitchen Backsplash

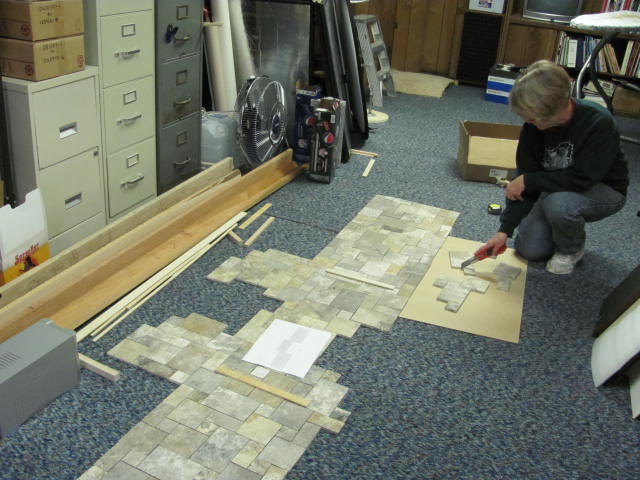
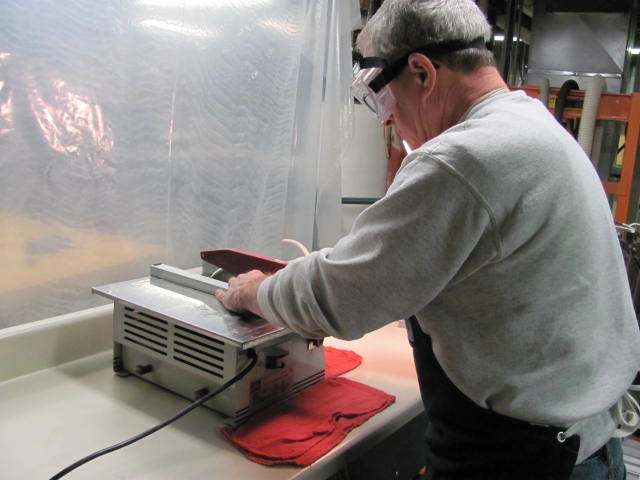
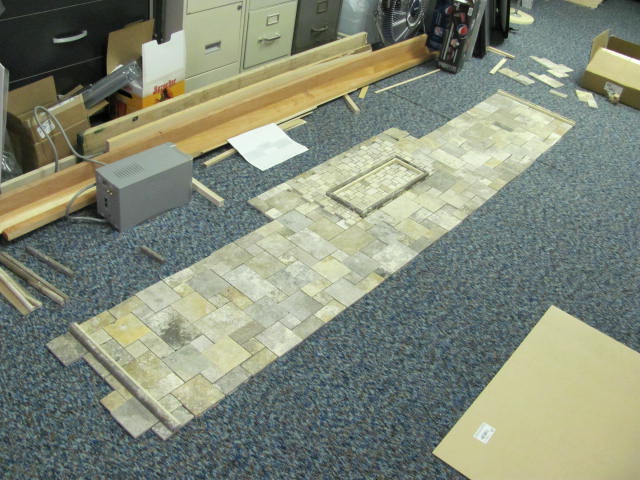
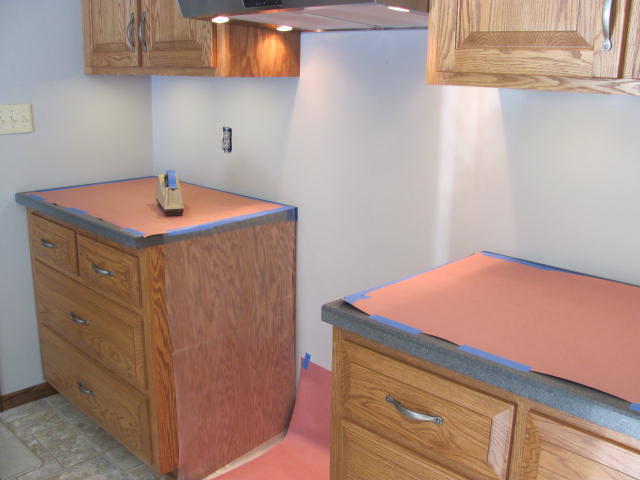
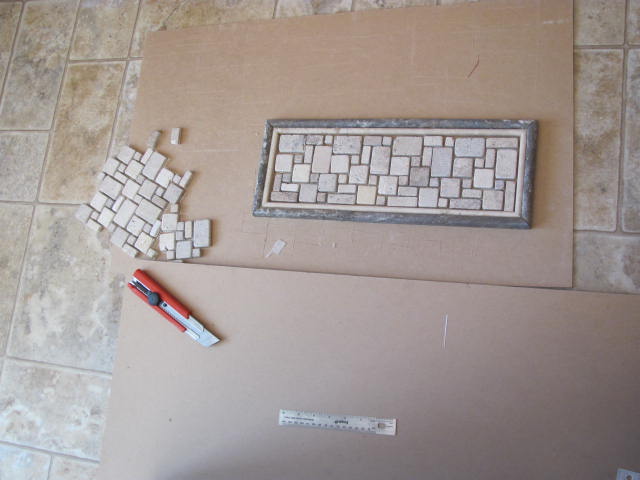
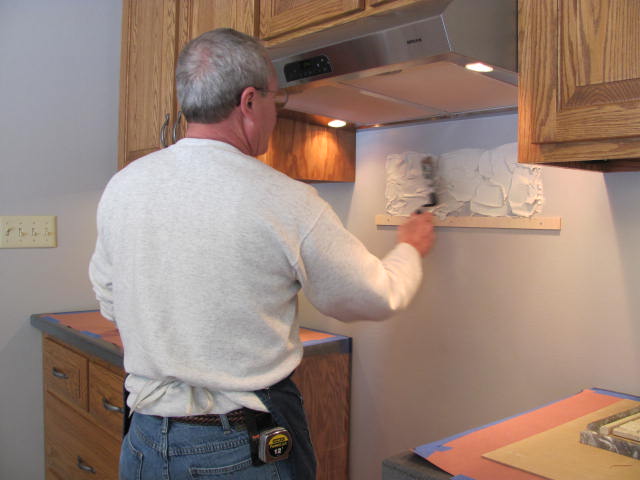
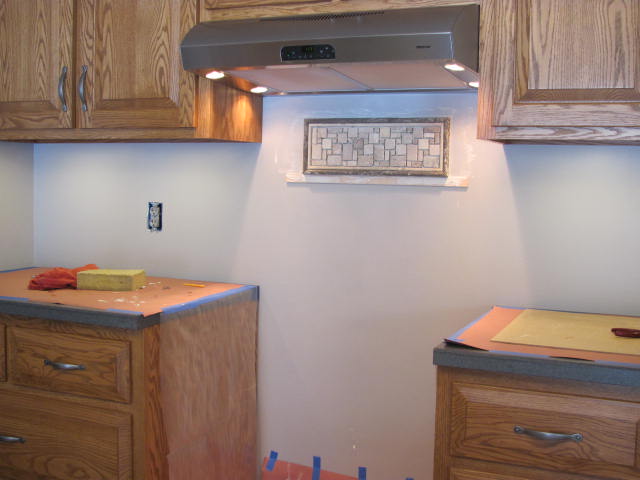
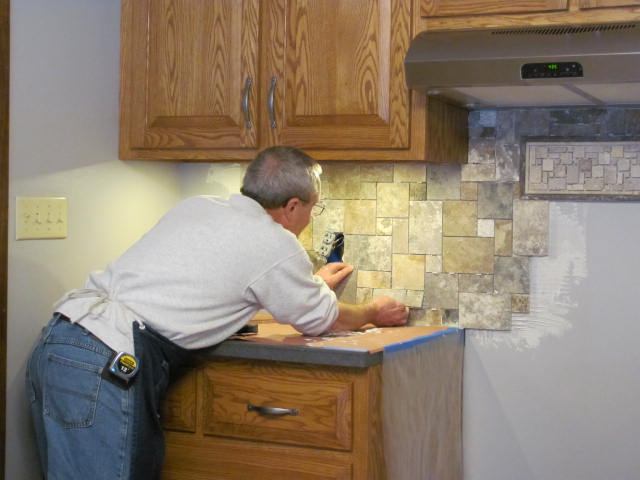
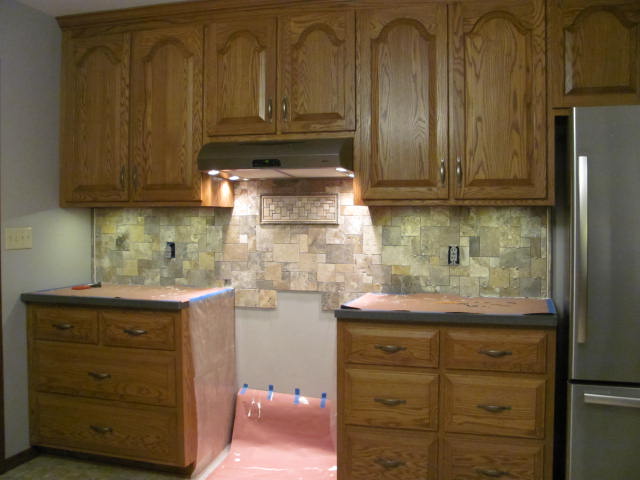
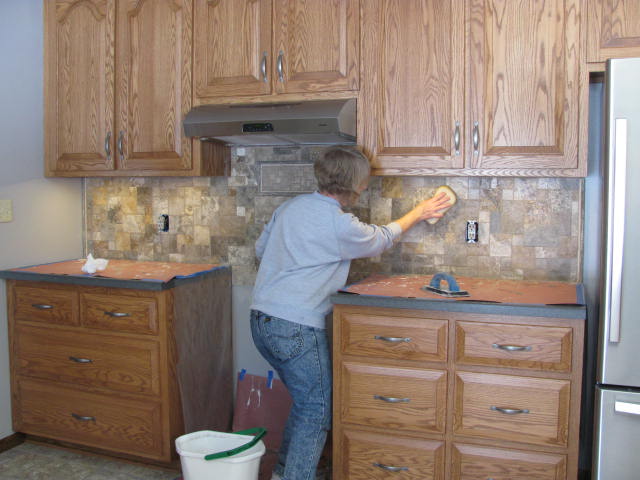
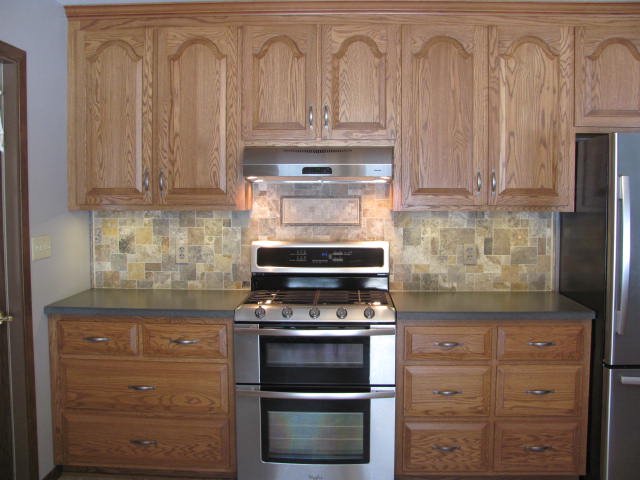
After the kitchen remodeling was completed, Marilyn wanted a backsplash behind the stove and stove counter tops. Off to The Tile Shop to learn all about tiling.  They have an enormous selection of tiles in a wide variety of materials and all of the stuff to make them stick to the wall.  They also have free “how to” classes every Saturday at 9:30 AM.  We selected natural stone tiles and with some design help, we created our own focal point using a smaller tile pattern surrounded by double pencil tiles.  I like the new look and it adds a touch of class to a successful kitchen renovation.


Layout
I drew up the layout using Sketchup to help visualize the pattern scheme. Here we are laying out the tiles according to the plan.
Wet Sawing
The part I hated most was wet sawing the tiles because it’s messy and we had to do it indoors since it was sub-zero outside. The splatter was fairly well contained with plastic sheeting. A friend lent us his wet saw so we didn’t have to rent or buy one. I figured that I could do all the sawing in two days but it took closer to four without rushing the project.
Final Layout
The final layout with the focal point cut. The reason the wet sawing took so long is because there were a lot of picky cuts.
Protecting the counter tops
The counter tops were masked, then a layer of plastic followed by a layer of red resin paper. The floor between the counters was protected as well.
Closeup of Focal Point
The focal point is cut and ready for installation. A ledger board was attached to the wall for the bottom pencils to rest upon.
Installing the focal point
Installing the focal point using thinset morter.
Focal point installed
The focal point went up smoothly and we let it dry overnight before installing the larger tiles.
Installing large tiles
Installing the larger tiles.
Tile installation completed
It was a lot of work but well worth the effort! We let the tiles dry for two days before grouting.
Sponging the grout
After grouting, the excess material was removed with a damp sponge. Several wipings were necessary to adequately clean the tiles and level the grout below the surface of the tiles. The grout will cure for three days before applying a sealer.
Completed Kitchen Project
View of the completed project with the appliances moved into position.

Similar Posts