Scimitar Ticker
Since I now own a CNC router, I can easily cut complex parts if I have a DXF or DWG file as a starting point. I am fascinated by wooden clocks, escapements and kinetic sculptures. 2016 marks the year that I decided to delve deeper into how these devices are designed and put together. There is a lot of information available on the Internet about these things including plans for sale so that was my starting point. I purchased a couple of plans from Clayton Boyer, his Number 6 clock and his Zinnia Kinetic Sculpture. I cut the Number 6 parts on a scroll saw and it took me a couple of months because I wasn’t trying to set any speed records, concentrating instead on accuracy. The assembly was difficult because I had no experience but the clock went together perfectly and has been ticking away for a couple of years keeping very good time. The Zinnia was cut on the CNC and the assembly was fairly easy, check my Zinnia blog for details. Along the way, I purchased software for designing and cutting gears, then found Art Fenerty’s Gearotic 2.0. Wow, amazing software that lets the user design clocks, tickers, escapements, gears, plus a bunch of other stuff and spit out DXF files to cut the parts. Just what I was hoping to find to help me achieve my goal. If you are interested, check out Art’s website Gearotic.com.
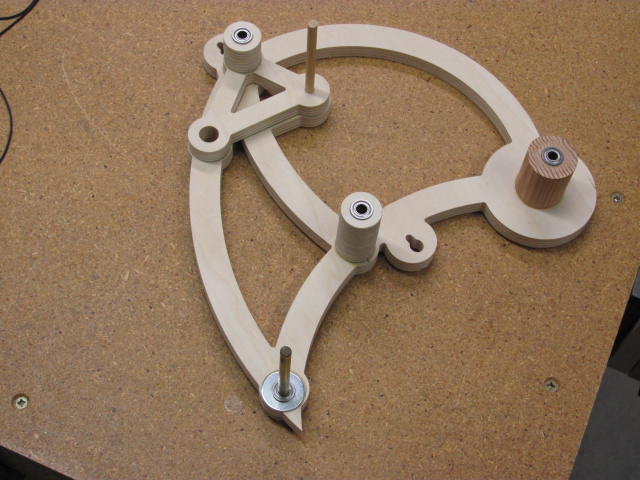
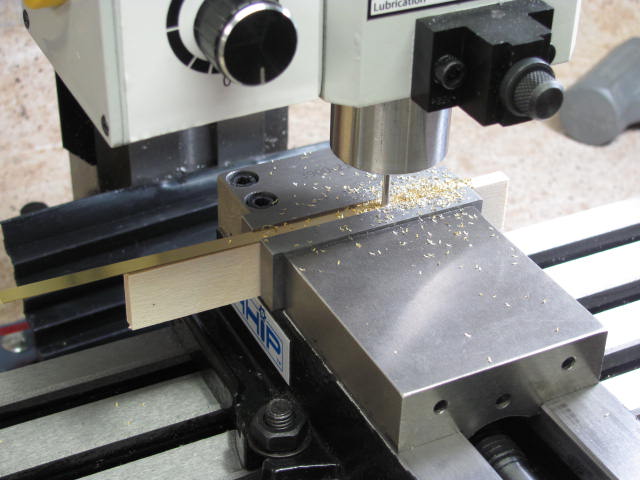
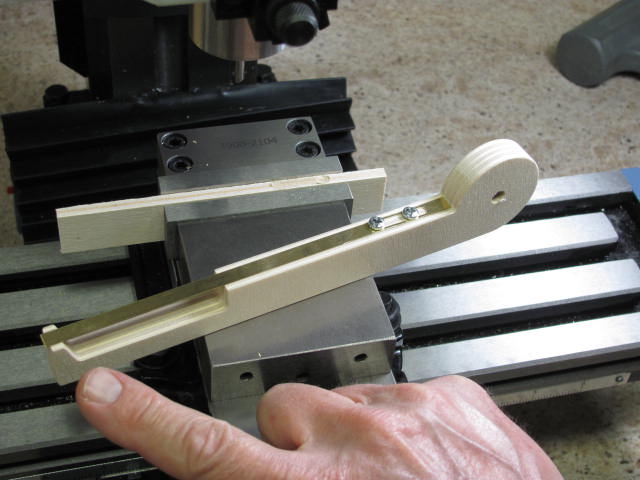
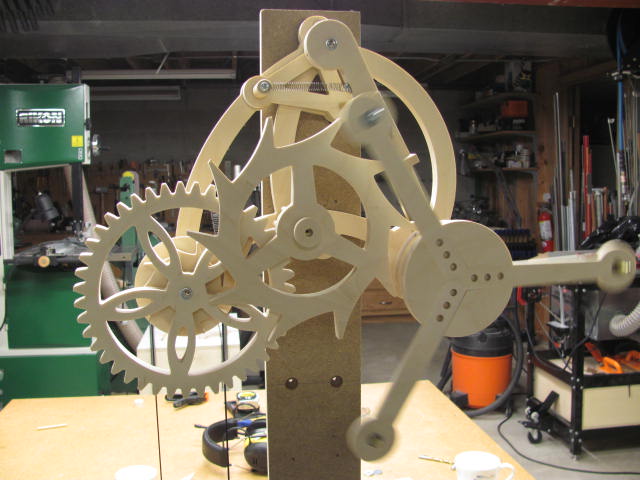
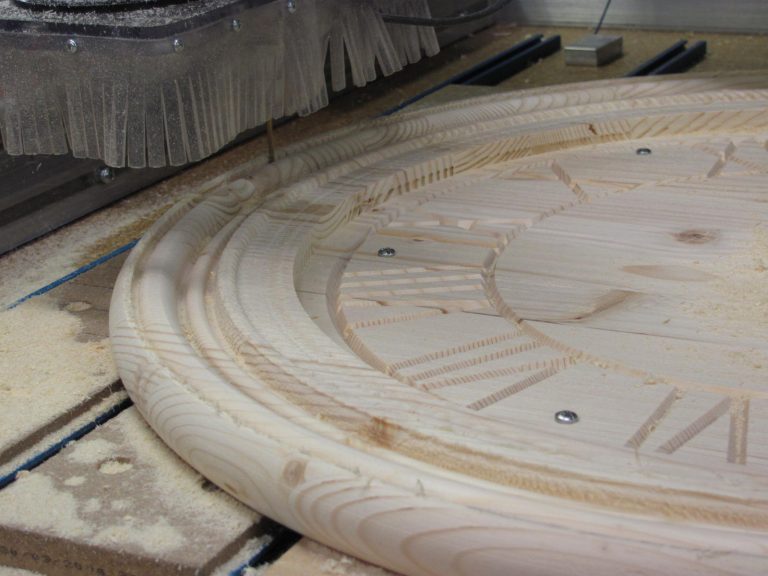
One fairly well documented device that I made using Gearotic 2.0 was a “ticker” called Scimitar. Art Fenerty published a YouTube video on how Scimitar is constructed and can be found here. Below are some photos of my Scimitar build, I hope you like it.

