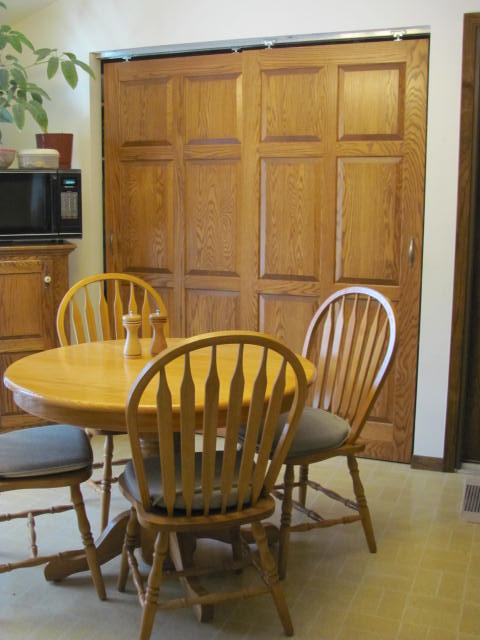
Doors in place

Six Panel Doors

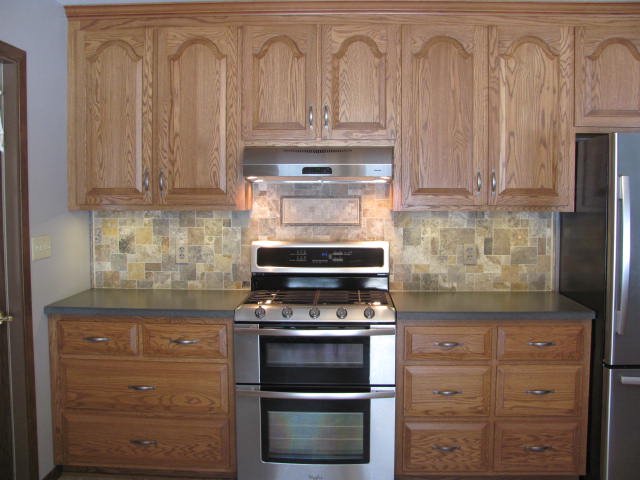
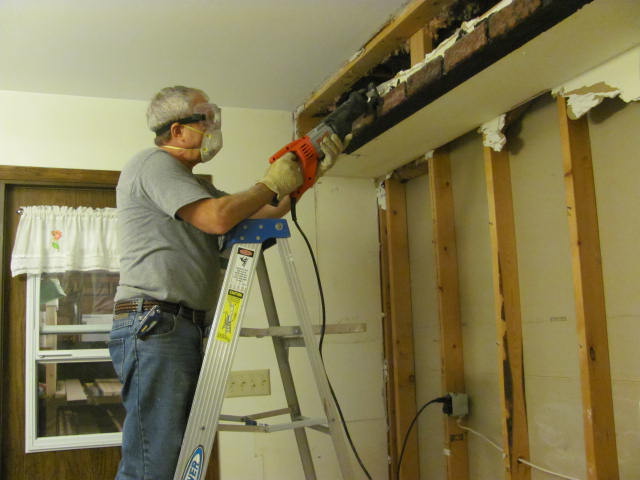
Our kitchen is sadly outdated so 2013 is the year we are doing a major renovation.  The pantry had dark louvered doors and we wanted the new ones to match the cabinets I will build soon.  We love the look of oak and it’s reasonably priced so that was our choice of material.  I took measurements from the existing doors and designed six panel doors around those dimensions.  This was my first attempt at making doors and I was surprised at how heavy the timbers were to mill and assemble.  I used Freud’s 3 Piece Premier Adjustable Cabinet Door Set for the cope and stick cuts as well as panel raising.  I also used their glue bit for the individual panel pieces which worked very well because the segments had additional surface area and were perfectly registered during clamping.  Instead of making extended tenons to support the weight, I added 2″ dowels to the rails and stiles.  The door was finished with oil based stain followed by 5 coats of General Finishes’ satin urethane.

Louvered Doors
Ugly dark stained louvered doors covered our pantry alcove for the past 25 years. Time for a change!
Oak Boards
Oak boards before milling.
Milling Boards
The timber was milled flat to provide a surface for thickness planing.
Thickness Planing
After milling a flat surface, the boards are planed to uniform thickness.
Re-sawing Timber
In order to save wear and tear on the planer, some overly thick boards were re-sawed prior to planing. It also helps to minimize chip collection.
Routing Panel Pieces
Here the glue bit is being used to prepare the individual panel pieces.
Panel Glue-Up
The glue bit really helped with panel construction.
Sanding Panels
After the glue dried, the panels were run through a drum sander to render them perfectly flat.
Panel Raising
The next step is to raise the panels. I ran each piece in 4 passes because it is strenuous work pushing work past a 3″ diameter router bit.
Finish sanding the panels
Marilyn was recruited to help with finish sanding the panels. Actually, she volunteered and we enjoyed working together on this project.
Frame Assembly
The next few photos show how the door was assembled. If you look closely, you can see holes for the dowel tenons added for strength.

Frame Glue-up

Panel Insertion
The panels are inserted with “Space Balls” for anti-rattle expansion allowance. The stile on the empty panel positions did not have glue at this point.
Final Assembly
Wow! It looks like a door!
Sanding the finished door
Sanding the finished door.
Staining the door
Staining the door.
Applying top coat
The urethane top coat was applied over a five day period allowing 24 hours between coats.
Doors in place
The finished doors weigh about 60 pounds each so new tracks and trucks were installed. The overhead moulding will not be installed until the kitchen project is underway but we are very happy with the new look. The results provide an incentive to build the cabinets!

Similar Posts