Dutch Clock
|

Dutch Clock

As I gain more experience with the CNC router, I am trying different projects both as a learning tool as well as making interesting items. This blog details some of the steps in the manufacture of a Dutch clock mimicking the style of Tole painting. I downloaded the free project from Vectric’s website and modified some of the vectors at the bottom of the clock to include the names of the recepients, my niece and her husband. The clock was their wedding gift and the date was carved below their names. If you are interested in the actual project instructions, they can be found here.

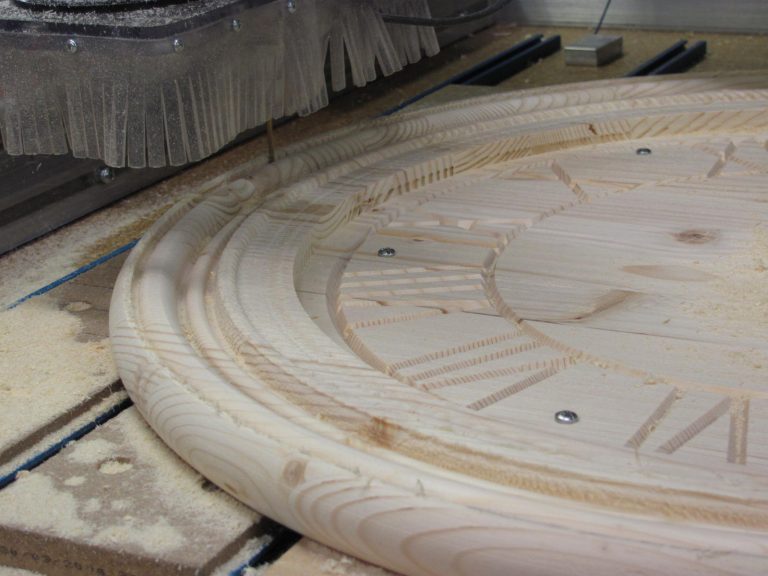
Routing the Clock
Both the top and bottom pieces were CNC routed using the plans and tool paths provided by Vectric.
Gluing the Clock Components
The clock is 3 dimensional consisting of front and back pieces. Here they are aligned and glued to each other. The holes in the pieces are dimensioned for an exact fit of a clock insert.
Detailing the Clock
The clock was made of select kiln dried pine so the router V bit left some fuzzies that required removal with a dental pick.
Spindle Sanding
Spindle sanding the concave curves of the clock.
Drum Sanding
Some contours were better sanded on small bench lathe using a soft drum sander.
Applying the Finish
I used a slightly modified finishing technique from that described in Vectric’s project instruction sheet.
Dutch Clock
The completed clock ready for delivery to the newlyweds.

Similar Posts