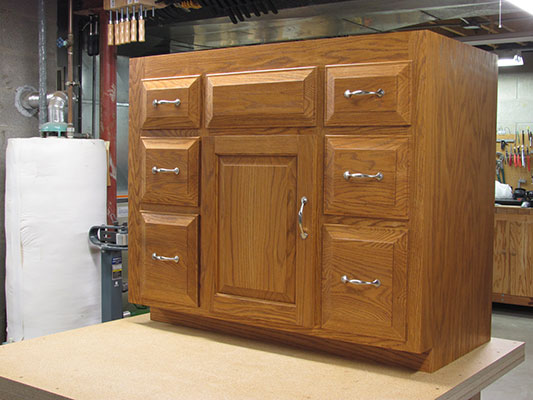
Some might say that the cathedral door look, or even using Oak, is outdated. I don’t care because I like the look and I’m the one who has to live with it every day. Constructing the raised cathedral arch proved to be quite a challenge for me because I could not use a fence when raising the arch. The Freud panel raising router bit is 3″ in diameter and comes with a back cutter and a center shaft that did not accept a bearing between the cutters. When I tried to freehand a test panel, the bit grabbed the panel and tried to turn it into a ballistic event. Not good! I called Freud and asked them about the proper method for raising an arched panel and they told me that the technique I used was how it was done. That advice was completely unacceptable so I decided to raise the arch in 4 separate steps using two different sized bearings that would fit in place of the back cutter. So here’s what I did…
Remove the back cutter and install a 1-1/2″ diameter bearing. Raise the arch using the bearing for support.
Replace the 1-1/2″ bearing with 1″ diameter bearing and make a second pass.
Remove the smaller bearing and make a third pass against the router bit shaft.
Replace the back cutter and shim stack and make a 4th pass.
This technique worked for me and I felt safe doing it. Below are some pictures showing my method and other things of interest regarding the cathedral arch doors.
This is the Freud panel raising bit with back cutter in place. My final pass was made using this configuration.For the first pass, I replaced the back cutter with a 1-1/2″ diameter bearing which limited the depth of cut because the arch was resting against the bearing as the cut was being made.The 1-1/2″ diameter bearing was replaced with a 1″ diameter bearing and a second pass was made. Following this, I removed the small bearing and made a third pass against the fixed shaft of the router bit shown here. Finally, the back cutter was replaced and a fourth final pass was made using the bit in it’s original configuration.I had to remove the bit from the router each time the bearing configuration was changed. In order to re-register the bit height, I used a Wixey digital height gauge indexing off the top of the bit.I use a Freud gluing bit to provide more surface area and register the panel pieces when the clamps are applied. Setup is finicky but well worth the effort.No need for elaborate upper and lower cauls when gluing panels that have routed glue edge joints.An auxiliary table was fitted to my band saw to support the large door panels. Here a cut is being made to within 1/16″ of the line.The template was attached using double sided carpet tape and the final arch was cut using a pattern bit.The cathedral arch rails were template routed, cope cut against a fence, and rail cut against the rail cutting bit bearing.A look at how the doors were assembled. Two space balls were inserted into the rail cuts on all sides of the frame in order to hold the panel in position and keep it from rattling.I used marginal quality wood on one of the door stiles so I decided to take it apart and make new rails and stiles. In order to save the panel, I cut carefully into the stile on each side and pried the assembly apart.It took considerable force to break the stile apart despite being nearly cut apart on the band saw.Since I destroyed the rails and stiles, I decided to see how well the glue joint held at the lower cope cut. You can see that the wood broke before the glue let go so I’m confident that my doors will hold together long term.
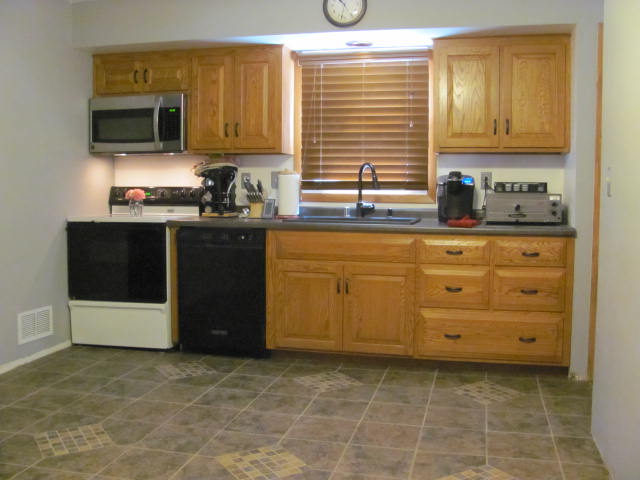
March 30, 2014 marks the day we started cutting wood for the kitchen remodeling project. Oak was selected for the wood to somewhat match all the moulding in the house. Stephanie directed the design phase by establishing storage requirements for her cookware. Additional cabinetry will be added to the kitchen area to increase the overall…
Now that I am retired, I can make things that I only dreamed of in the past. I have always wanted to build casework but didn’t have the time nor the necessary tools to accomplish the job…
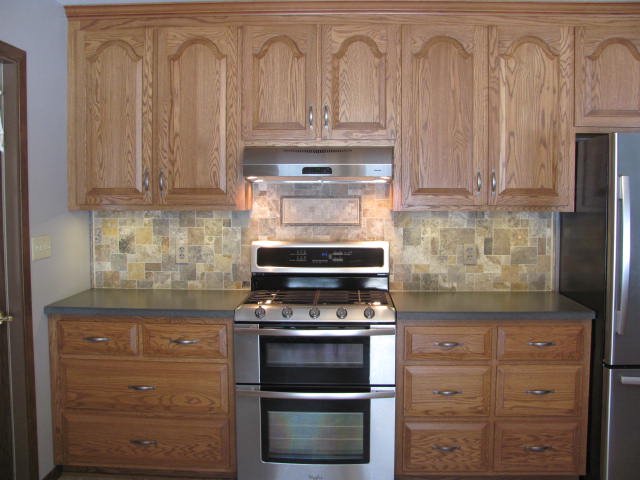
After the kitchen remodeling was completed, Marilyn wanted a backsplash behind the stove and stove counter tops. Off to The Tile Shop to learn all about tiling. They have an enormous selection of tiles in a wide variety of materials and all of the stuff to make them stick to the wall. They also have…
Call me slow but it took a long time for me to figure out the difference between a “pin” and a “tail” when looking at half blind dovetails. When I look at the outside corner of a drawer, the pins and tails look identical in shape, so which is which? After years of study, I…
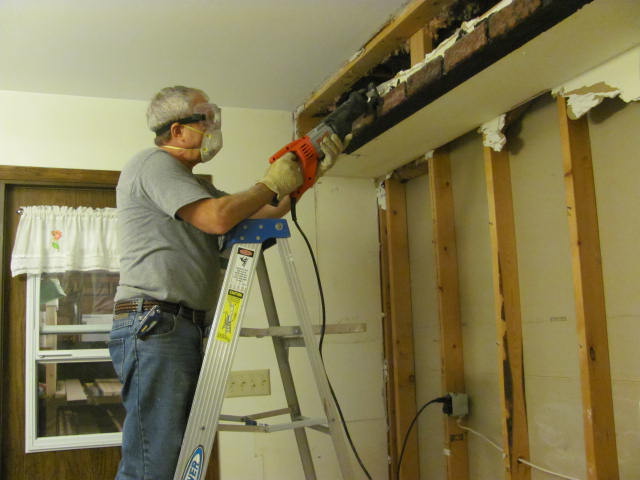
It’s been nearly a year since I began the design phase of our kitchen remodel project. The summer was consumed with cabinet construction and finishing and the fall was spent doing demolition, reconstruction and shopping for floors, counter tops, lights, plumbing fixtures, and hardware. With any large scale project, you run into surprises that must…
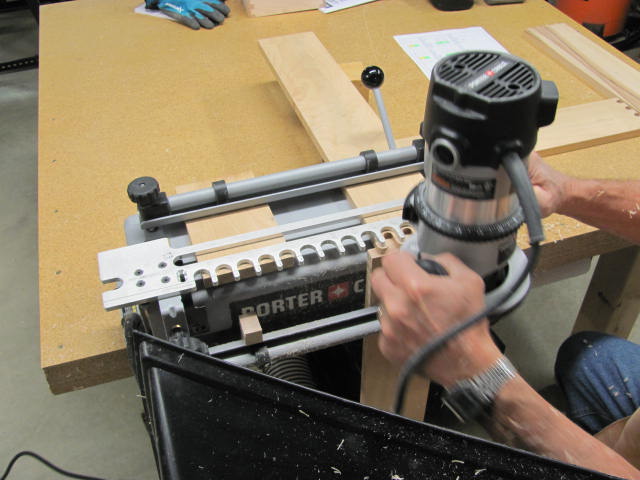
I wanted half blind dovetails for my kitchen drawers because they convey craftsmanship in addition to being a solid joint. Every time I use the Porter Cable dovetail jig, I have to check the manual because setup and orientation are critical for success. Once I have cut a few, orientation becomes second nature and the…