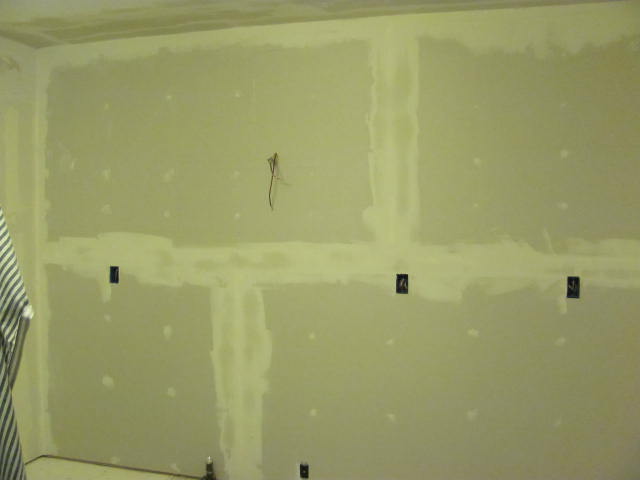
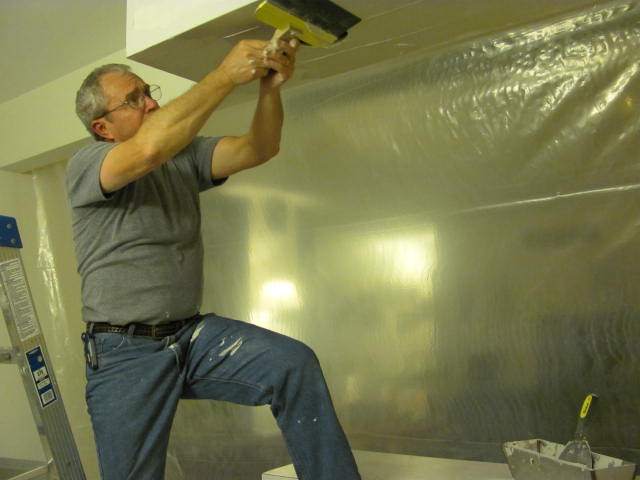
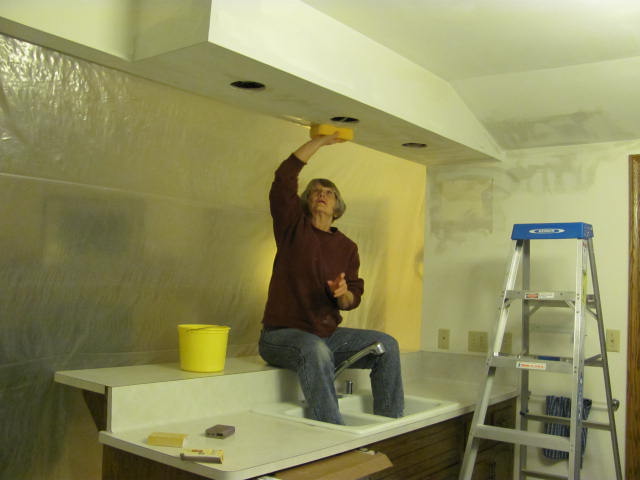
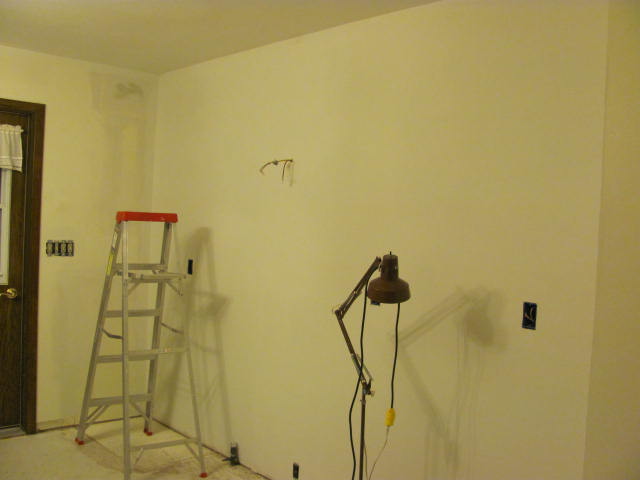
It’s been nearly a year since I began the design phase of our kitchen remodel project. The summer was consumed with cabinet construction and finishing and the fall was spent doing demolition, reconstruction and shopping for floors, counter tops, lights, plumbing fixtures, and hardware. With any large scale project, you run into surprises that must be addressed if the job is to be done correctly and this project was no exception. I ran into rotten drywall, squeaky floors, and ventilation issues. Speaking of drywall, if I never hang another piece, it will not break my heart. It seems that gravity kept throwing drywall mud in my hair and on my face, not to mention a few pounds on the floor. Grossly uneven 2×4’s meant elevation mismatches that required shimming and multiple coats of mud to even out. Despite sectioning off the kitchen from the rest of the house with plastic sheeting, drywall dust is everywhere.
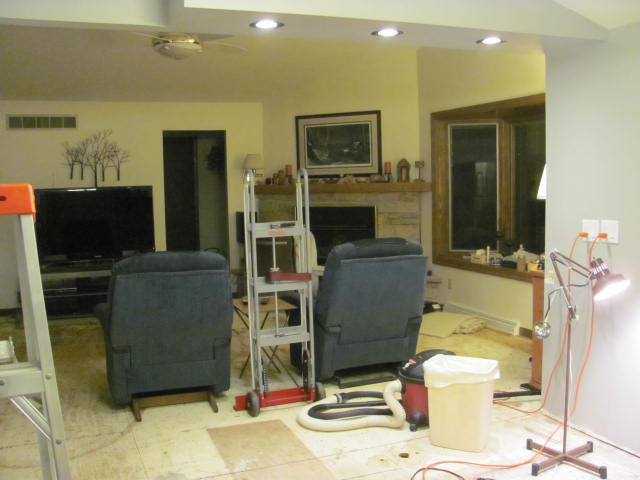
Another observation is that everything is connected to something else. Translation – where does the project end? We realized that the carpeting in the adjacent family room looked crappy next to the new kitchen floor so we decided to replace it even though it’s not technically part of the kitchen. Oh no, the hallway carpet needs to be changed as well because it matches the family room carpeting. The family room walls need repair and re-painting, but that’s for another time, we had to stop somewhere. So here are a lot of pictures detailing the largest project we have ever attempted. Overall, it turned out quite nicely and we saved tens of thousands of dollars doing the cabinetry, demolition and construction ourselves.
I will be adding more pictures to this post as the project unfolds so stay tuned for more!
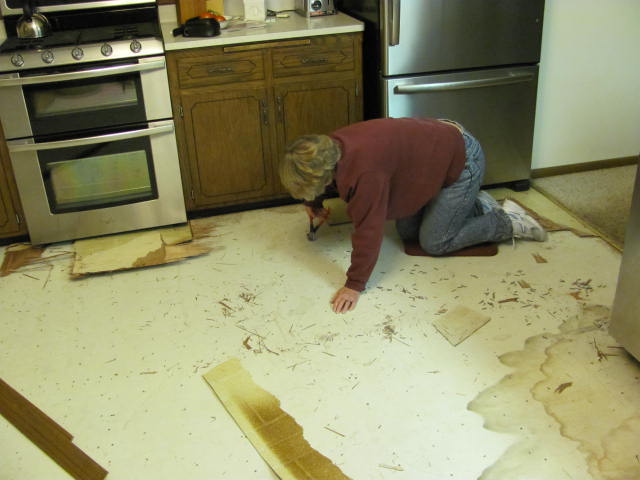
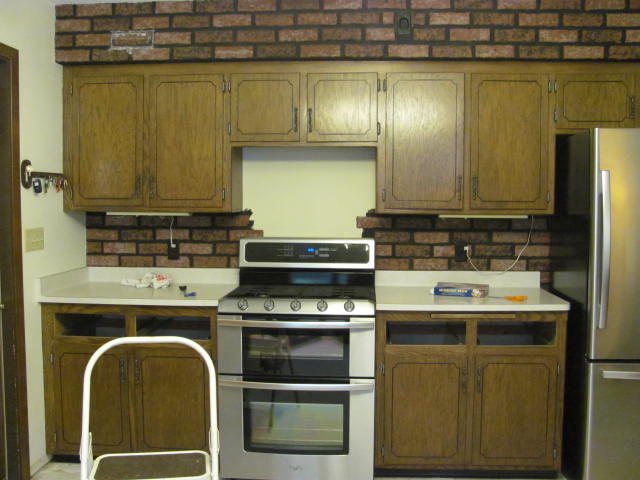
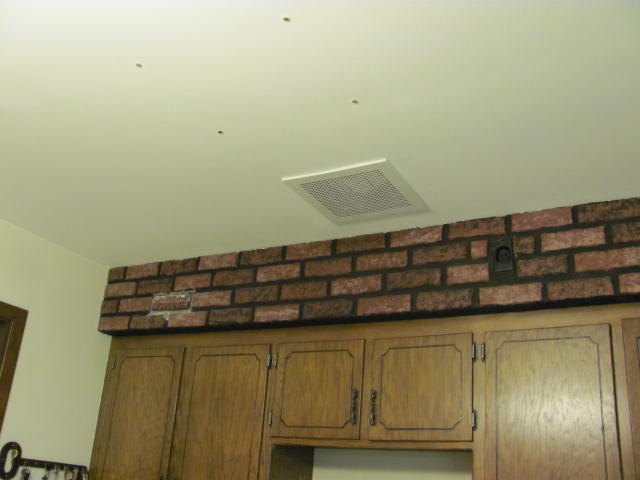
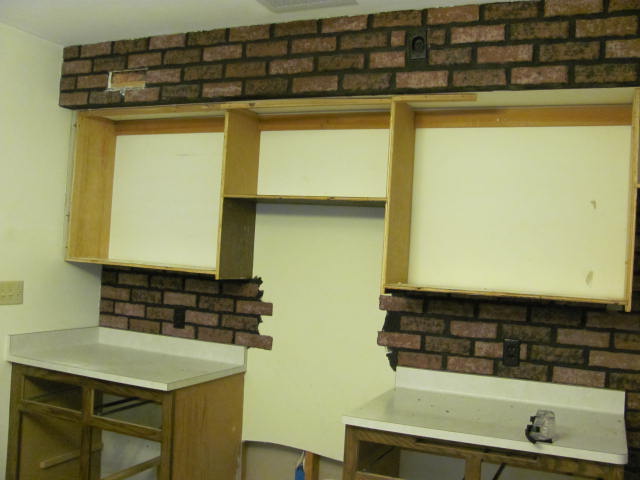
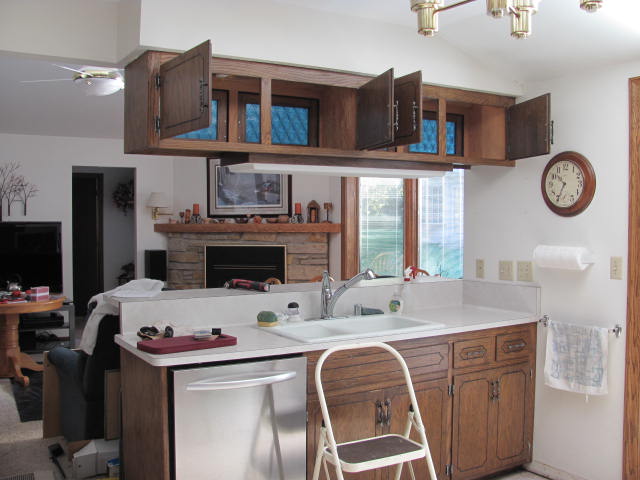
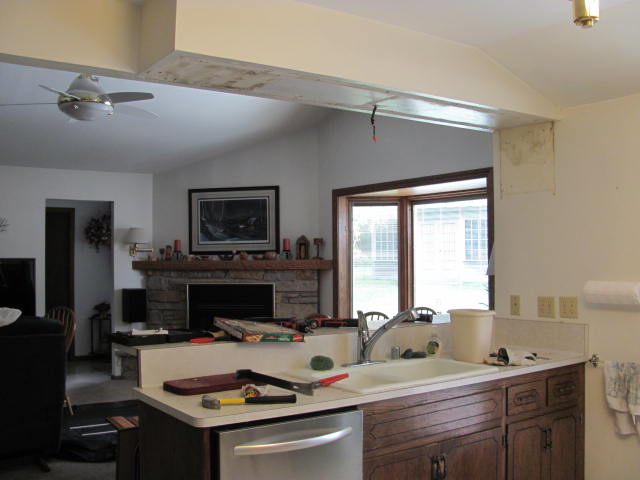
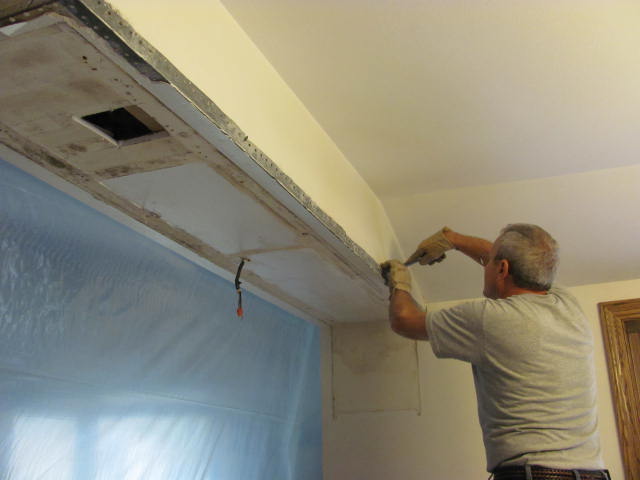
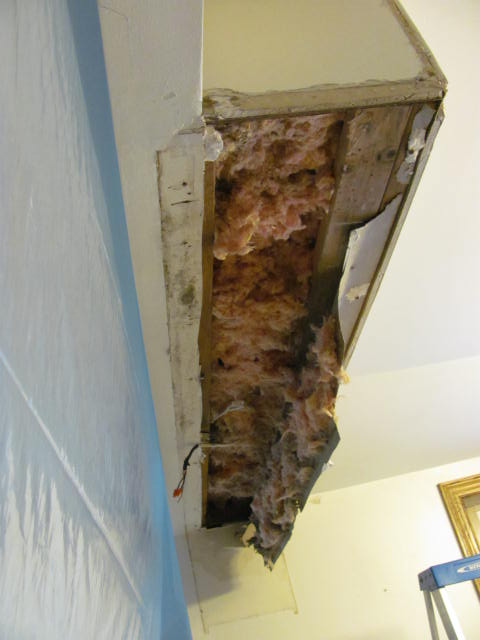
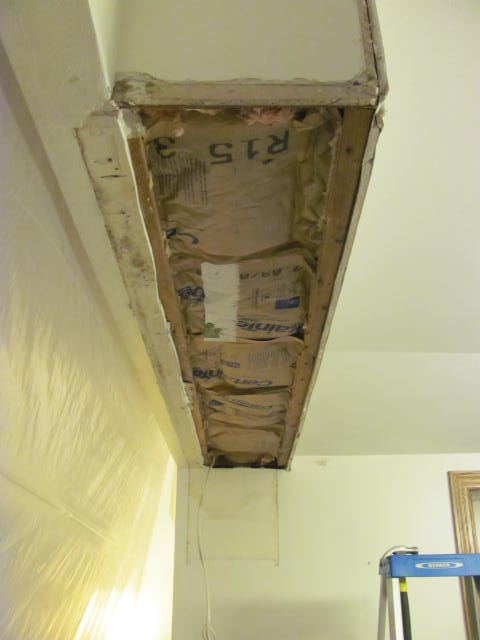
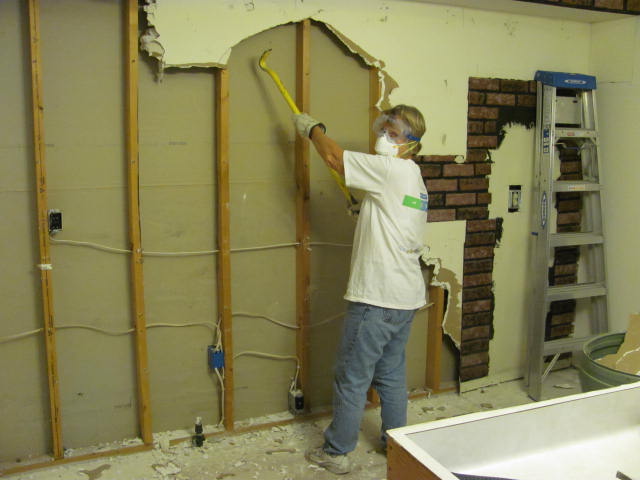
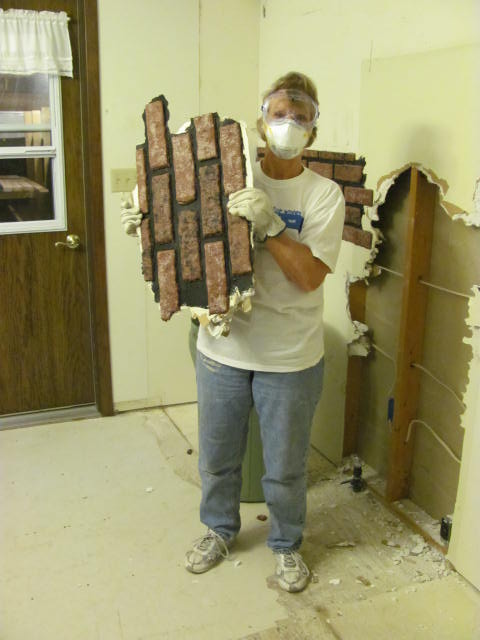
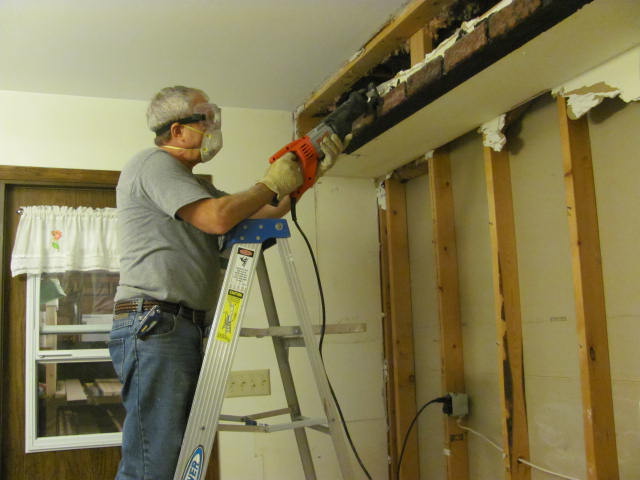
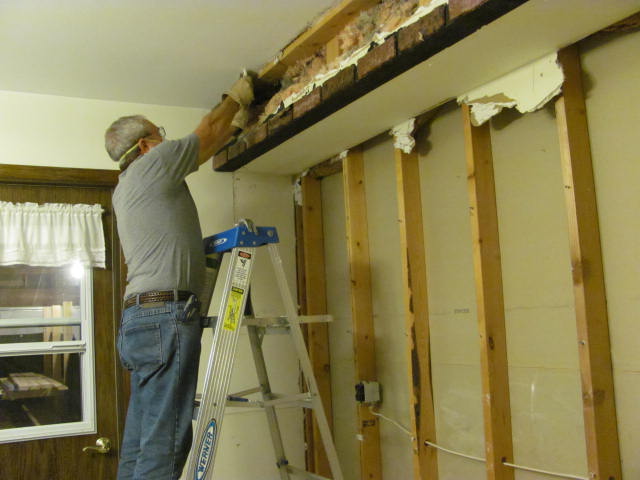
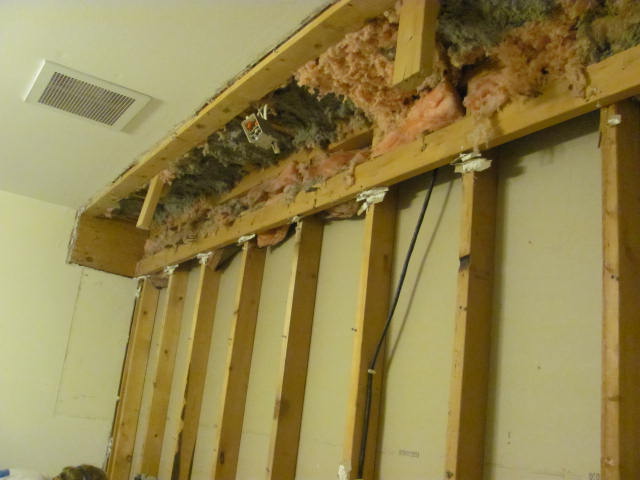
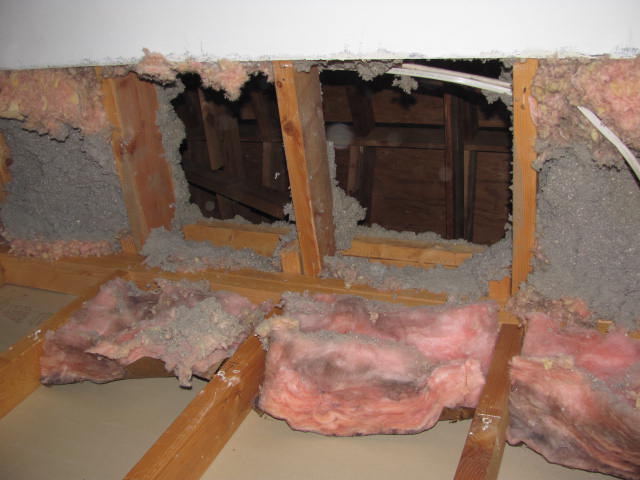
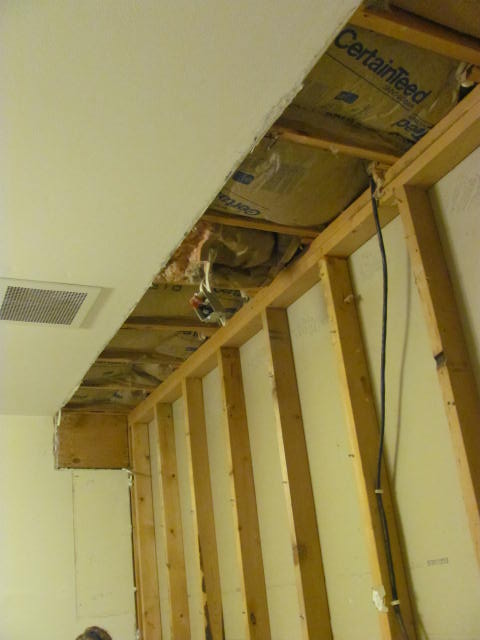
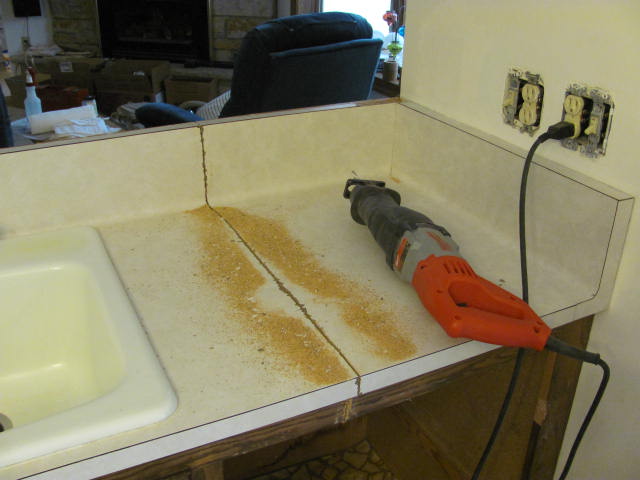
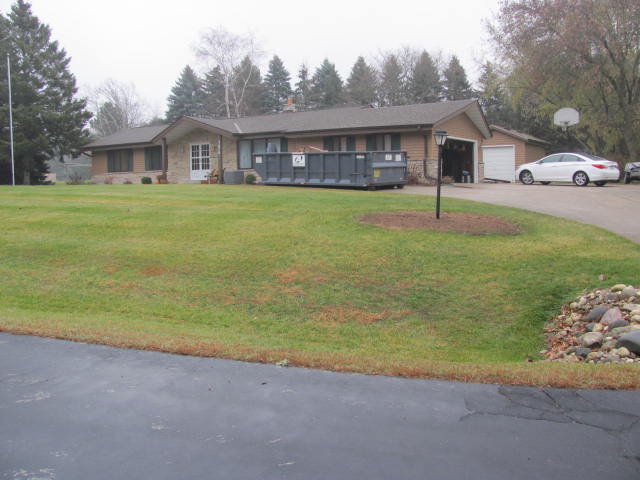
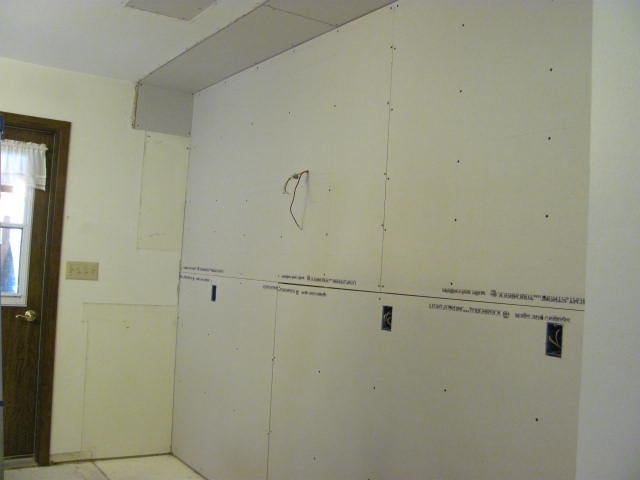
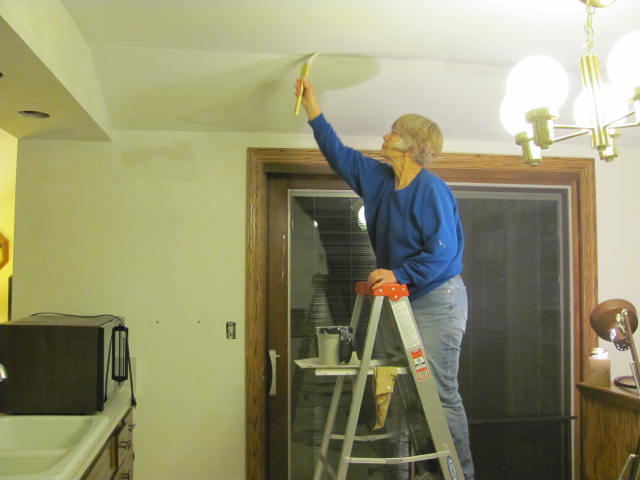
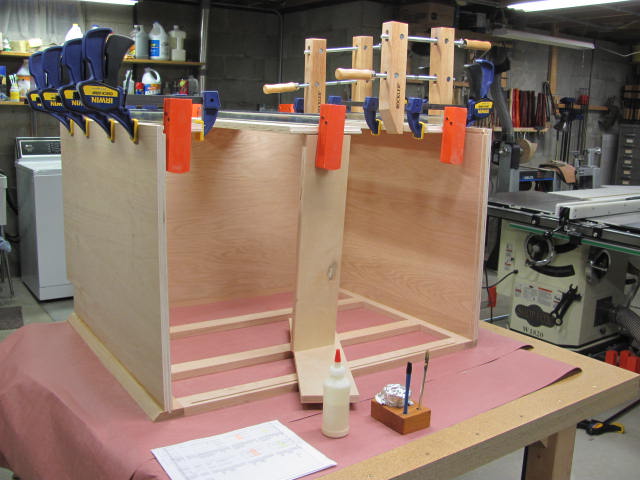
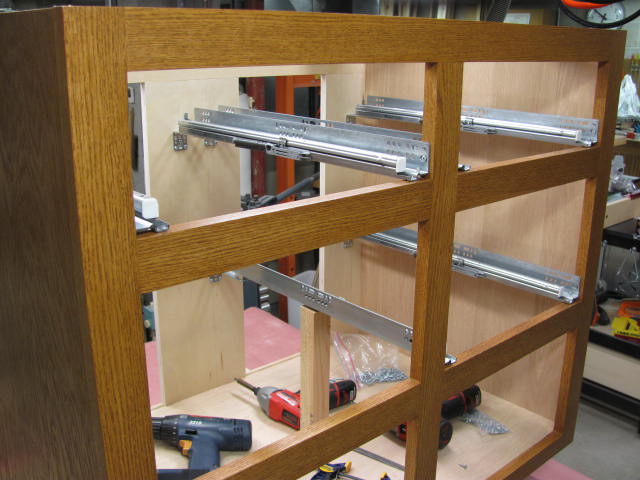
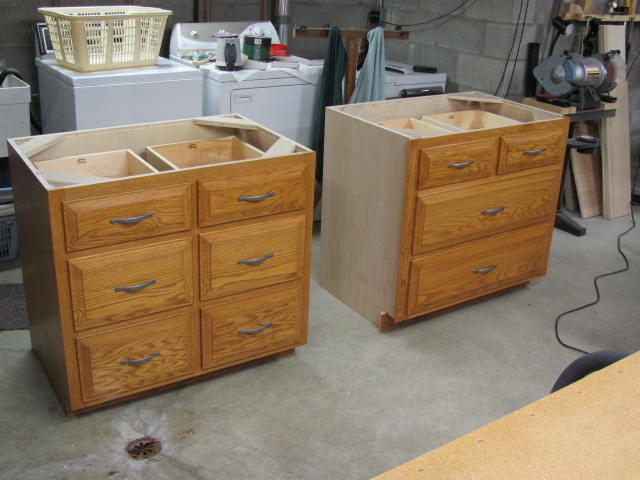
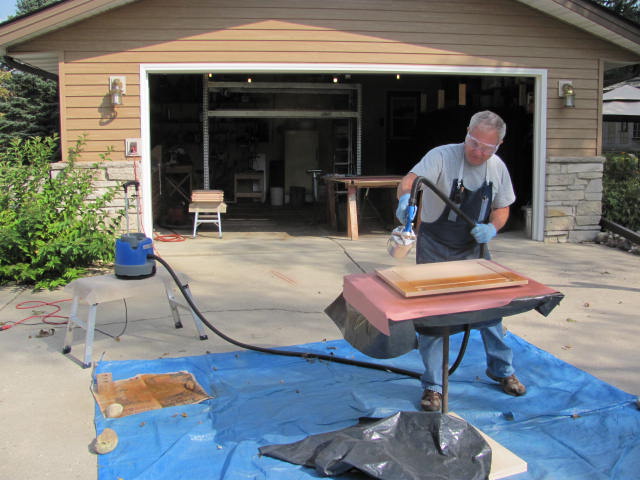
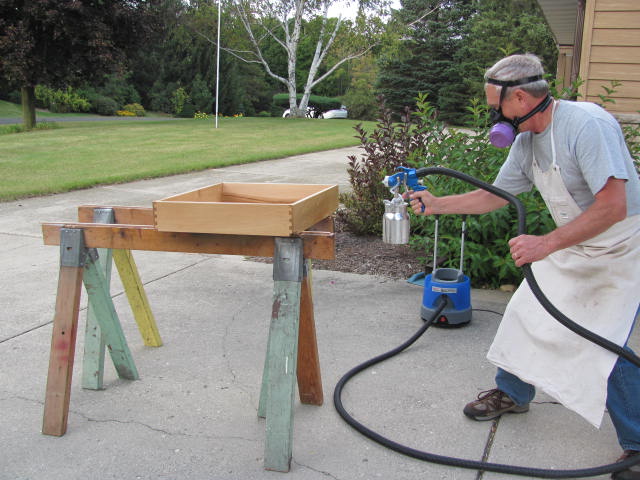
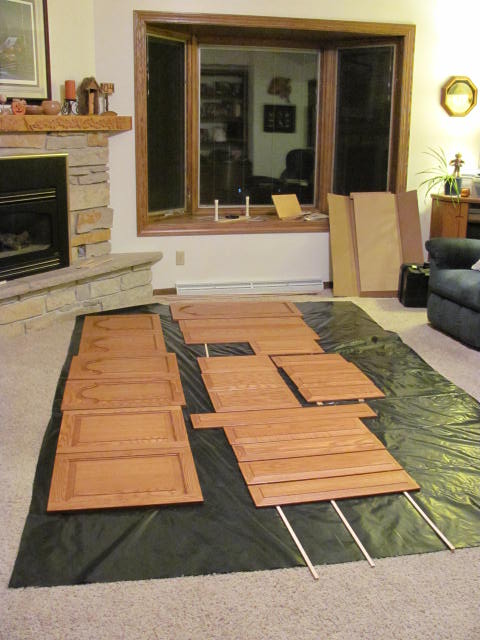
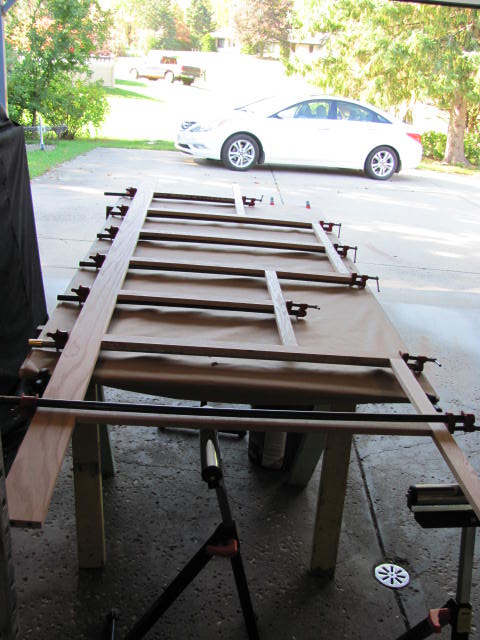
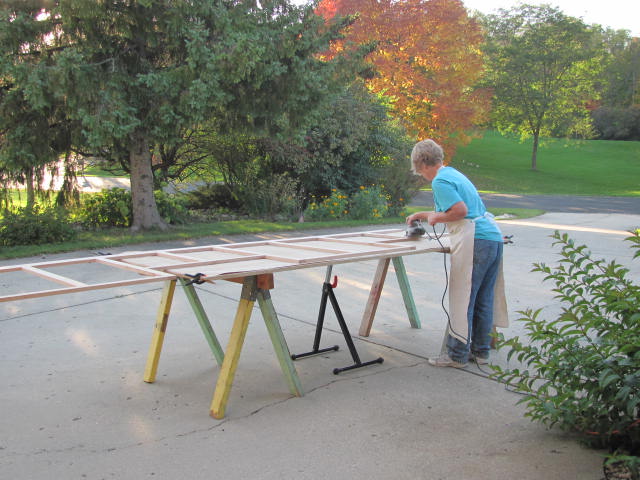
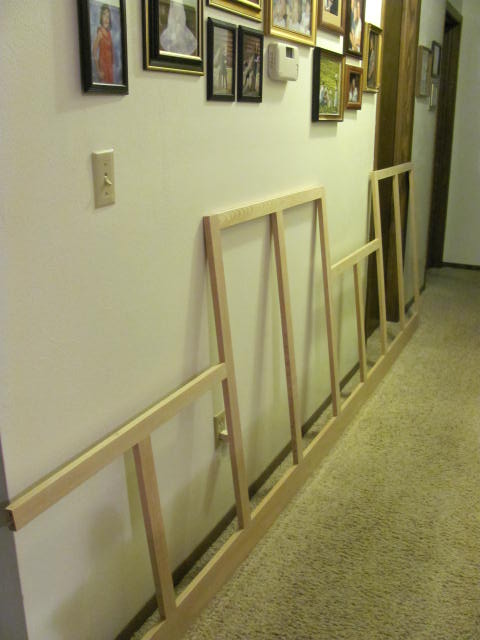
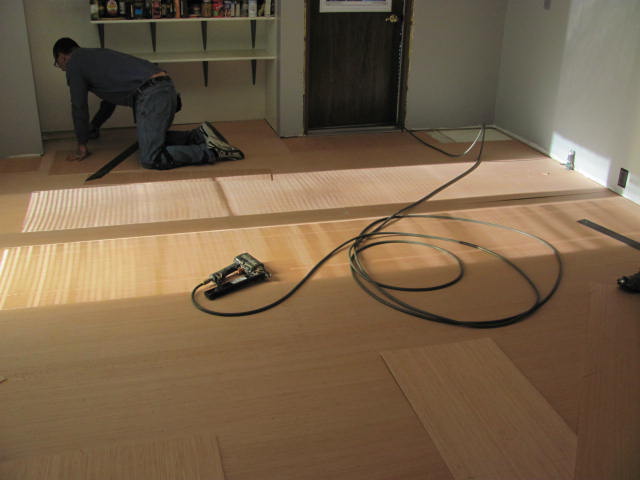
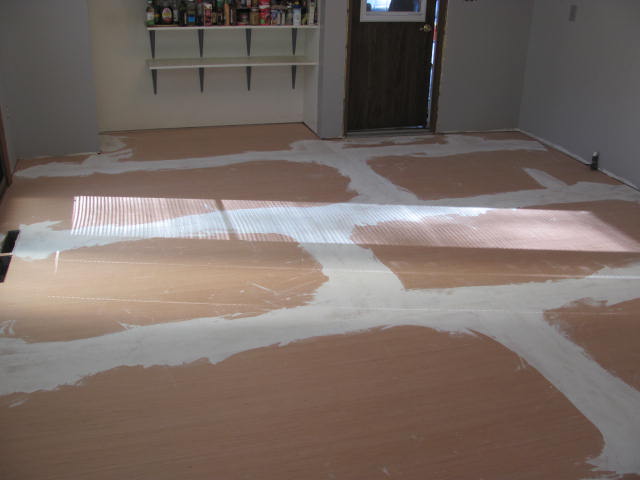
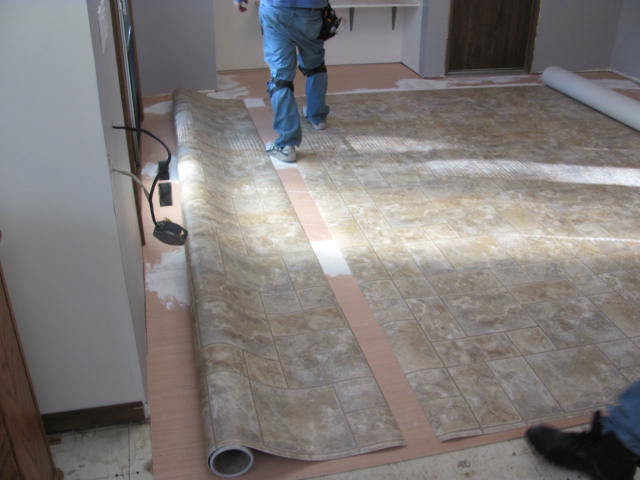
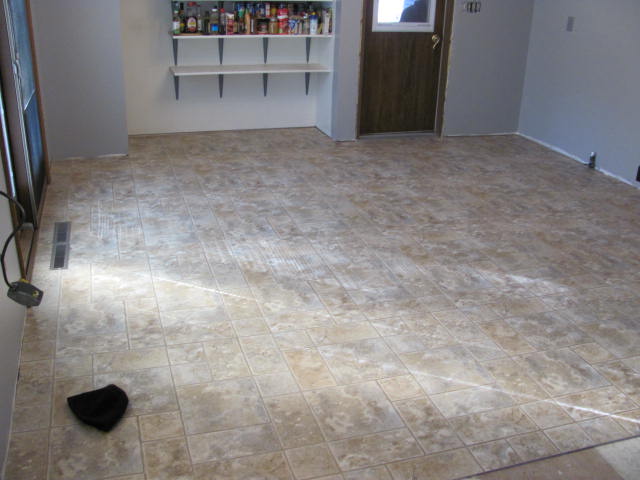
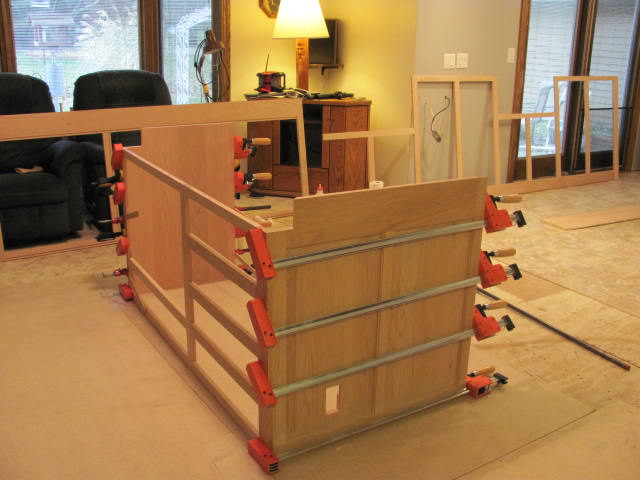
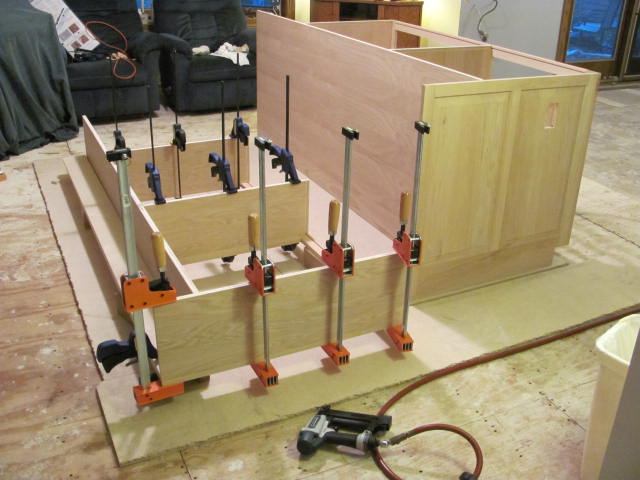
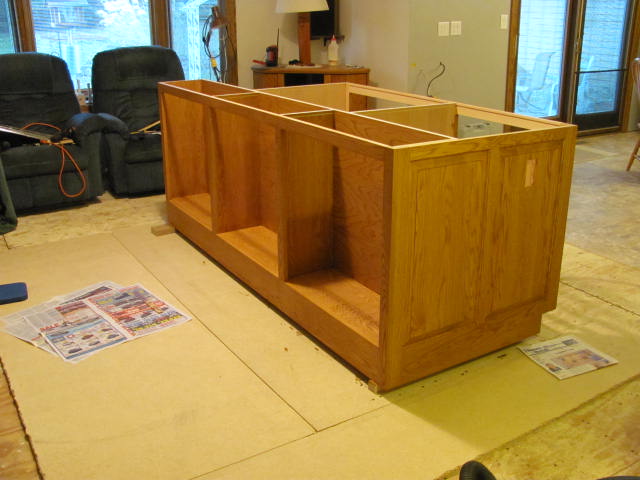
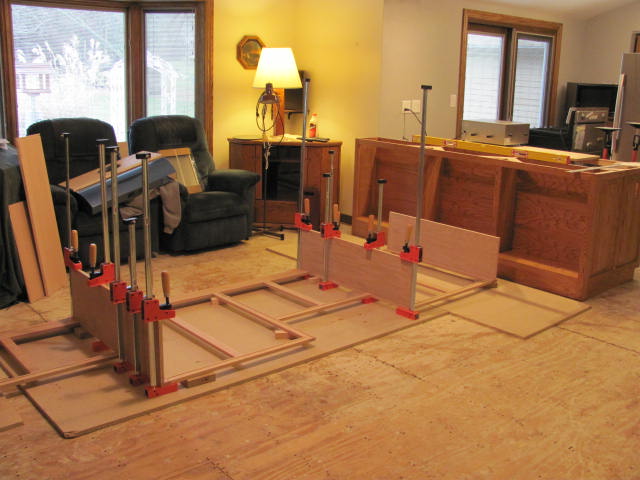
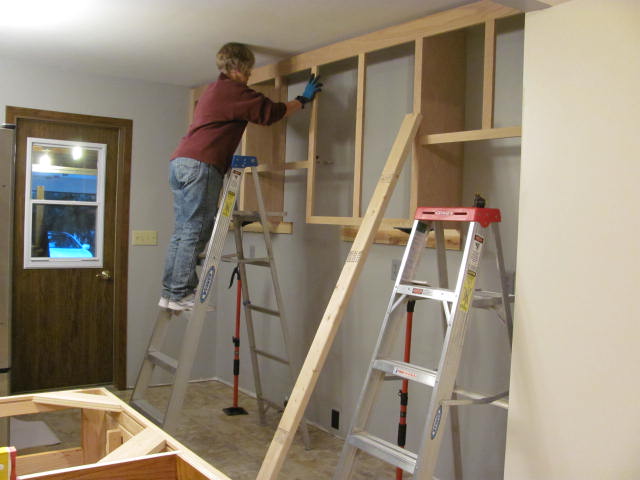
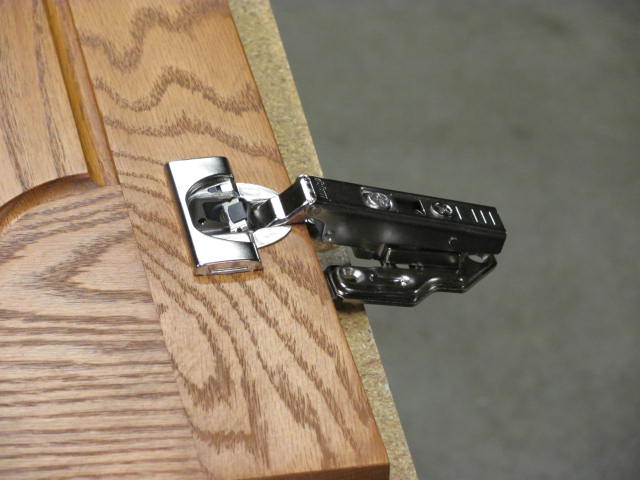
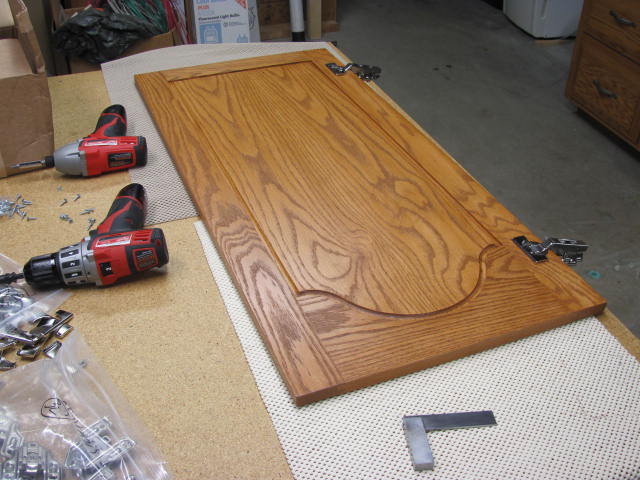
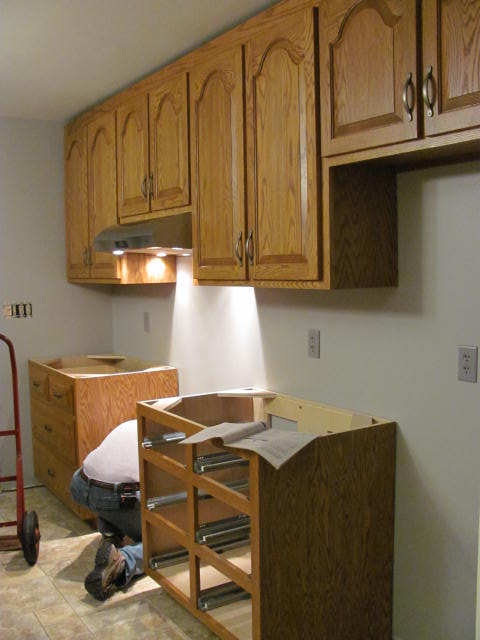
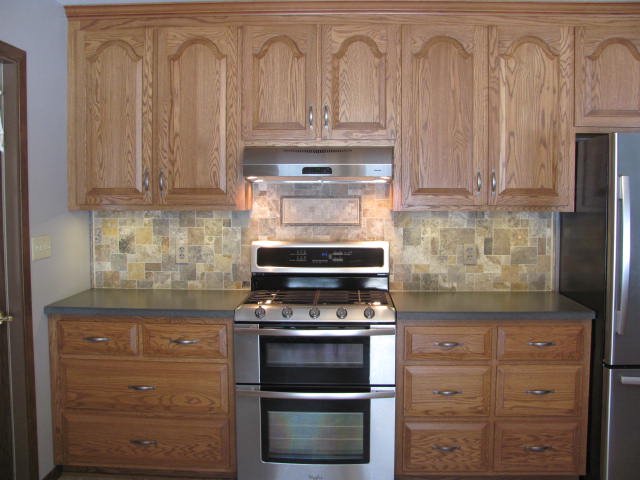
Where to start? In the corner by the patio door! Out you faded, sun burnt floor. I decided to rip out the entire old floor including the luan because I did not want to change the elevation when the new floor was installed.Here’s how the floor removal proceeded.The old luan was held down with 8 billion staples which Marilyn meticulously pulled.The old cabinets had seen better days and the uppers were hung below a soffit. Ugly dated Z Brick was applied to the walls which meant that they too must be removed.The ceiling had a ventilation fan which served as a makeshift cooking hood. The new plan called for a real hood above the stove so it had to be removed.It was fun getting rid of the old cabinets but I was not looking forward to dealing with the walls.Across the room, more upper cabinets were hung from a soffit above the sink. The plan called for complete removal of the cabinets to open up the space leading to the family room.The upper cabinets came out fairly nicely but the drywall underneath suffered water damage from a leaky roof so it all had to be removed.The old soffit needed extensive repair. The old drywall had to be removed.Down to the insulation. It was an extremely messy job because the attic insulation was revealed. Luckily it stayed in place long enough to staple new insulation below it.New insulation was pushed into the rafters and secured with staples preventing the existing insulation from falling down.Back on the other side of the room, Marilyn was removing the old wall behind the stove.Marilyn holding a portion of the old Z Brick to which she bid a not so fond farewell.Mark went after the old soffit with a Sawsall. Lots of fun!Not so much fun was removing the old insulation contained in the soffit.Much of the old insulation fell to the floor when the soffit was removed.Some of the old insulation stayed in place between the rafters but some fell through revealing a look into the attic. Cold air was pouring in so the holes needed immediate re-insulation.New insulation was stapled into place keeping the cold air in the attic where it belongs.Back on the other side of the room, the island sink counter gets it’s first cut in the removal processWe are now without a kitchen sink because the plumbing has been removed.A dramatic change in appearance without the kitchen island cabinet.We rented a 20 yard roll-off for the debris and literally filled it up to the brim. It saved a lot of effort because I didn’t have to cut the old cabinets into small pieces. We struggled with the old cast iron sink because lifting it over the top edge tested our strength to it’s limits.Not exactly in sequence, the following couple of photos show the fun we had with drywall, NOT!Taping and mudding seams.Overhead mudding. Now I know how the expression “Here’s mud in your eye” originated.Taping, mudding, sanding, sanding, sanding, sanding, remudding, sanding, sanding, sanding, etc.Starting to look like a wall!After the drywall was completed, the ceiling and room were primed and painted. We had the ceiling paint tinted to the same color as the walls but a lighter tone.Meanwhile, the cabinet carcasses were being glued up.Hettich self close, soft close, full extension drawer slides rated at 100 pounds were installed in the cabinets. Marilyn wanted all drawers in the lower cabinets instead of doors for ease of access to her kitchen stuff. 14 drawers total were constructed in the three lower cabinets.Here are the two cabinets on either side of the stove fully assembled awaiting installation.The 8 doors for the upper cabinets and the 2 below the sink were stained and finished with three coats of polyurethane applied by HVLP. There was still a lot of hand sanding between coats but spraying saved an enormous amount of time and provided a superior finish.The drawers were finished with 2 coats of lacquer applied by HVLP.Because the weather was turning cold, the doors were carried indoors to dry between coats. It was challenging just moving around without tripping.The upper face frame was constructed in the garage because there wasn’t enough space in the basement for an object this large. I wanted the upper cabinets to be a single unit to give the completed project a built-in look.We took every advantage of the weather to sand and finish outdoors.The upper face frame was nearly 12 feet long so we had to store it in our hallway before attaching the carcase.The old floor was completely removed in order to fix squeaks and preserve the elevation. Here new luan is being installed.After stapling the luan to the subfloor, the floor was leveled similar to the way drywall is mudded and sanded.Rolling out our new vinyl floor.The new floor installed and drying overnight to seal the seam. The color of the floor was chosen to compliment the cabinets, counter tops, stainless steel appliances, carpeting and wall color. This gave the kitchen a completely new look!Due to it’s size, the sink cabinet had to be assembled near it’s final position.Another sink cabinet assembly photo. Although it’s one piece, the side facing the family room is a book case.The sink cabinet as it appears from the family room. Raised panels similar to the doors were incorporated into the design of the cabinet side. The cutout is for an electrical outlet.Like the sink cabinet, the upper cabinet carcase had to be assembled in the family room because of it’s size. Although I don’t have any photos of the installation, my son George and his friend Ron lifted the completed assembly unto cleats attached to the wall and held it in place while I drove screws through the nail rail into wall studs securing the cabinet.The upper cabinet had to fit between a wall and a chimney chase. The right stile was left off the assembly in order to fit and scribe to the final size. Notice the temporary cleats attached to the wall holding up the cabinet. This line is exactly 54″ above the highest point on the floor as determined by a story stick and a self leveling laser. Once this line is established, all other cabinets are leveled and after the counter top is installed, the distance between the upper and lower cabinets is a standard 18″.Blum bluemotion soft close European style hinges were selected for all the doors.Each door needed only two hinges despite the fact that the large doors were 41″ in length.Here’s a nice picture of my butt as I’m doing some work leveling the cabinets and getting the anti-tip bracket installed for the stove. As you can see, a new Broan hood was installed into the cavity of the upper cabinets above the stove. The hood is ducted outdoors which required several trips into the attic.View of the completed project. The last step was the natural stone backsplash.
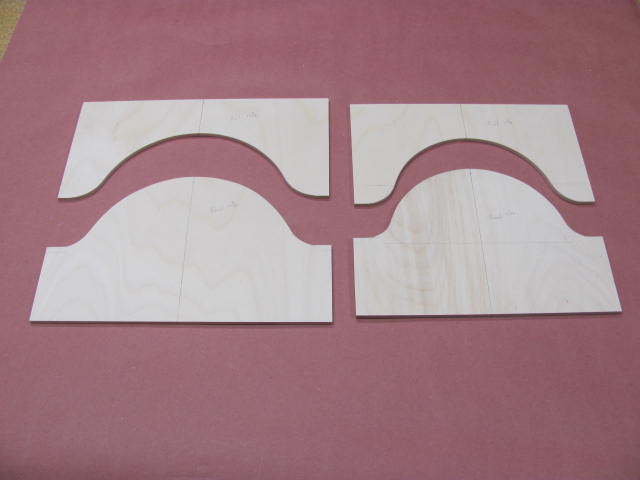
Some might say that the cathedral door look, or even using Oak, is outdated. I don’t care because I like the look and I’m the one who has to live with it every day. Constructing the raised cathedral arch proved to be quite a challenge for me because I could not use a fence when…
Call me slow but it took a long time for me to figure out the difference between a “pin” and a “tail” when looking at half blind dovetails. When I look at the outside corner of a drawer, the pins and tails look identical in shape, so which is which? After years of study, I…
Now that I am retired, I can make things that I only dreamed of in the past. I have always wanted to build casework but didn’t have the time nor the necessary tools to accomplish the job…
I’m just too cheap to purchase templates so I will share a method I used to make my own cathedral arch templates. My top rails are all 6″ in height which provides plenty of room for a nice visual on the arch. The tricky part was designing the templates for a consistent look for various…
After the kitchen remodeling was completed, Marilyn wanted a backsplash behind the stove and stove counter tops. Off to The Tile Shop to learn all about tiling. They have an enormous selection of tiles in a wide variety of materials and all of the stuff to make them stick to the wall. They also have…
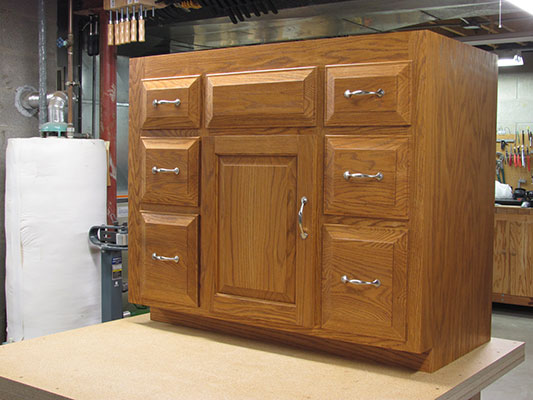
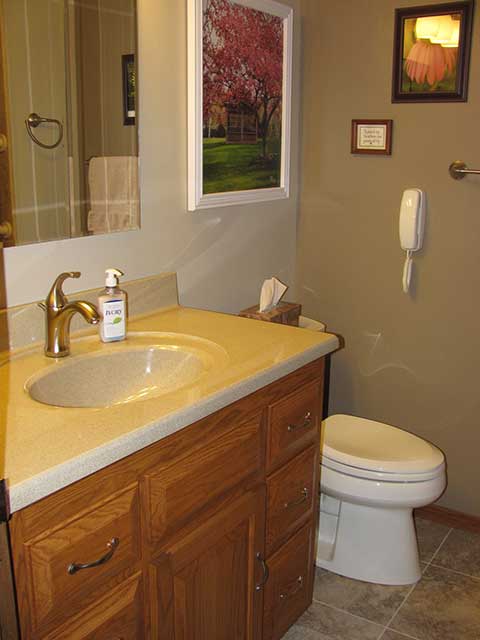
After living in our home for over 20 years, we decided to fix the place up now that we’re heading into retirement. Marilyn has been nagging me about our main bathroom for years because it was so dated with hanging light fixtures and yellow tub and toilet (yuk). I have been equipping my wood shop…